How To Make Pancake Art | Dancakes 101
Introduction
The following is a comprehensive, step-by-step tutorial that will walk you through the entire process through which we at Dancakes craft our beautiful pancake art designs for the world. This guide will cover everything from the equipment we use, to the recipe guidelines we follow, our coloring methods and some of our key tips for drawing, cooking, flipping and plating pancake art that we teach to all of our students. We’ll be illustrating a very simple ‘Heart Eyes’ Emoji, but most of our attention will be focused on the actual process and techniques that you can use in your own designs right away.
All of this information is presented in our accompanying ‘Dancakes 101 video’ which can be viewed on this page as well as on our youtube and other social media platforms. Much of it has been rephrased or expanded here in the text and photo tutorial so that you can learn in whichever way is more comfortable.
Before we begin, you’ll want to make sure you have everything that you need so you don’t have to interrupt your flow midway. The basic equipment and supplies that we’ll be using are as follows:
- Mixing Supplies, such as measuring cups, a mixing bowl, a whisk or an electric hand mixer; everything you’d use to mix pancake batter normally. We overmix our batter, so we recommend an electric hand mixer to make your life easier.
- Pancake Batter Ingredients. There’s no perfect recipe for pancake batter, but there is a perfect consistency. We usually use a just-add-water store-bought buttermilk pancake mix. We’ve found that products like these are the easiest to get to the proper consistency, and consistency is the most important quality in pancake art batter. We’ll talk more about that later.
- Coloring! There are several ways to color pancake batter but the method we will be teaching in this guide involves Gel Food Coloring, also known as Icing Gels. You can get a great selection of these here on Dancakes.com with our Pancake Art Color Kit, or get those plus a set of (10) batter pens with the Dancakes Palette Expansion Bundle. Both offer massive value for a price that can’t be beaten. Otherwise you can find gel coloring at most specialty kitchen stores and online retailers – we’ve found the plastic ‘drop-at-a-time’ bottles are easier to work with than the open-mouth pots of gel some brands sell theirs in.
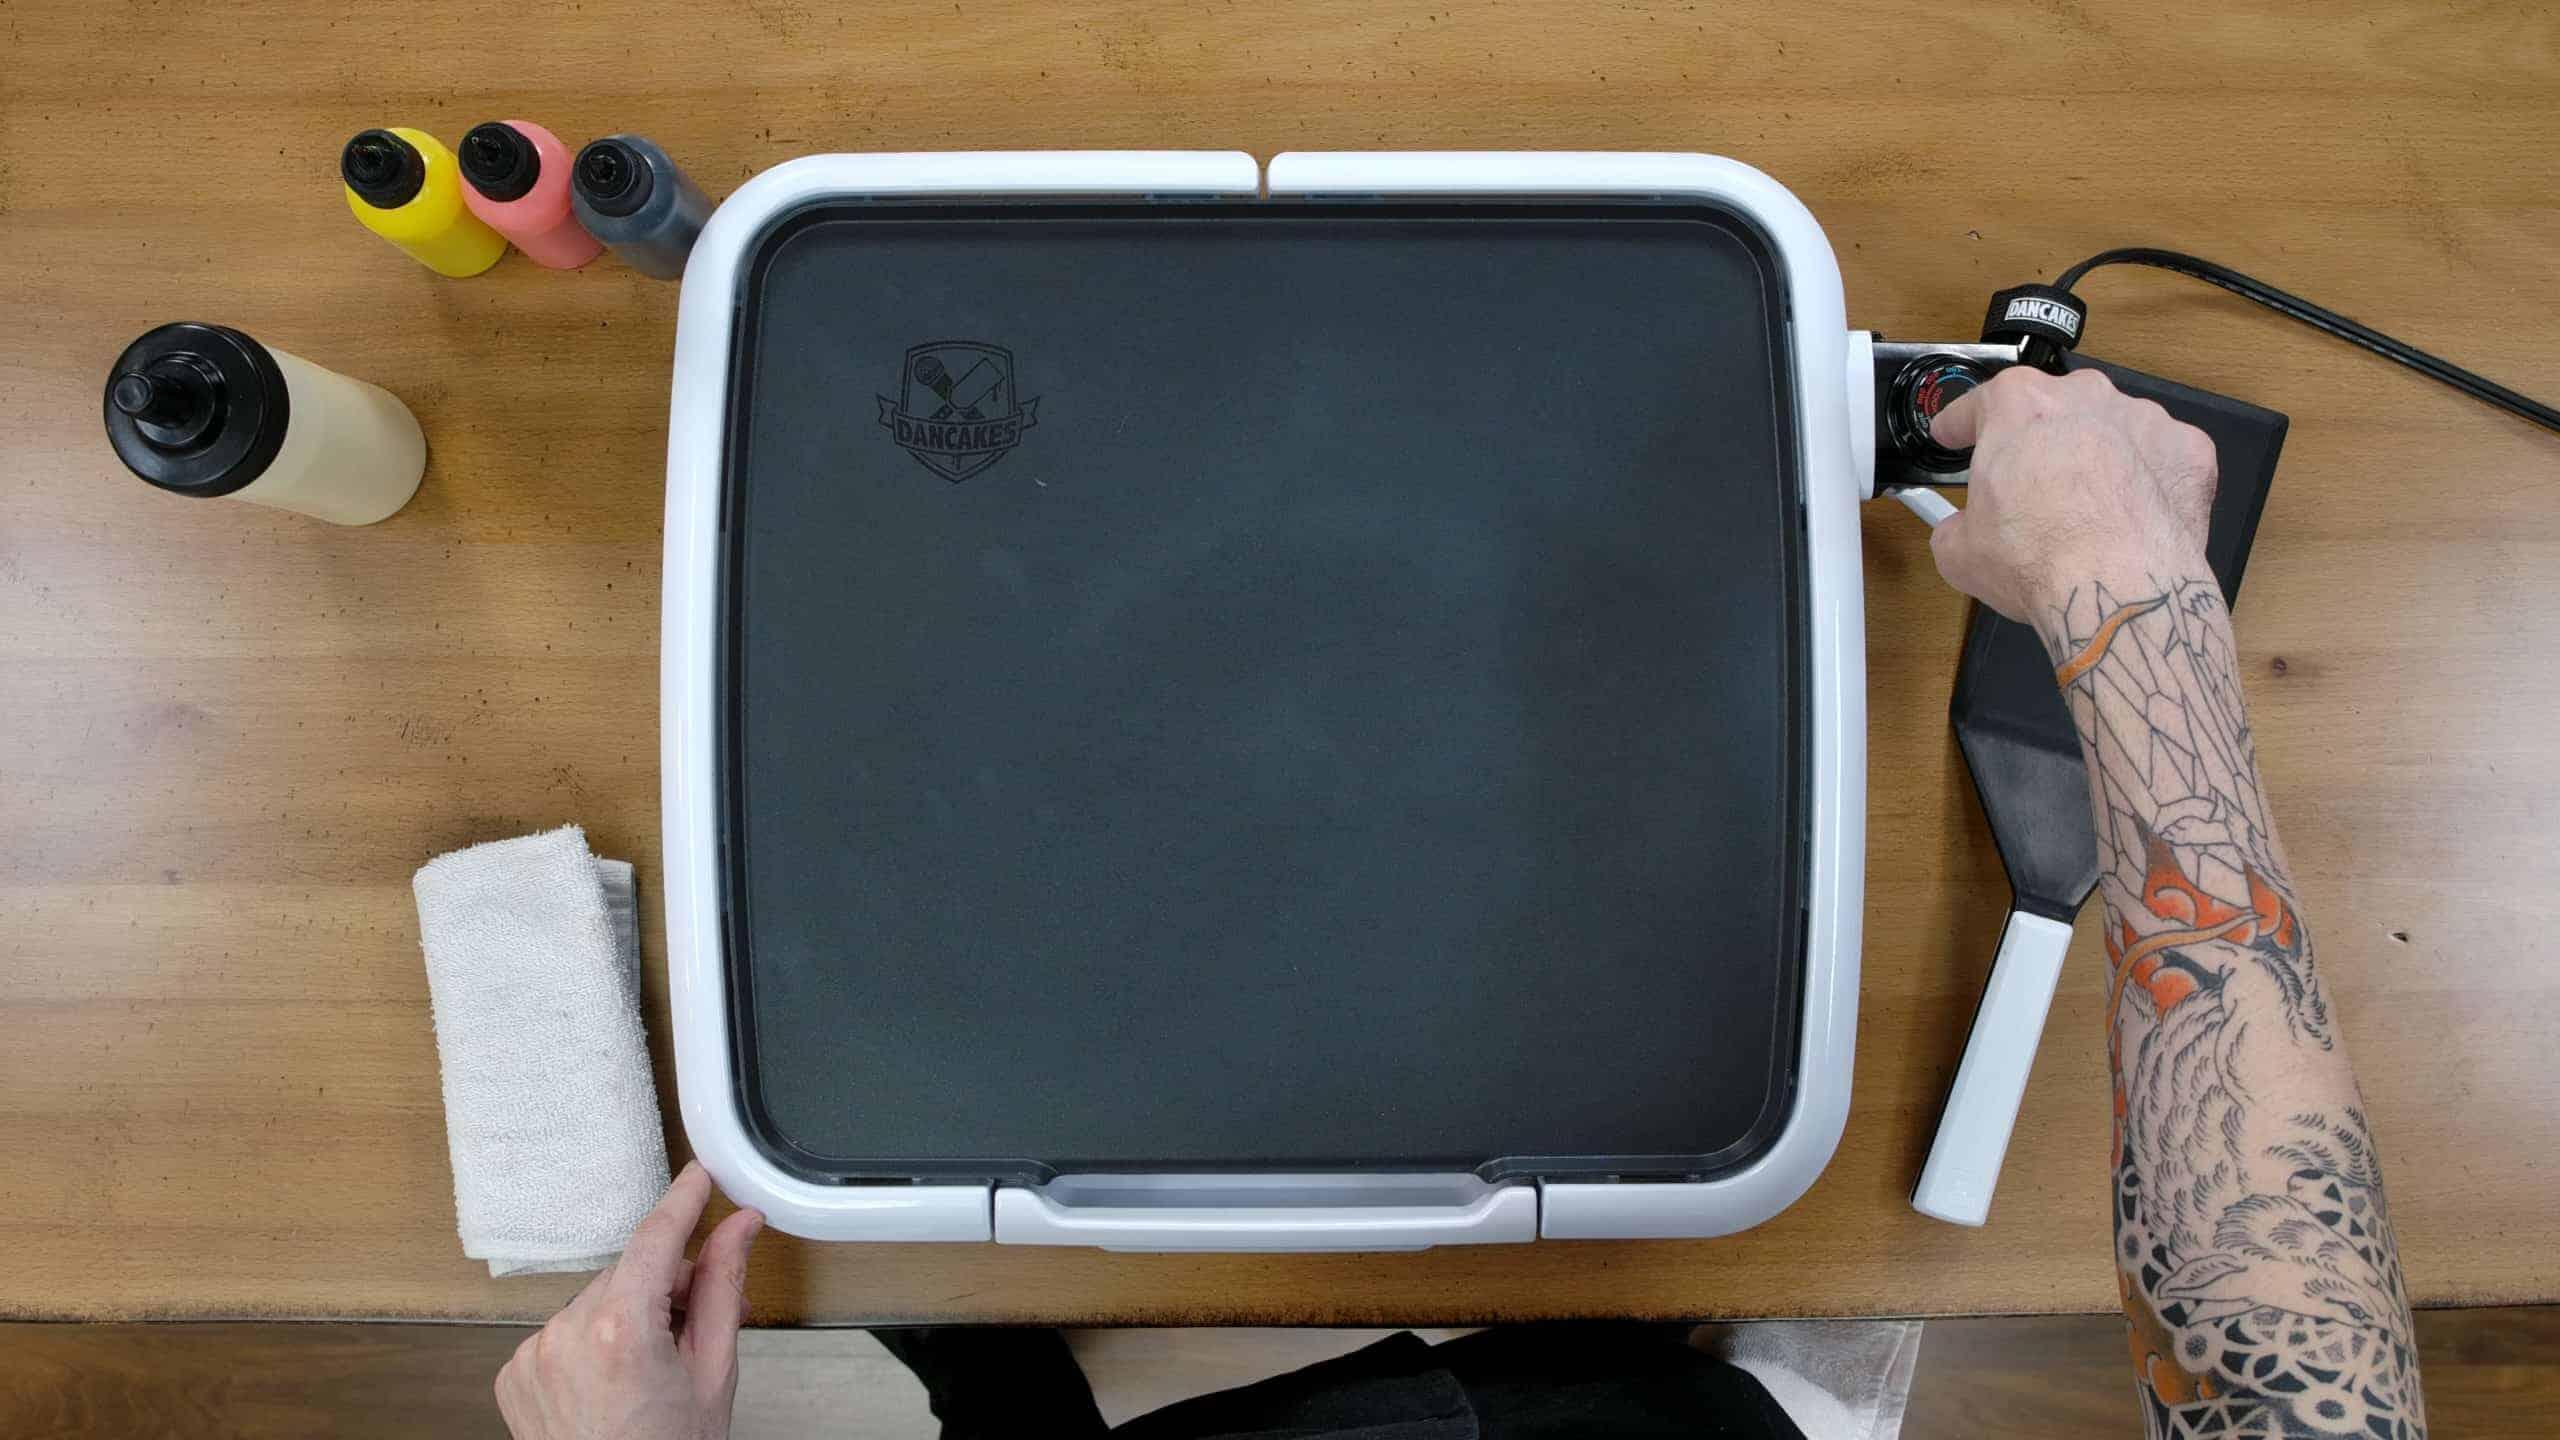
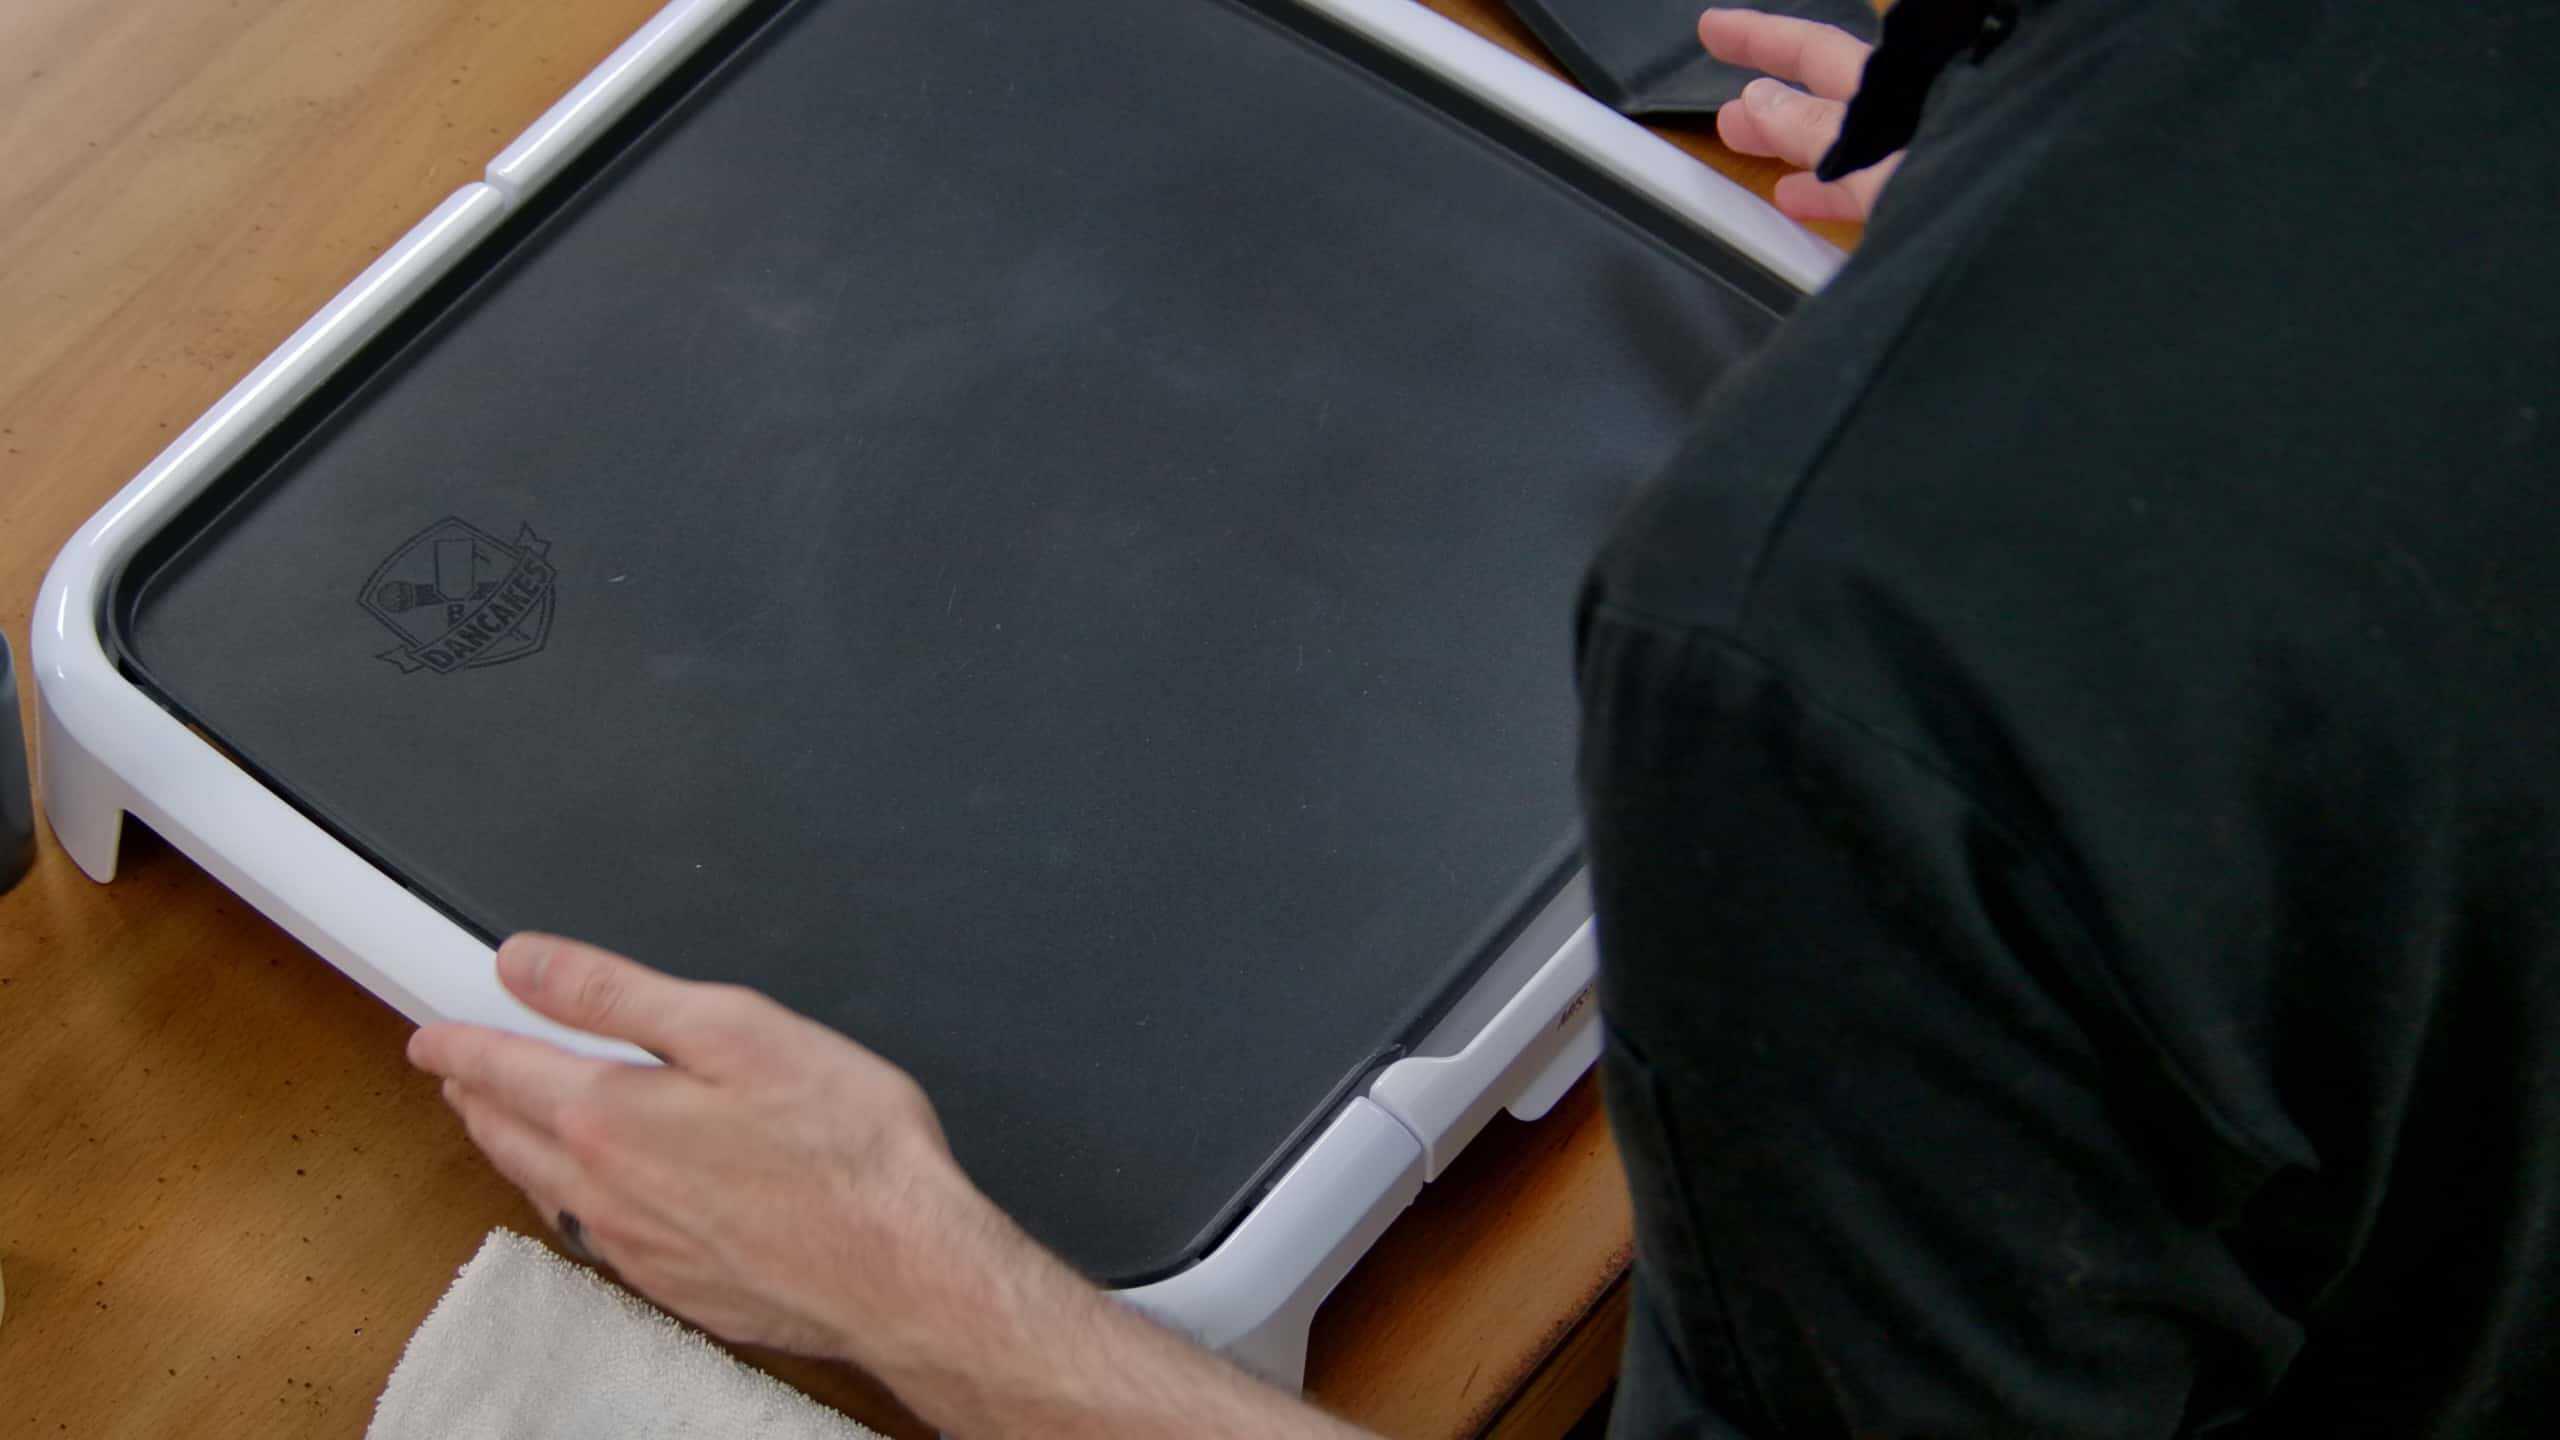
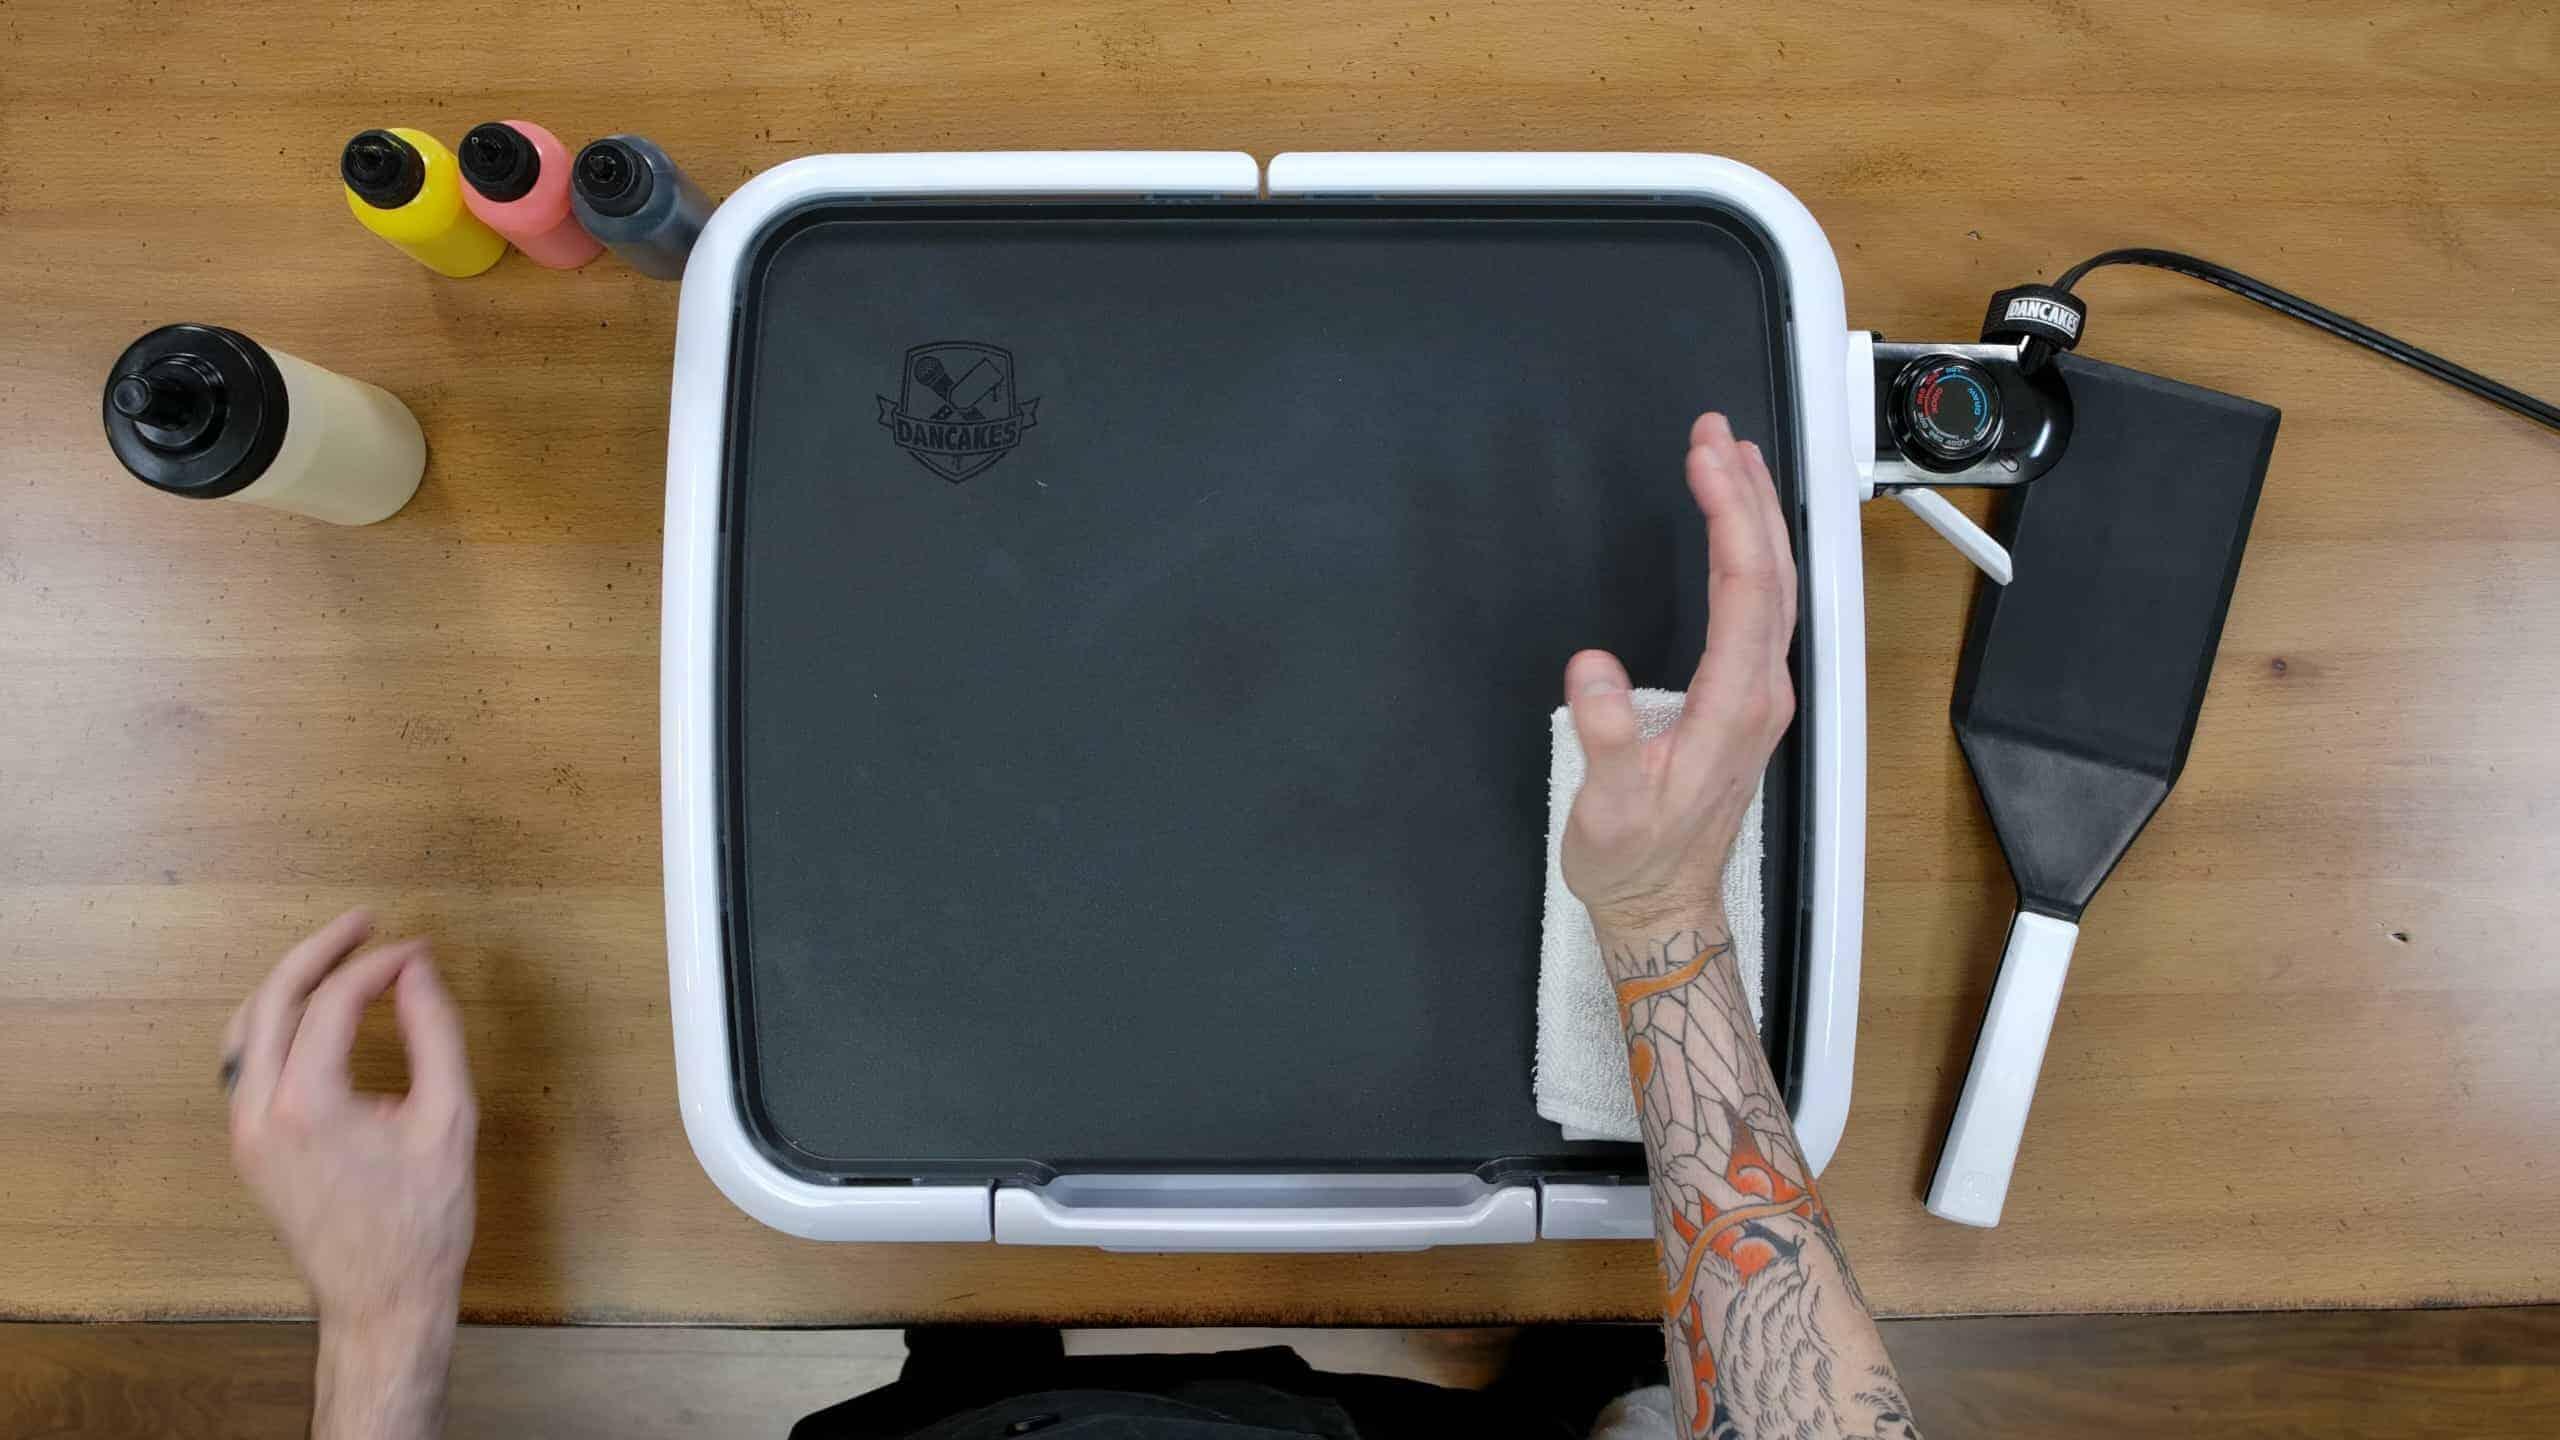
- A flat, heated cooking surface – such as a griddle, a pan, or a hot plate. We’ll be using a griddle in this guide – specifically the Dancakes Pancake Art Griddle, which is the centerpiece of our Dancakes Pancake Art Kit. We designed this griddle ourselves to offer a pancake art experience a cut above what every other residential griddle offers – featuring an even heating element, a smooth coating that leaves your art shiny and consistent, handles, a wide tray for ‘delicious mistakes’, and clearly delineated ‘draw’ and ‘cook’ settings so you’ll always cook your pancakes at the right temperature. You can make pancake art on just about any flat, heated surface though – there are a lot of talented artists who only use a skillet! It can take a bit more practice to manage the temperature of these, so whatever surface you cook on please be careful.
- At least 3 fine-tipped squeeze bottles or ‘Batter Pens’ – and (3) of these batter pens are included in the Dancakes Pancake Art Kit. You can also purchase these individually or in the Dancakes Palette Expansion Bundle on the Dancakes Store.
- A Spatula or Turner – and, once again, the Dancakes Pancake Art Kit includes a fantastic spatula that we designed specifically for pancake artistry…but any ol’ spatula ought to do (though you’ll want to avoid metal tools if you don’t want to damage your cooking surface).
- Finally, you’ll want to have a plate handy so you’ve got somewhere to put your pancake art design when you’ve finished the process! And it’s also handy to have a few hand towels/washcloths lying around, for clean-up and resting your hand.
Once you’ve gathered all of these tools, we can begin. This is a six part guide, each step of which will cover a different part of the pancake art process. These parts are as follows:
- Mixing Batter For Pancake Art – Recipes, ratios, and the ideal consistency
- Coloring Pancake Batter – How to mix beautiful colors for your pancake art designs
- Tips For Drawing With Pancake Batter – A few solid tips for how to draw with pancake batter that will help you grow as an artist
- The Fun Part – A quick walkthrough of a simple Heart Eyes Emoji pancake art design
- Cooking, Carving, and Flipping – How to complete the process once you’ve drawn your design
- Plating and Serving – A fun outro with plating tips (more useful than you might think) plus some suggestions for future pancake adventures!
So, without further ado, let’s begin!

Dancakes 101 - The Best Way To Make Pancake Art 🥞👨🎨
Curious about pancake art? Want to learn? We're going to teach you the basics so you can get started.
Step 1
MIXING BATTER FOR PANCAKE ART:
Pancake Batter is such a simple thing, it’s no surprise that there are so many different ways to make it! Buttermilk, buckwheat, sourdough, cake batter, vegan, gluten free, kosher and parve, not to mention cultural twists and flavorings that can be found in almost every culture on the planet.
Here at Dancakes, though, we try to keep things as simple as we can. We use a store-bought just-add-water buttermilk pancake mix as we’ve found that this is the most convenient and dependable way to arrive at the perfect consistency for pancake art batter. And, as we said in the intro – CONSISTENCY IS KEY! It’s the most important consideration when it comes to making pancake art. Most (not all) recipes will work just fine if you’re able to get the batter to a consistency fine enough that it can smoothly pass through the very fine tips of our batter pens. If you find your batter is too thick, clumpy or sludgy, you can usually add liquid or water to thin it out, and if you find your batter is too thin or watery, you can add more flour, powder, mix, or whatever your dry ingredient base happens to be, to absorb some of that excess moisture and thicken it up.
The ‘Golden Ratio’ with regards to our store-bought just-add-water method is about 2 1/2 cups of liquid (water) to 4 cups of dry powder (pancake mix). Now, this ratio isn’t always the same depending upon the brand of batter mix that you’re working with, or the from-scratch recipe that you’ve decided to use, and so it may take some tinkering on your end. And that’s okay! At Dancakes we always try to stay mindful that Mistakes Are Delicious! You’re learning a new skill, and you’ll get better at ‘sensing’ the right consistency with your favorite recipes the more you practice with pancake art.
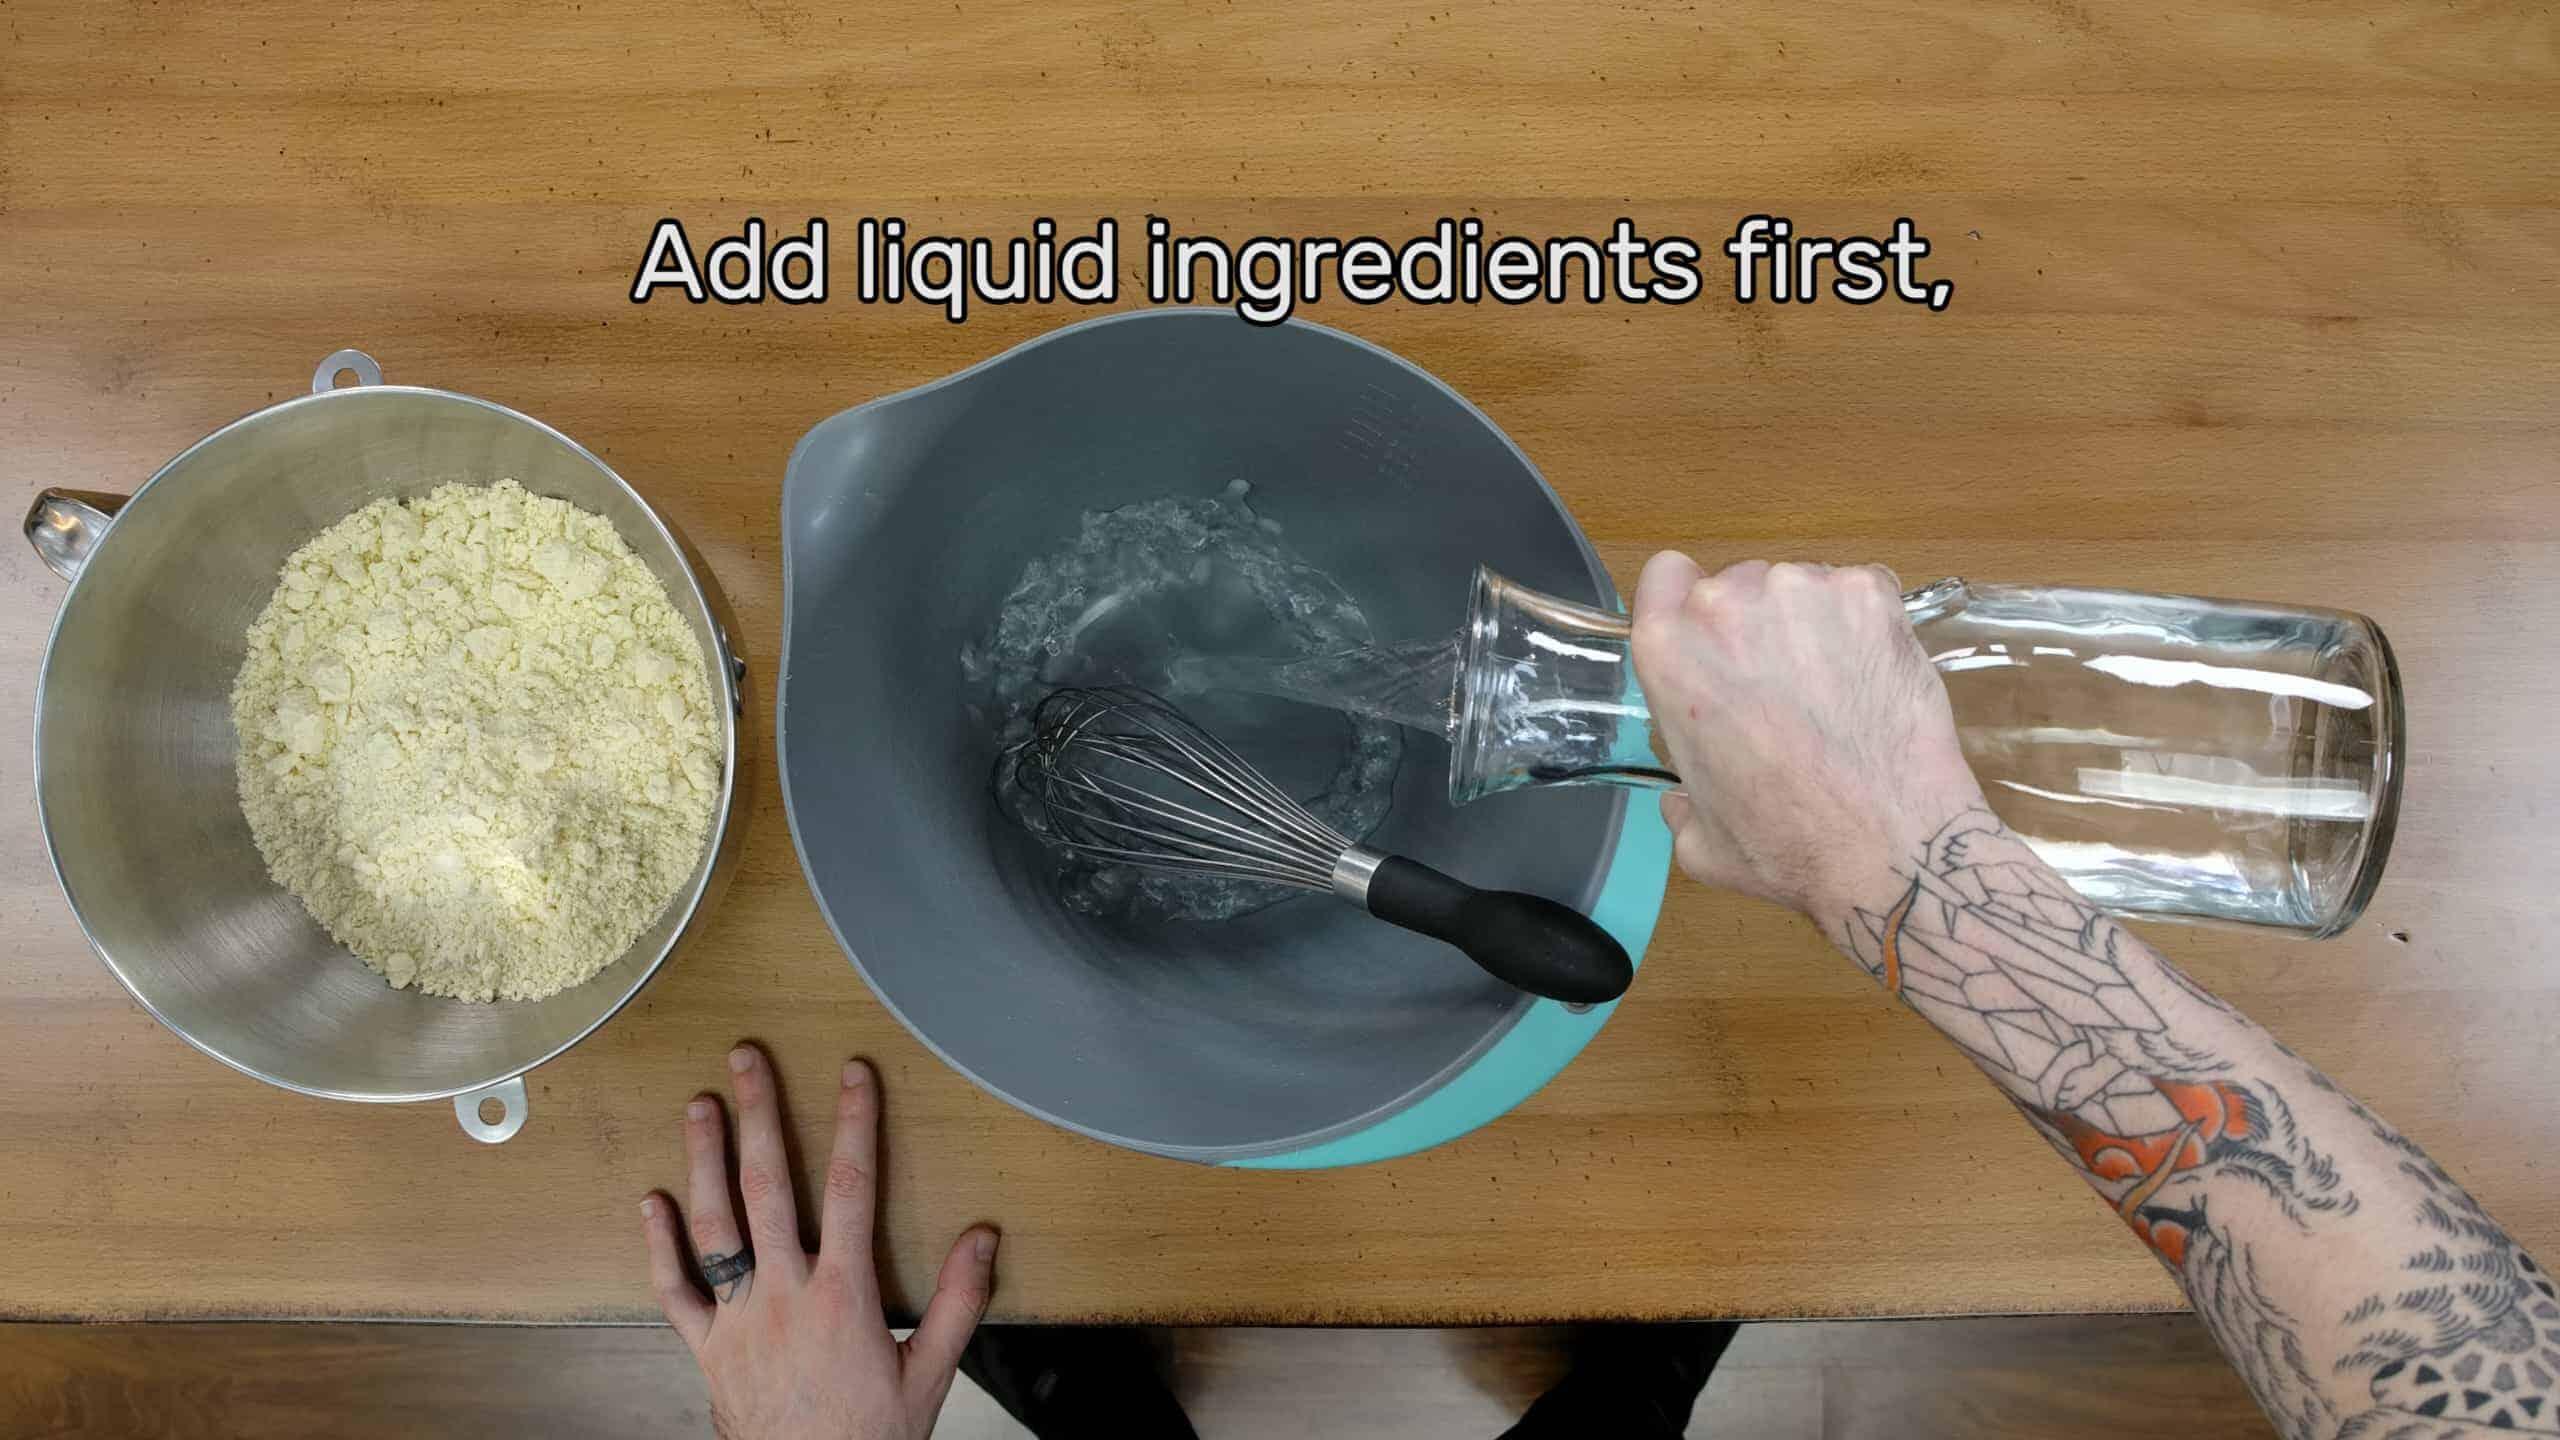
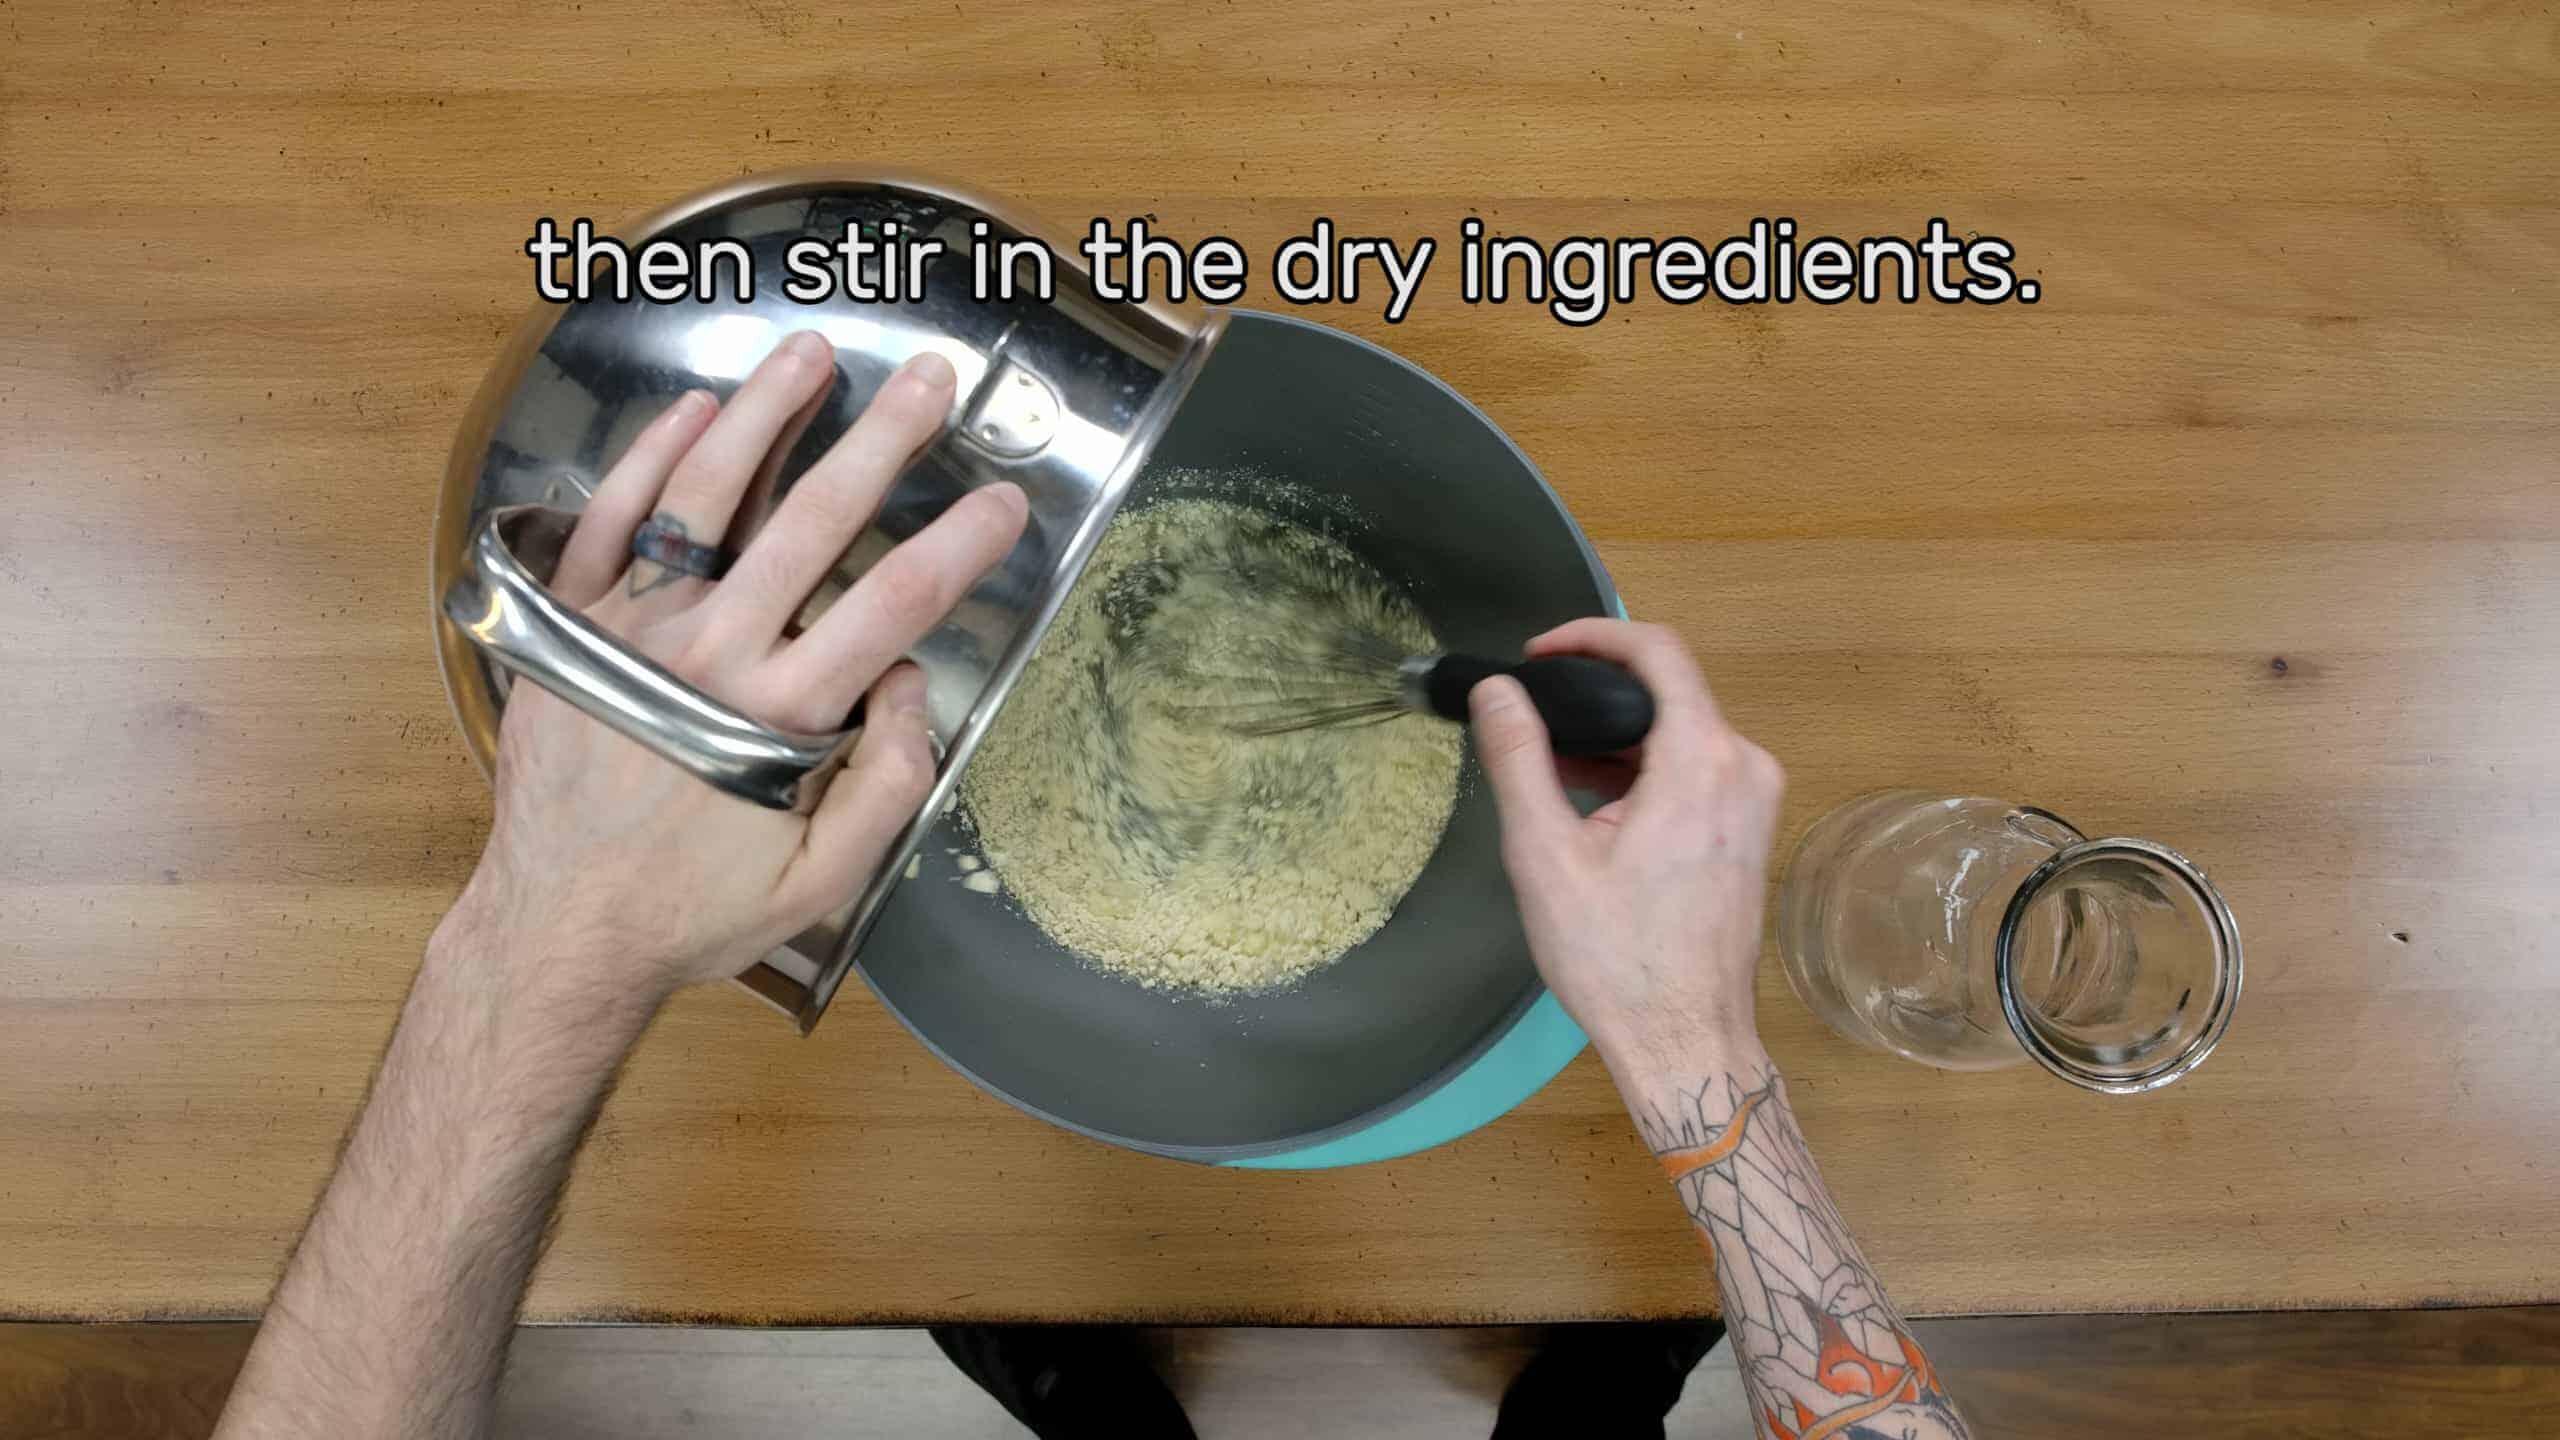
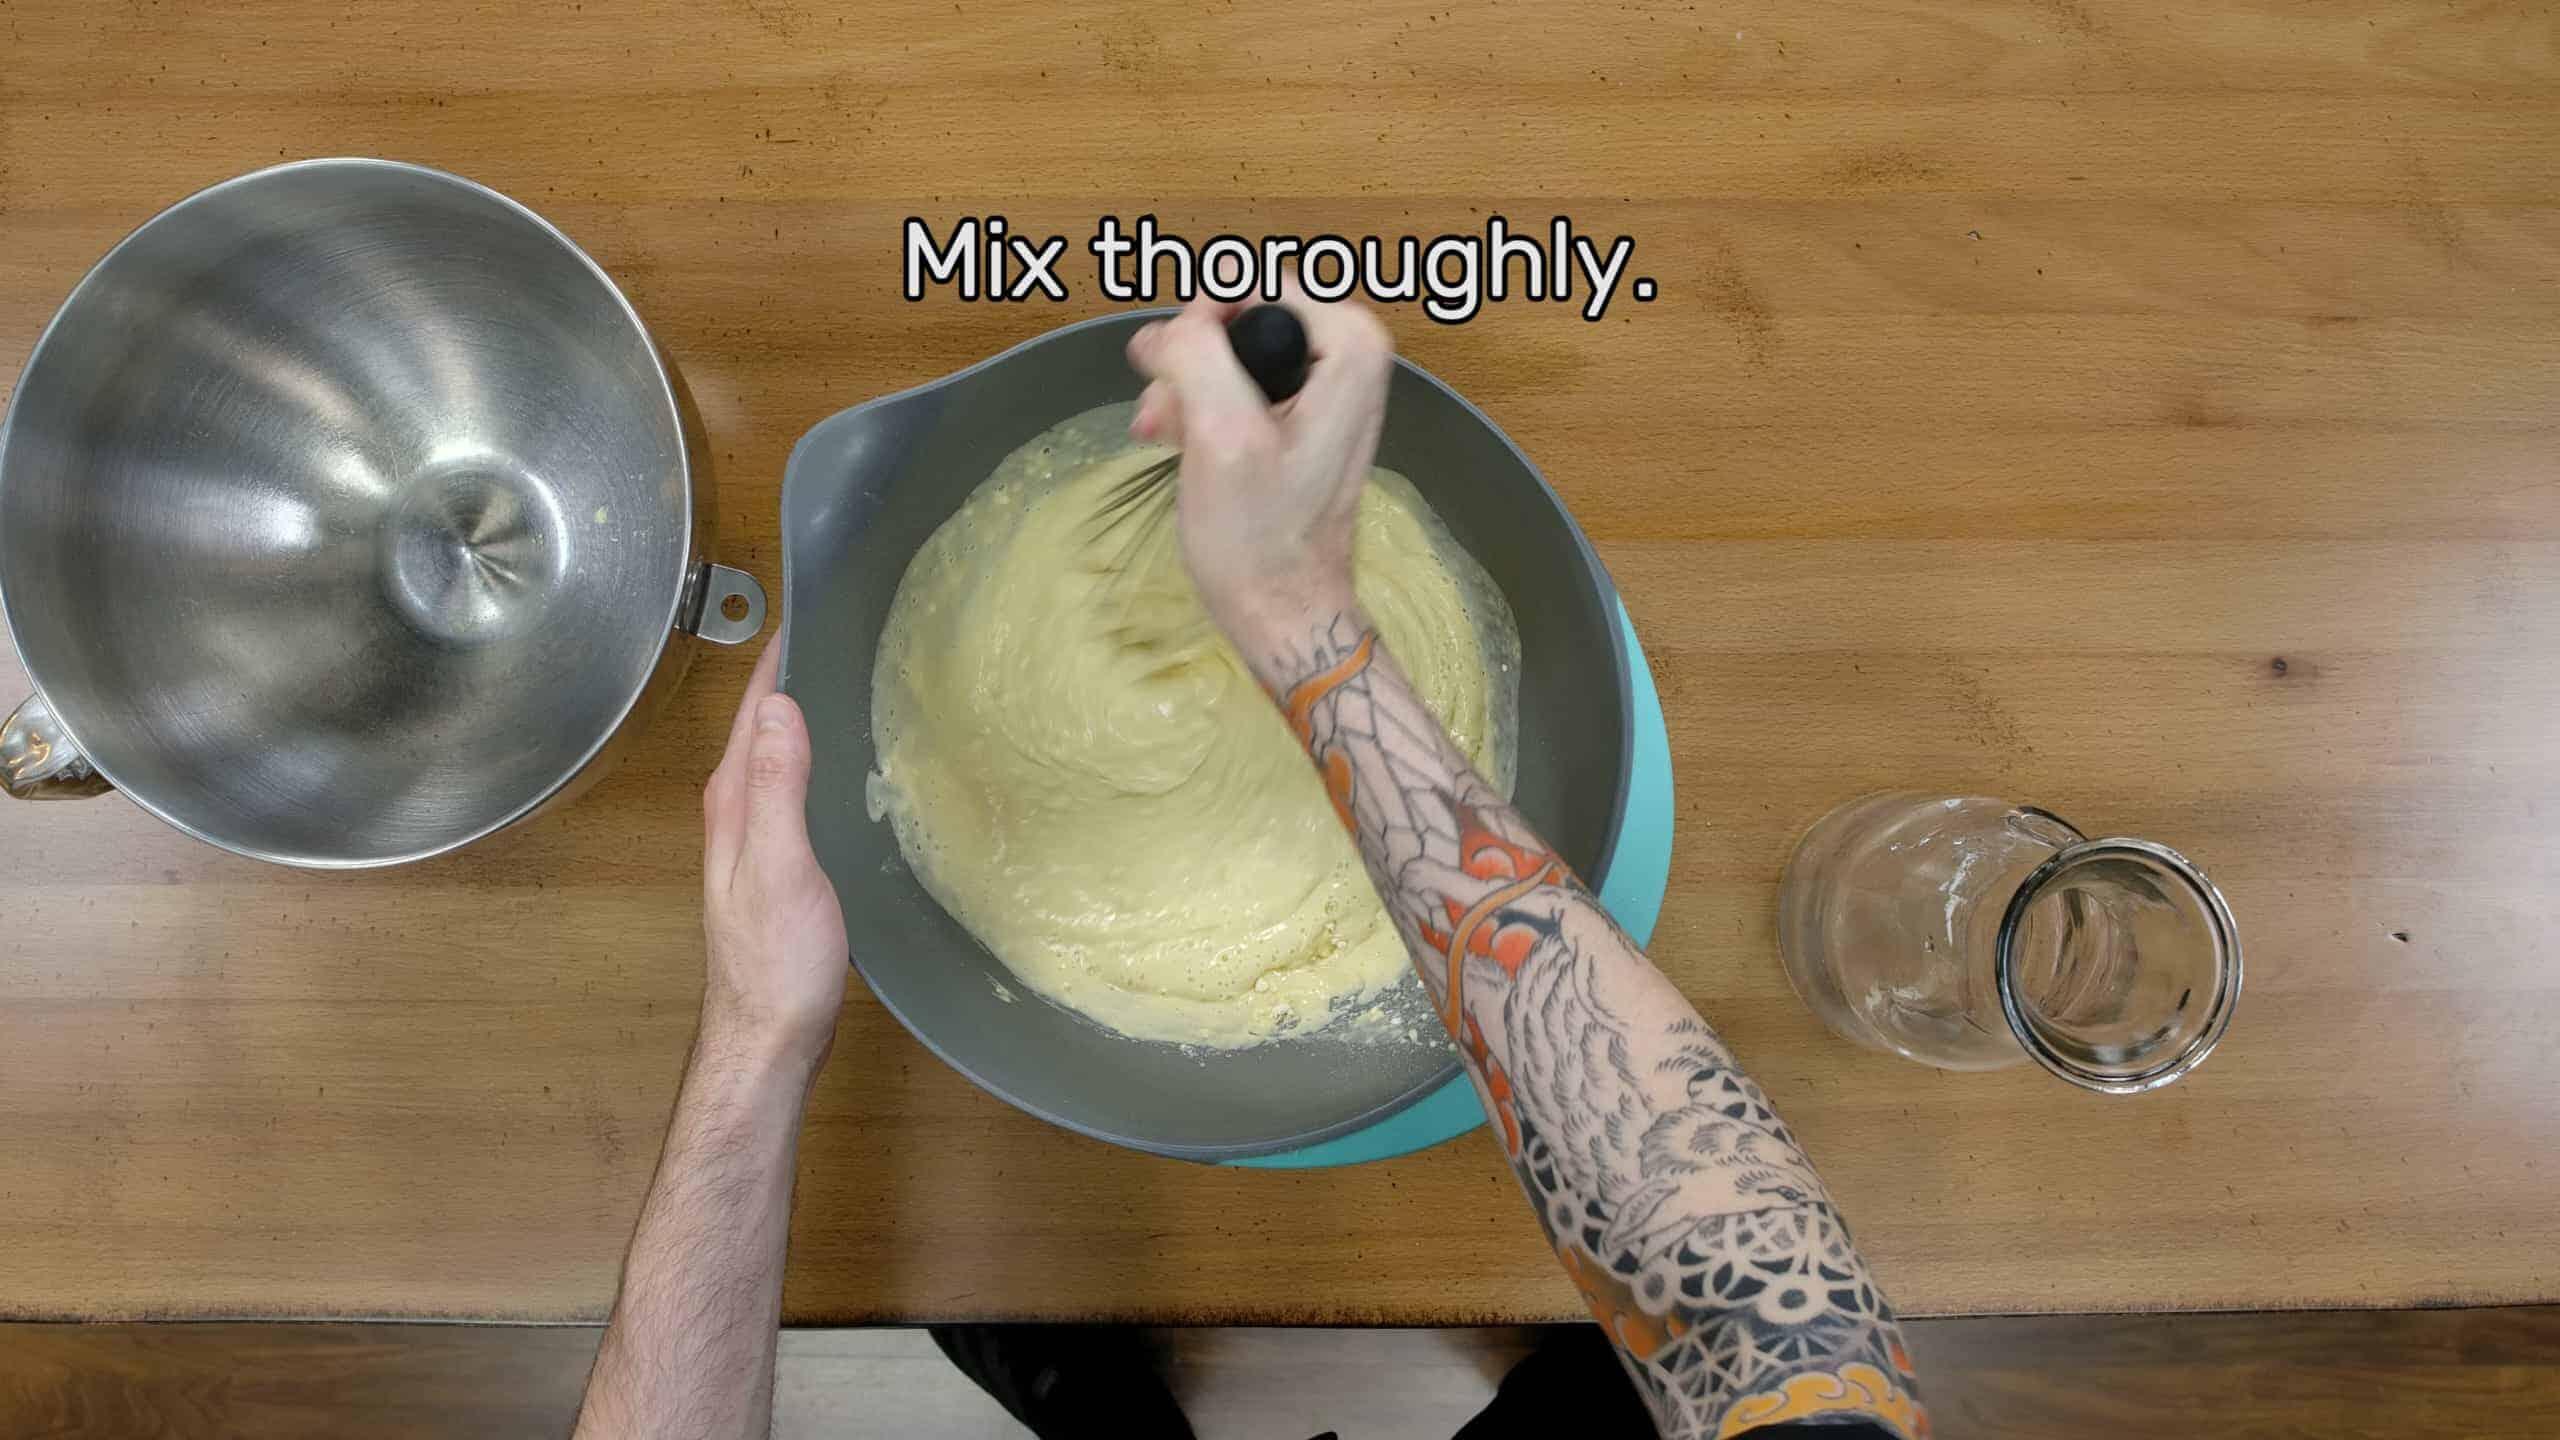
Once you’ve got your ingredients, we always recommend adding the liquids to your mixing bowl first – this will help keep your dry ingredients from clumping against the sides of the bowl (which they tend to do if you pour the liquids over them). After that, stir your dry ingredients into the mixing bowl, and keep stirring! Many classic pancake recipes will assert that you should not over-mix your pancake batter, but not this time! It’s very important that you mix thoroughly, so that every clump is worked out and the mixture is a smooth, even consistency throughout.
For communication’s sake we try to tell students that you’re aiming for approximately the consistency of ketchup – something that is not so thin it’s watery, but thin enough that you can squeeze it out of a bottle intentionally.
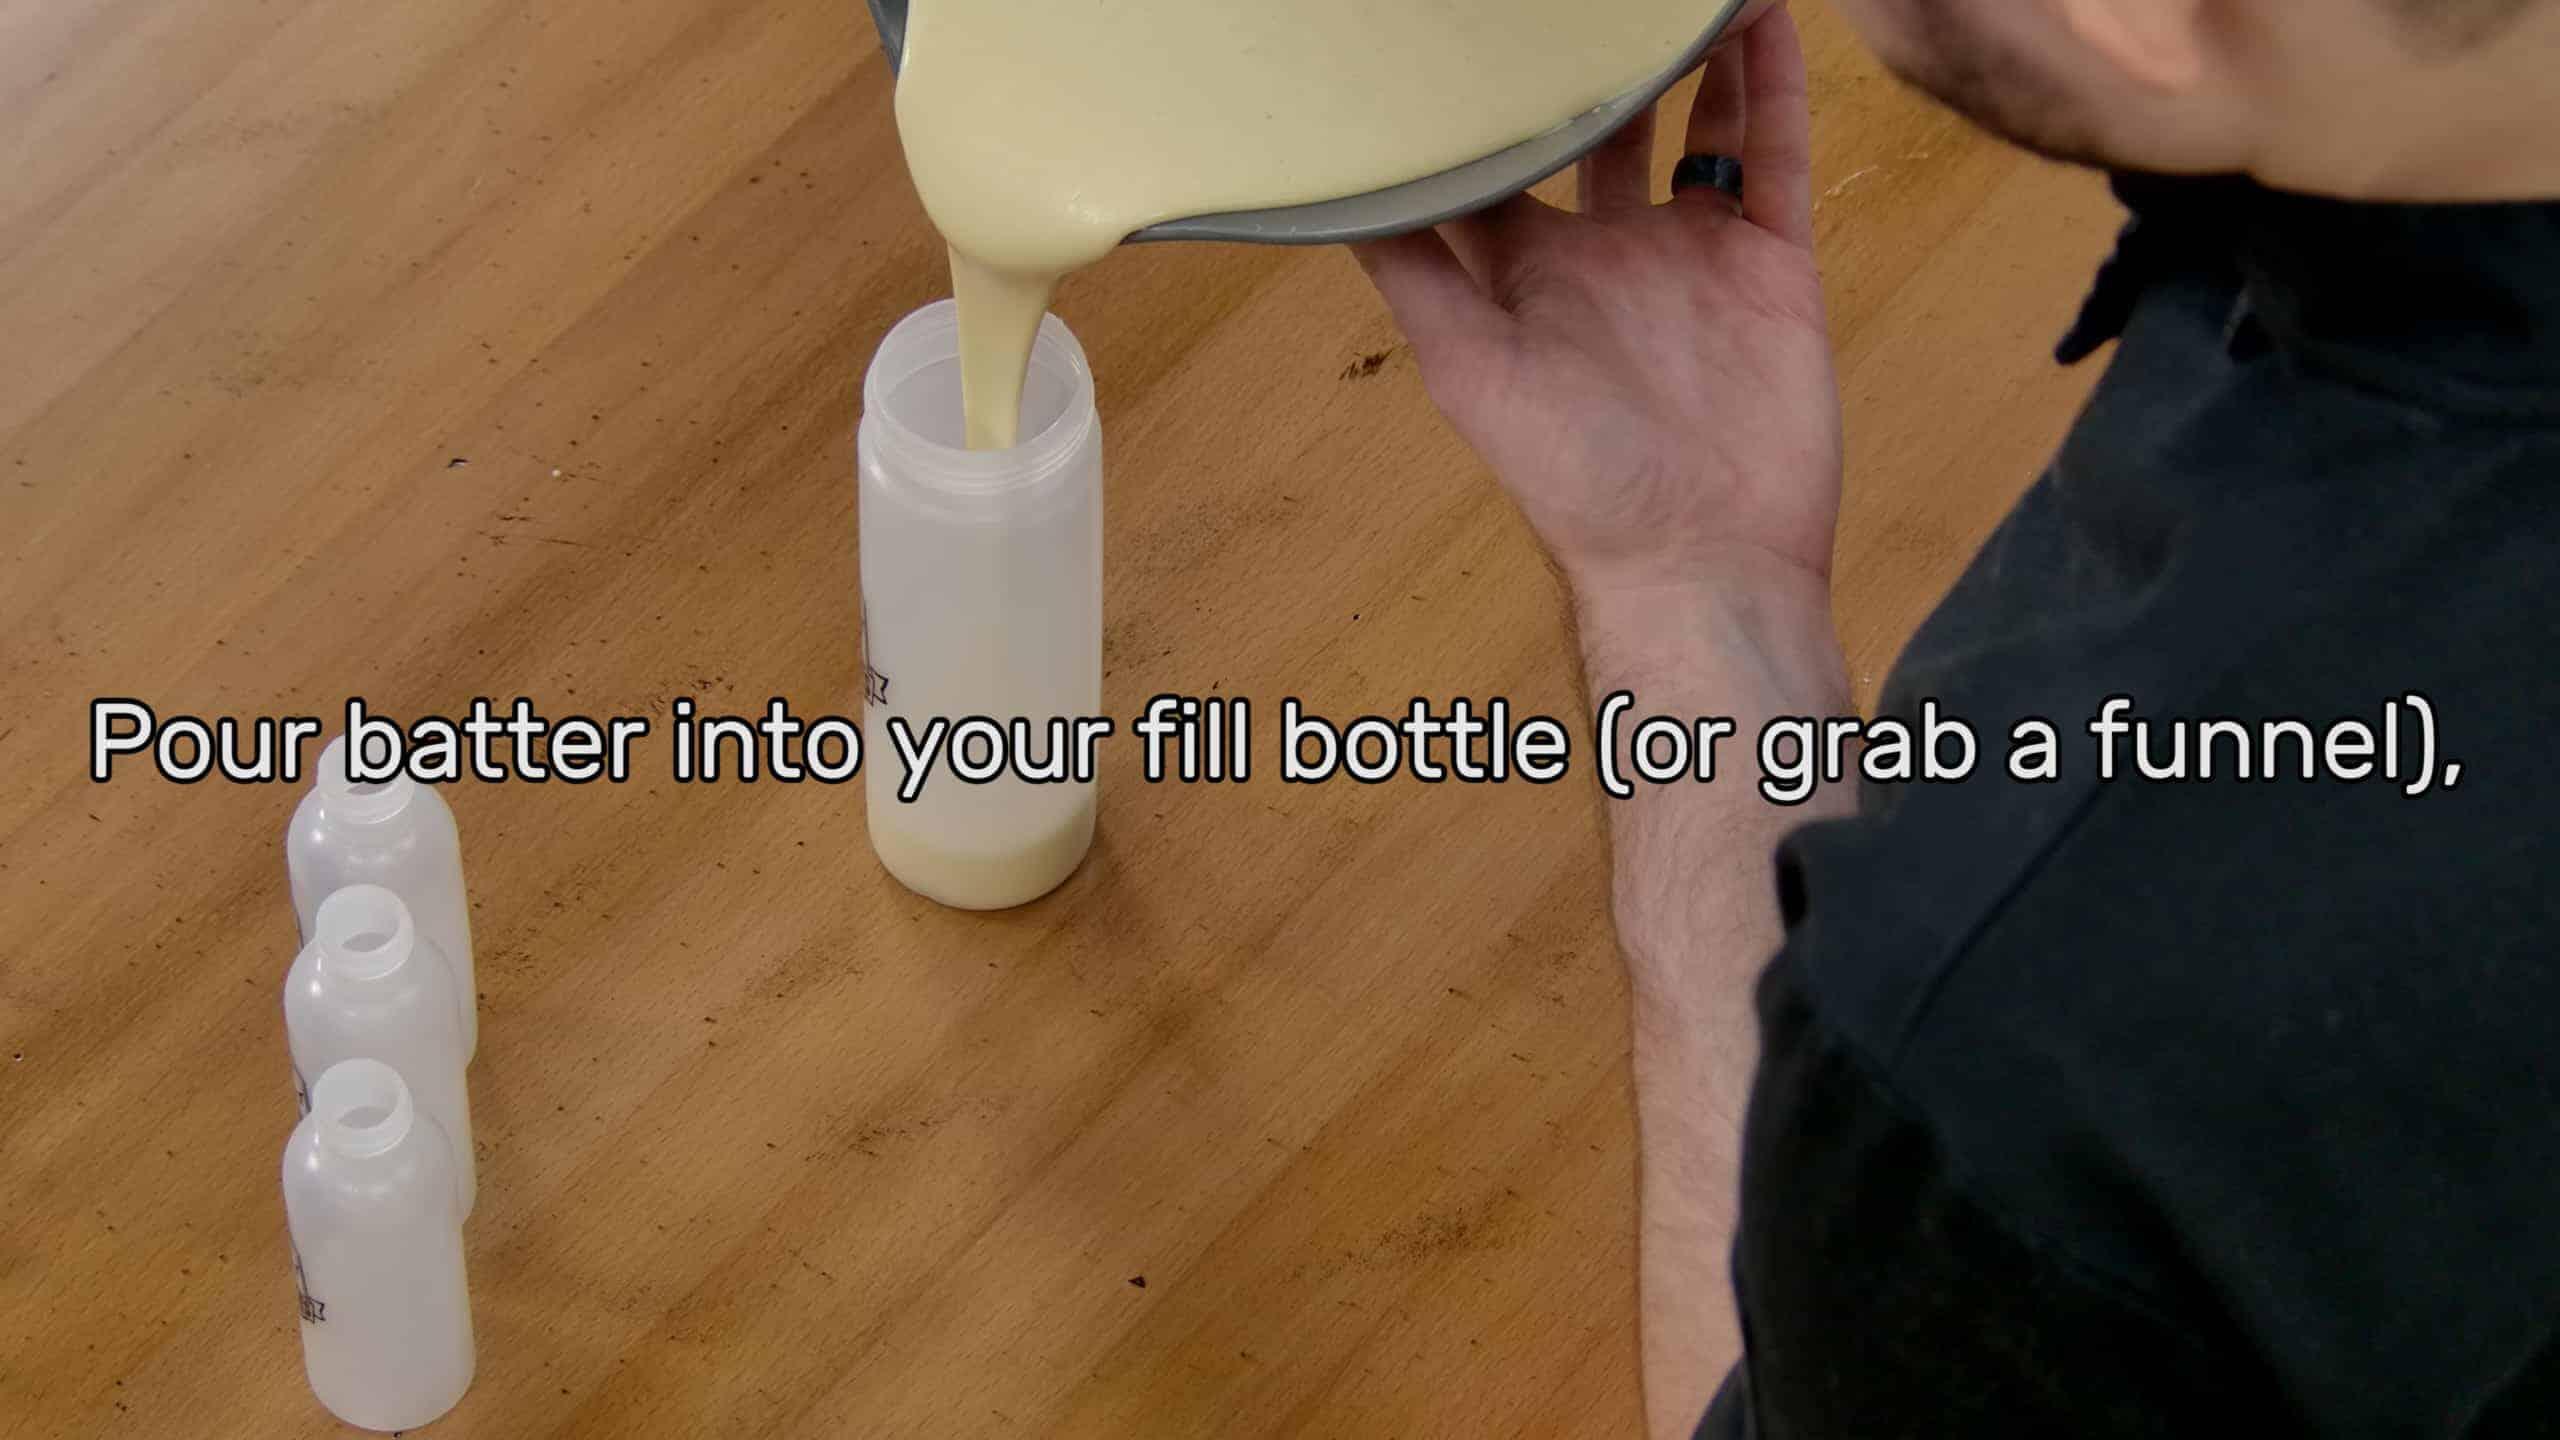
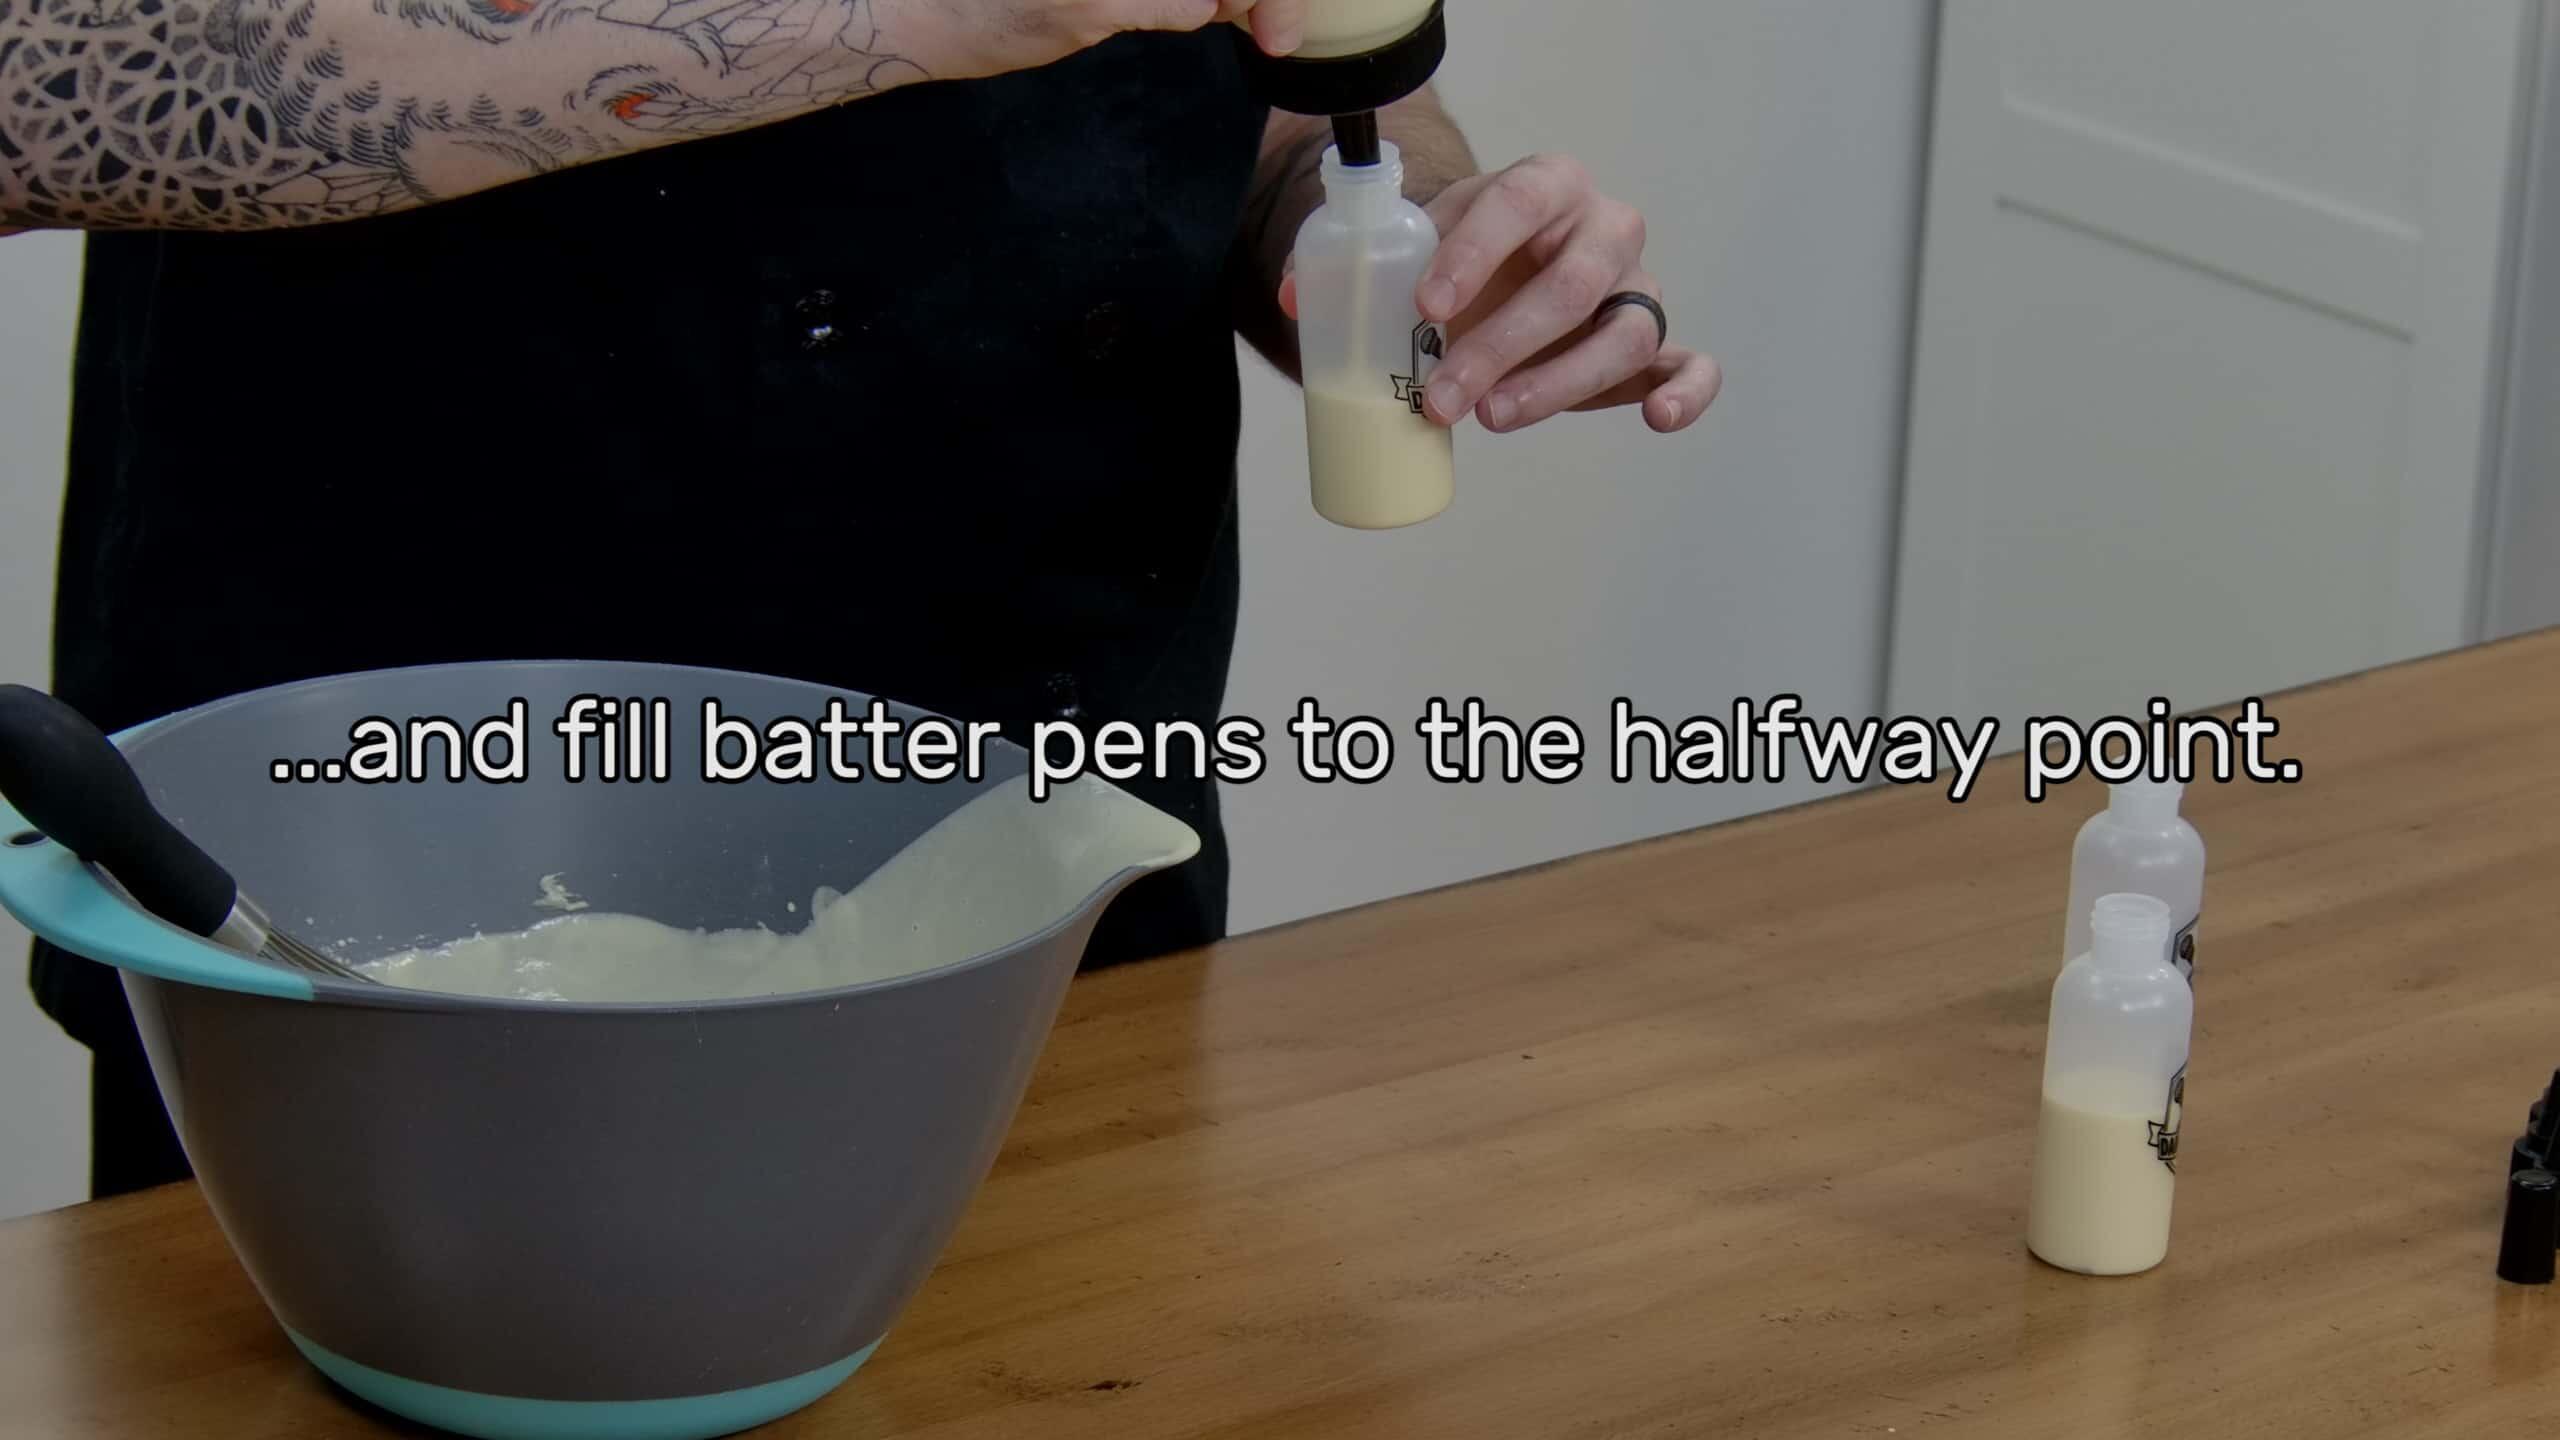
Once you’ve mixed your batter to a satisfying consistency, you’ll want to pour some into your batter pens, filling them approximately halfway. We use the Dancakes fill bottle to do this, which makes the process a bit easier and more precise, but you can do this just as well with a spout or a funnel (though you’ll want to be careful and try not to make a mess of things). After that, it’s on to coloring!!
Step 2
COLORING PANCAKE BATTER:
Once you’ve got your batter all mixed up it’s time to make that batter pop! We’re going to start adding color now. There are a couple of different ways to color pancake batter – in fact, you can even do pancake art with batter that hasn’t had any colors added (through a technique called heat-toning – not for the faint of heart!). And if you’re picky about artificial coloring, most natural color methods work pretty well with pancake batter, especially reds, yellows, browns and blacks (beets, turmeric, and cocoa powder respectively). In this guide, though, we’ll be focusing on what’s known as Gel Food Coloring, also referred to as Icing Gels (because they’re used by professional confectioners to add bright colors to cake icing). We like to use gel coloring because they pack a huge amount of bright color into a very small amount of actual gel, so you can get brilliant, rich colors of every hue without altering the flavor or – and this is key – the consistency. Liquid food coloring (that is to say, non-gel food coloring) can be used, but you often need to use so much of it that by the time you’ve got a color you like your batter is runny and tastes weird – yuck!
Before you add your colors you’ll want to have an idea of what it is you want to make as a pancake art design. For this design guide we mixed Yellow, Red, and Black batters, so that we can draw a very simple Heart-Eyes Emoji (yellow for the face, red for the heart-eyes, and black for the outlines).
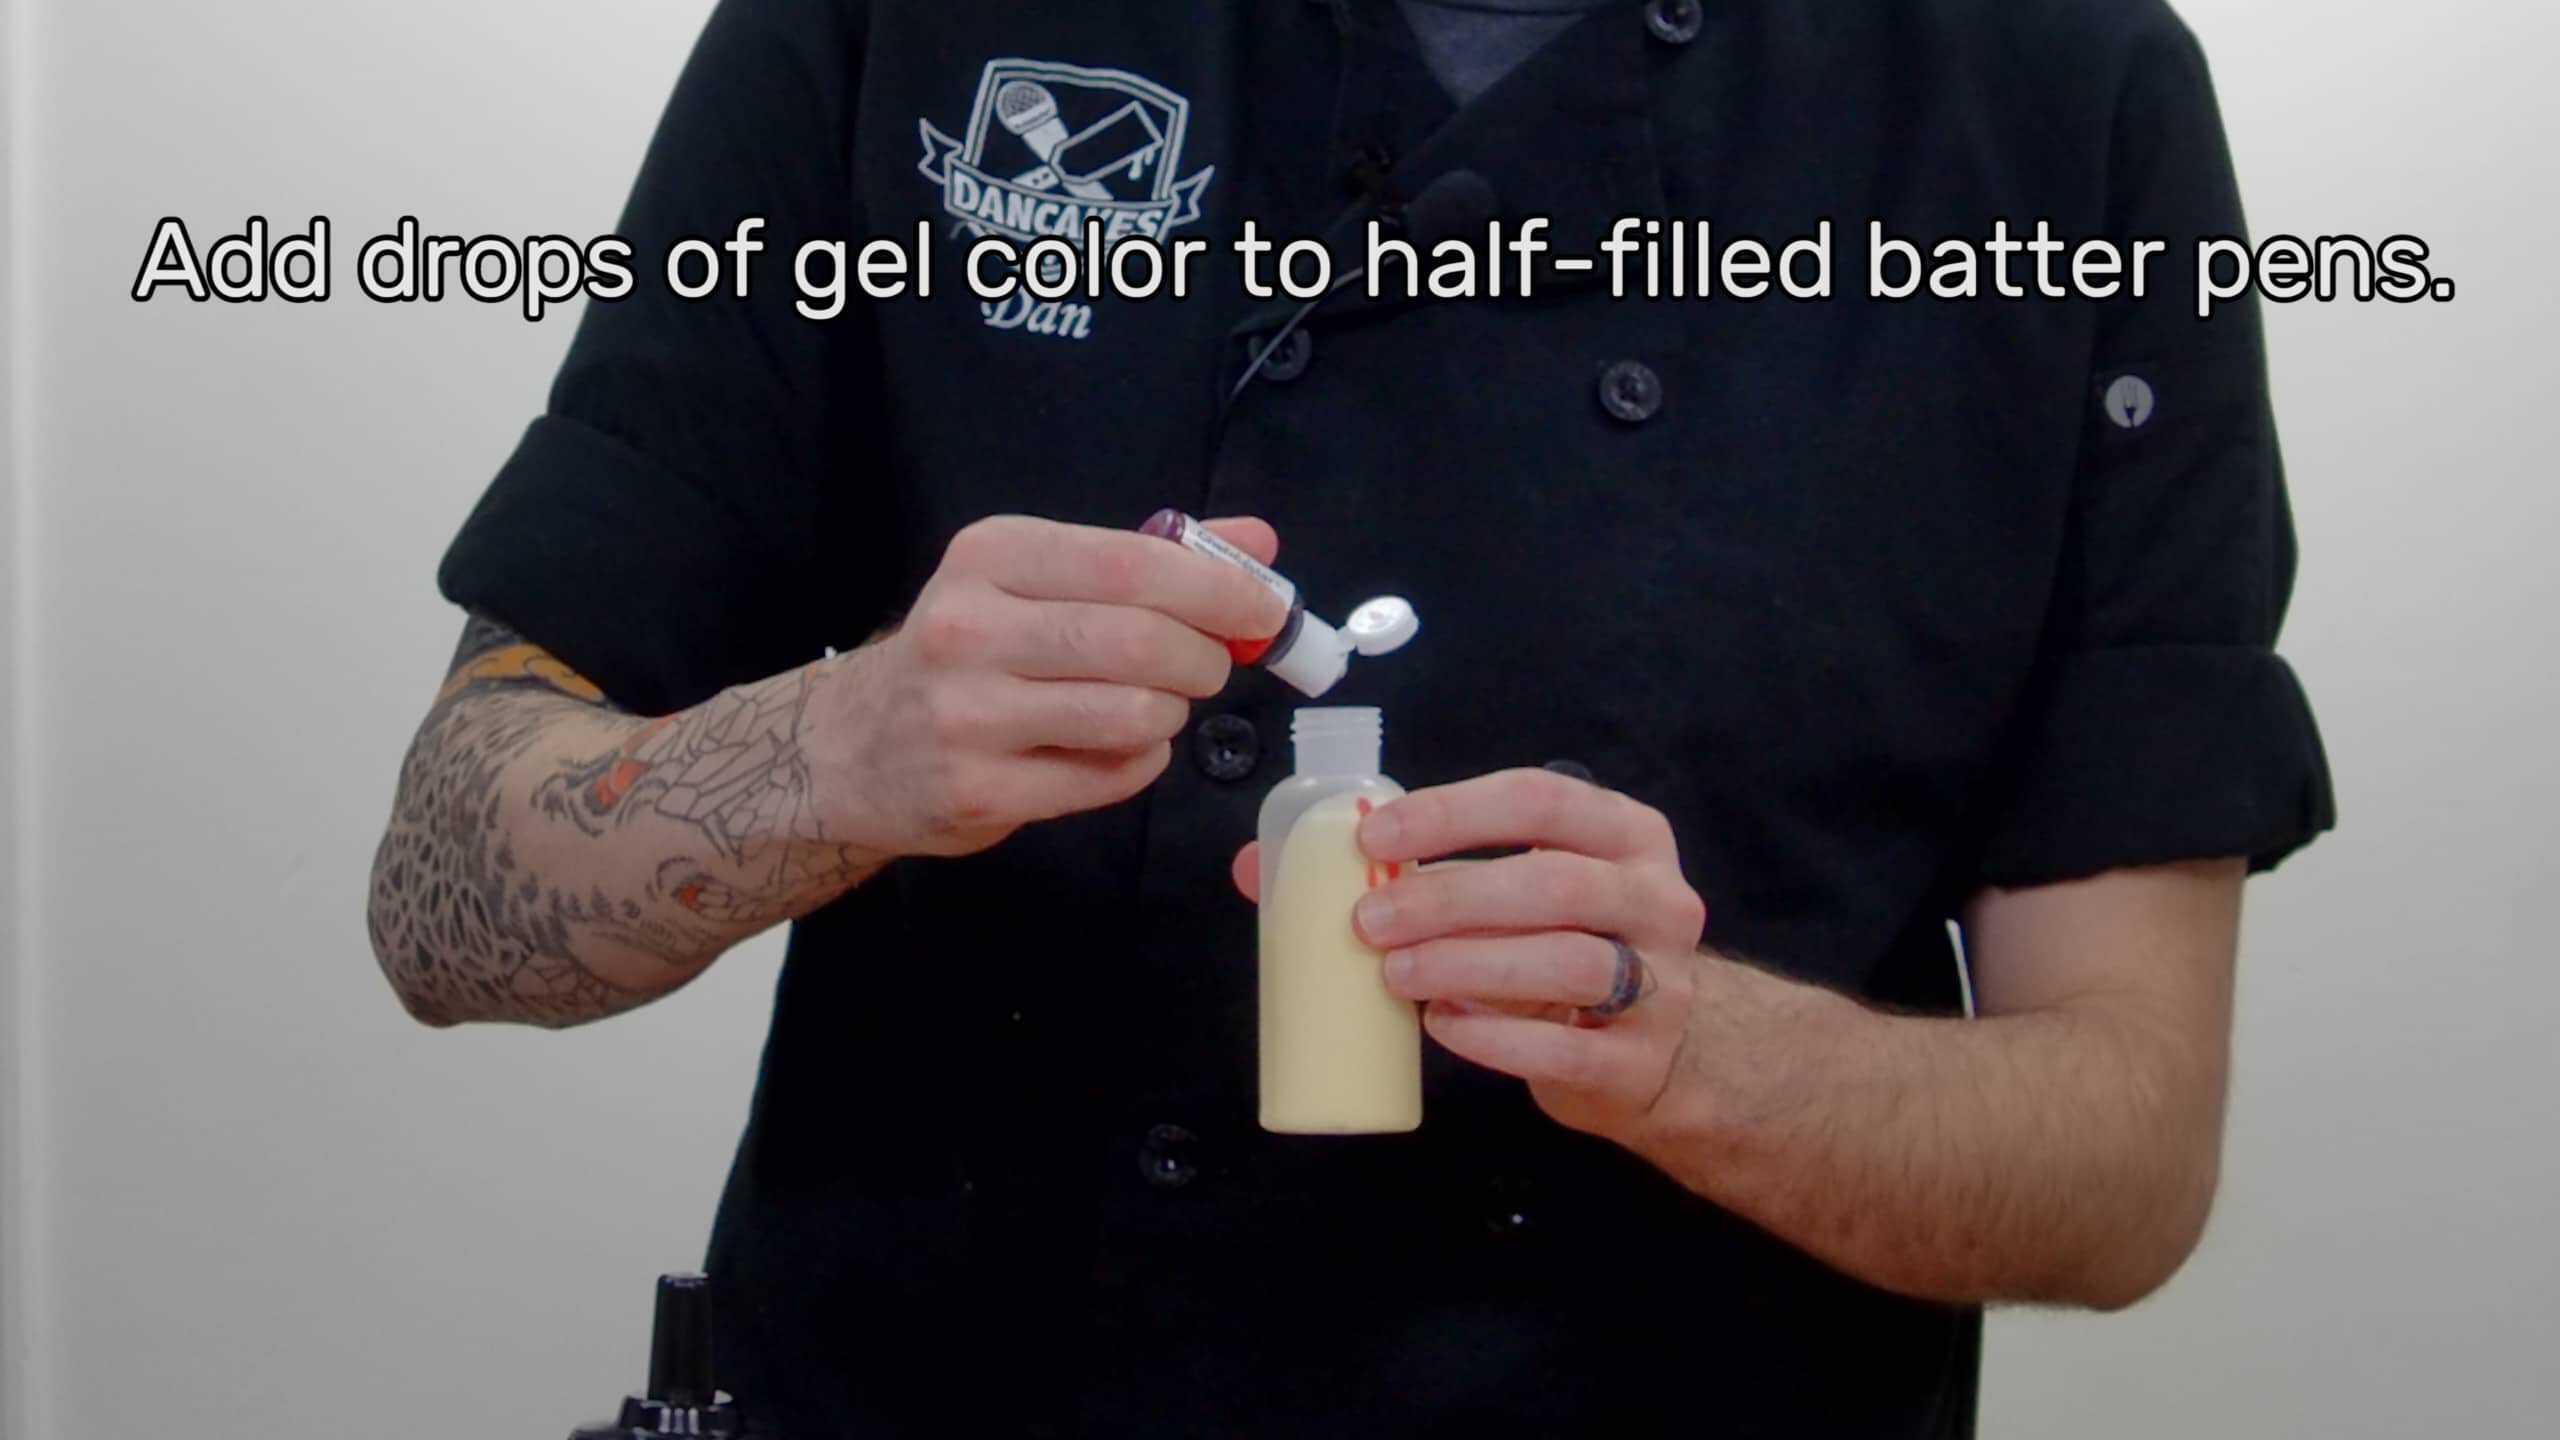
We add gel colors directly to our half-filled batter pens, and in each pen we’ll be mixing a different color. The amount and combinations of drops of gel colors that you’ll add to a pen will depend upon the color of batter you’re trying to produce. For instance, if you want to create a pink hue, then you may add a single drop of red gel to a pen. If you want a richer, more saturated red, you’ll add a few more drops – the more you add, the deeper the color will be. As you experiment with colors and hues you’ll find that sometimes you want to mix different gel colorings in the same batter, such as by adding yellow to green to create more of a ‘lime green’. Experimenting with color combinations is one of many ways in which your creativity can run wild, and we encourage you to try it all.
Pro tip: If you add a drop or two of white gel coloring to any other color of batter, it tends to make that batter cook more brightly. The more you know!
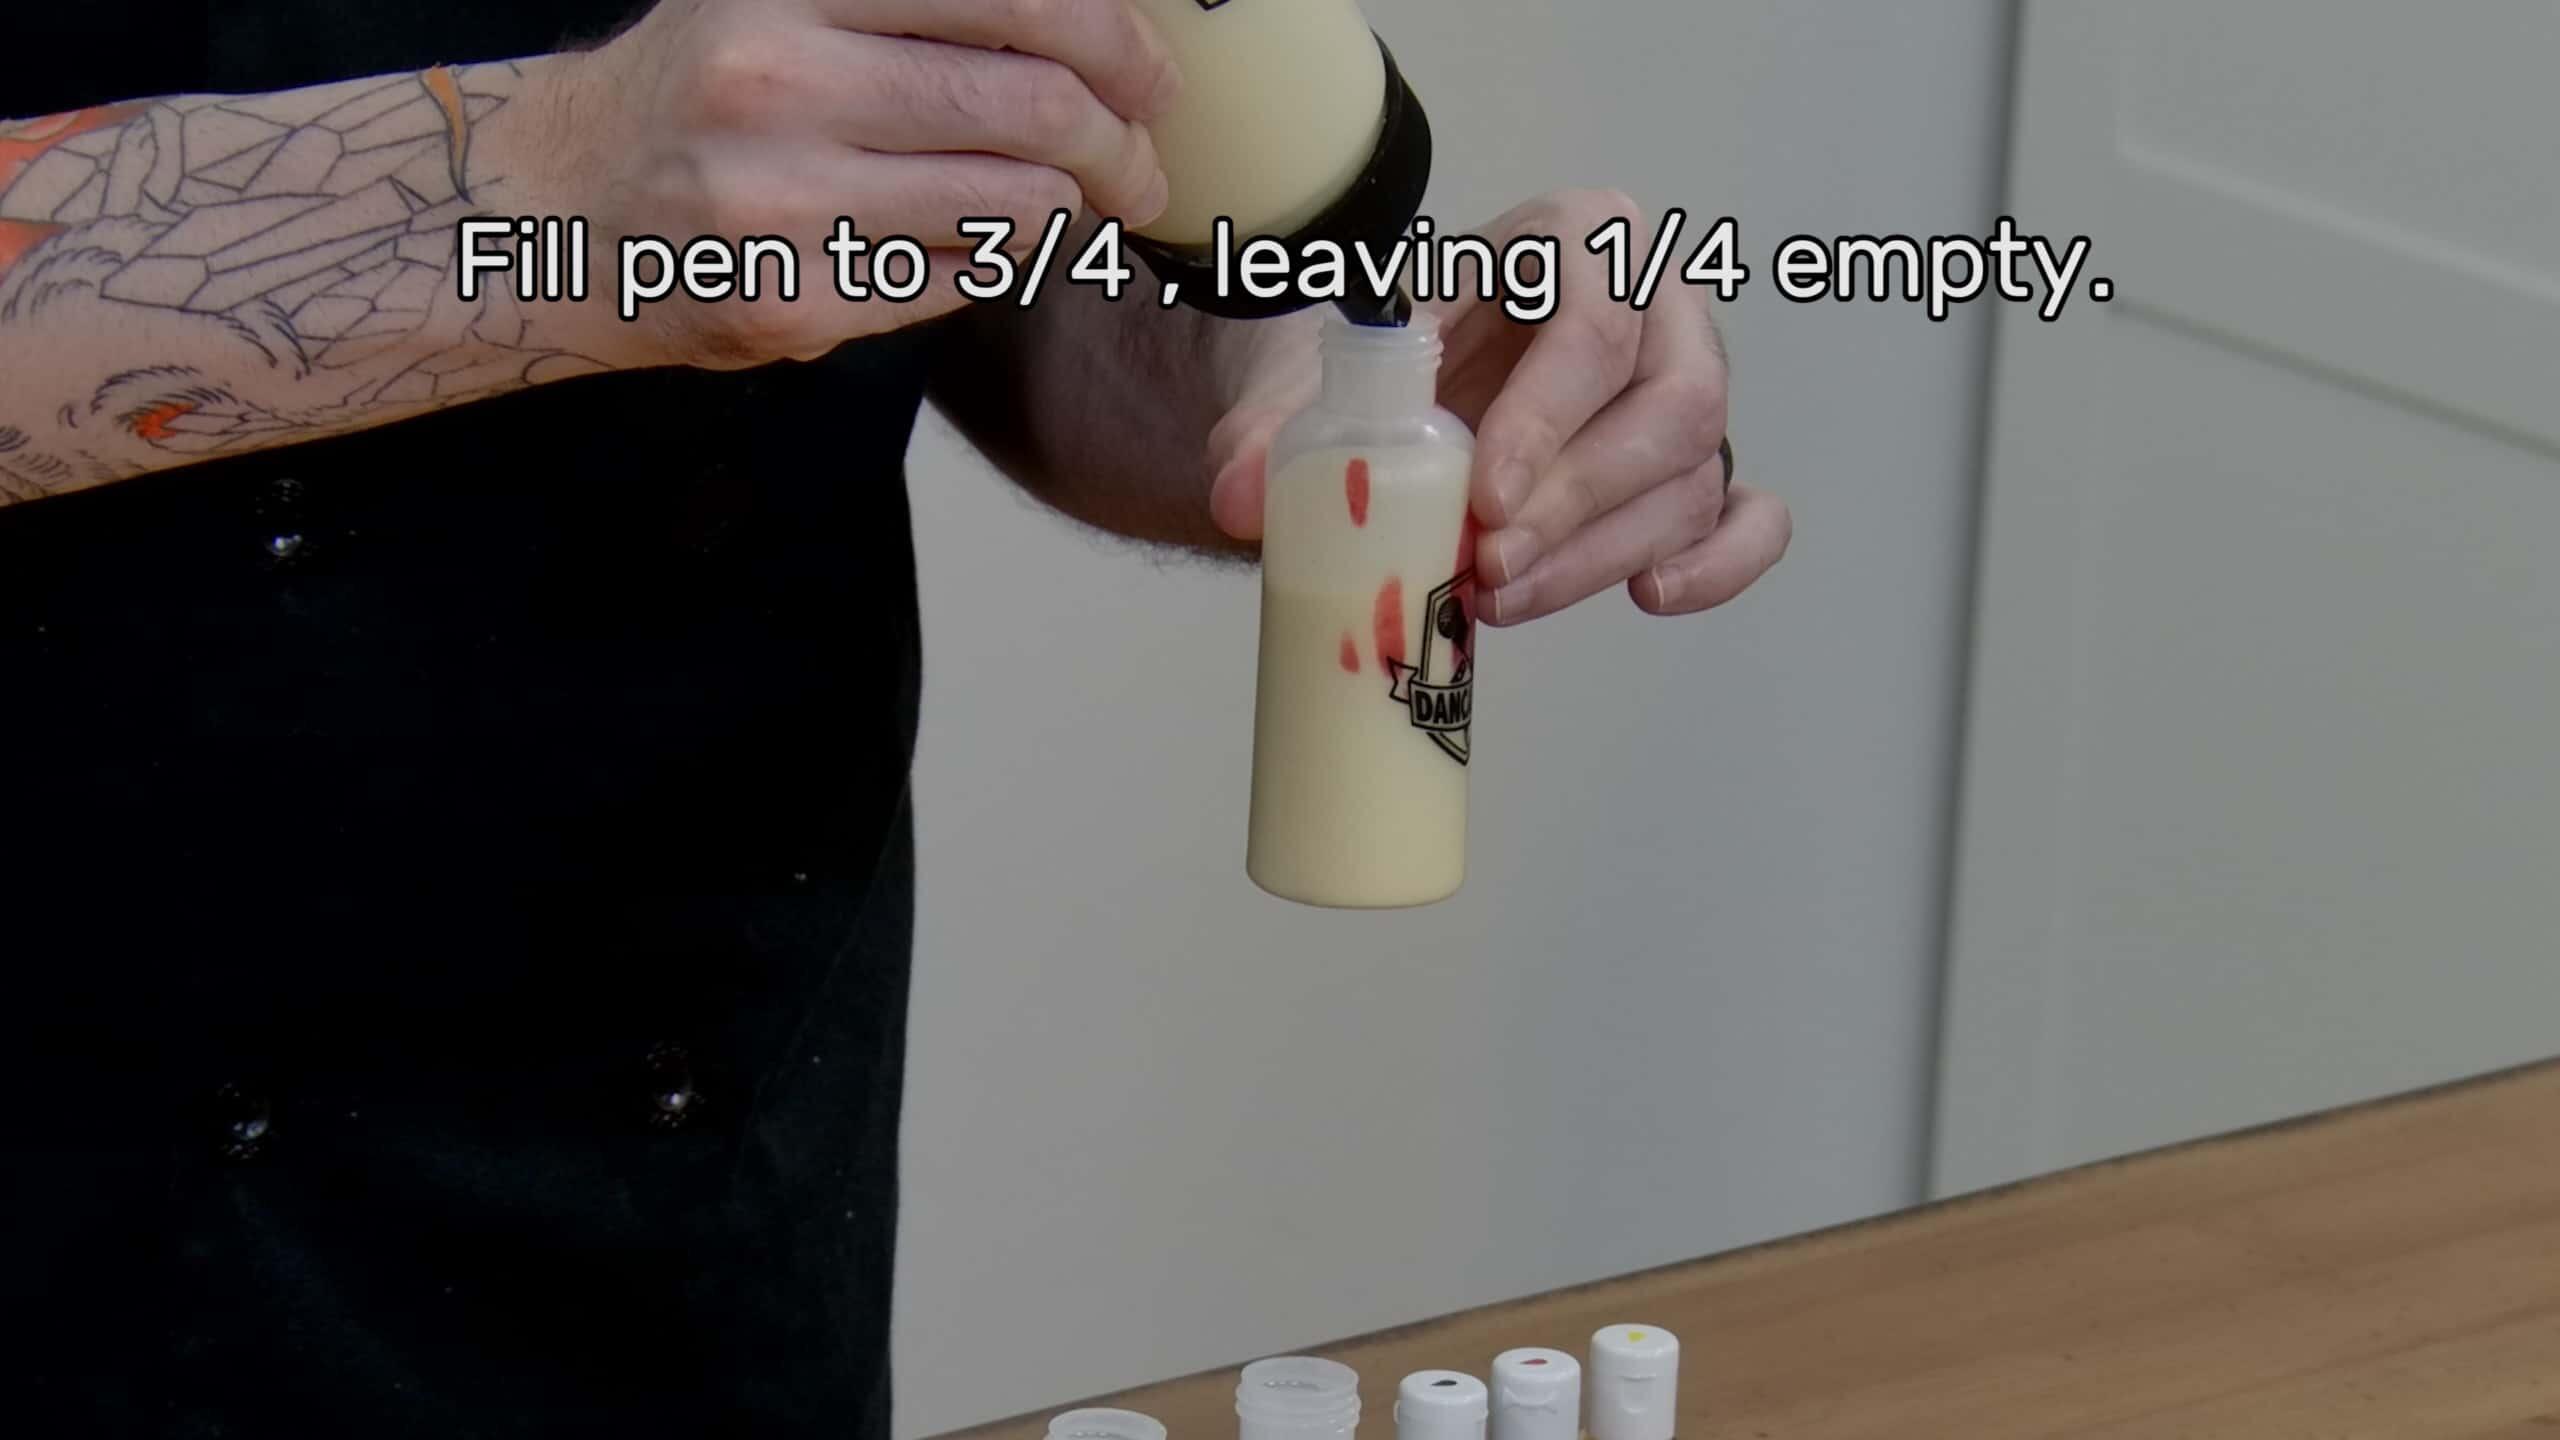
Once you’ve added gel colors to your half-filled batter pens, we like to add a little bit more plain batter over those drops of color – filling the pens approximately 3/4 of the way up. By covering the color drops, you’ll prevent them from getting lodged inside the tips of your pens when we shake them to mix in a moment, and by leaving that little pocket of air at the top, you give the batter a bit of room to help with the mixing process.
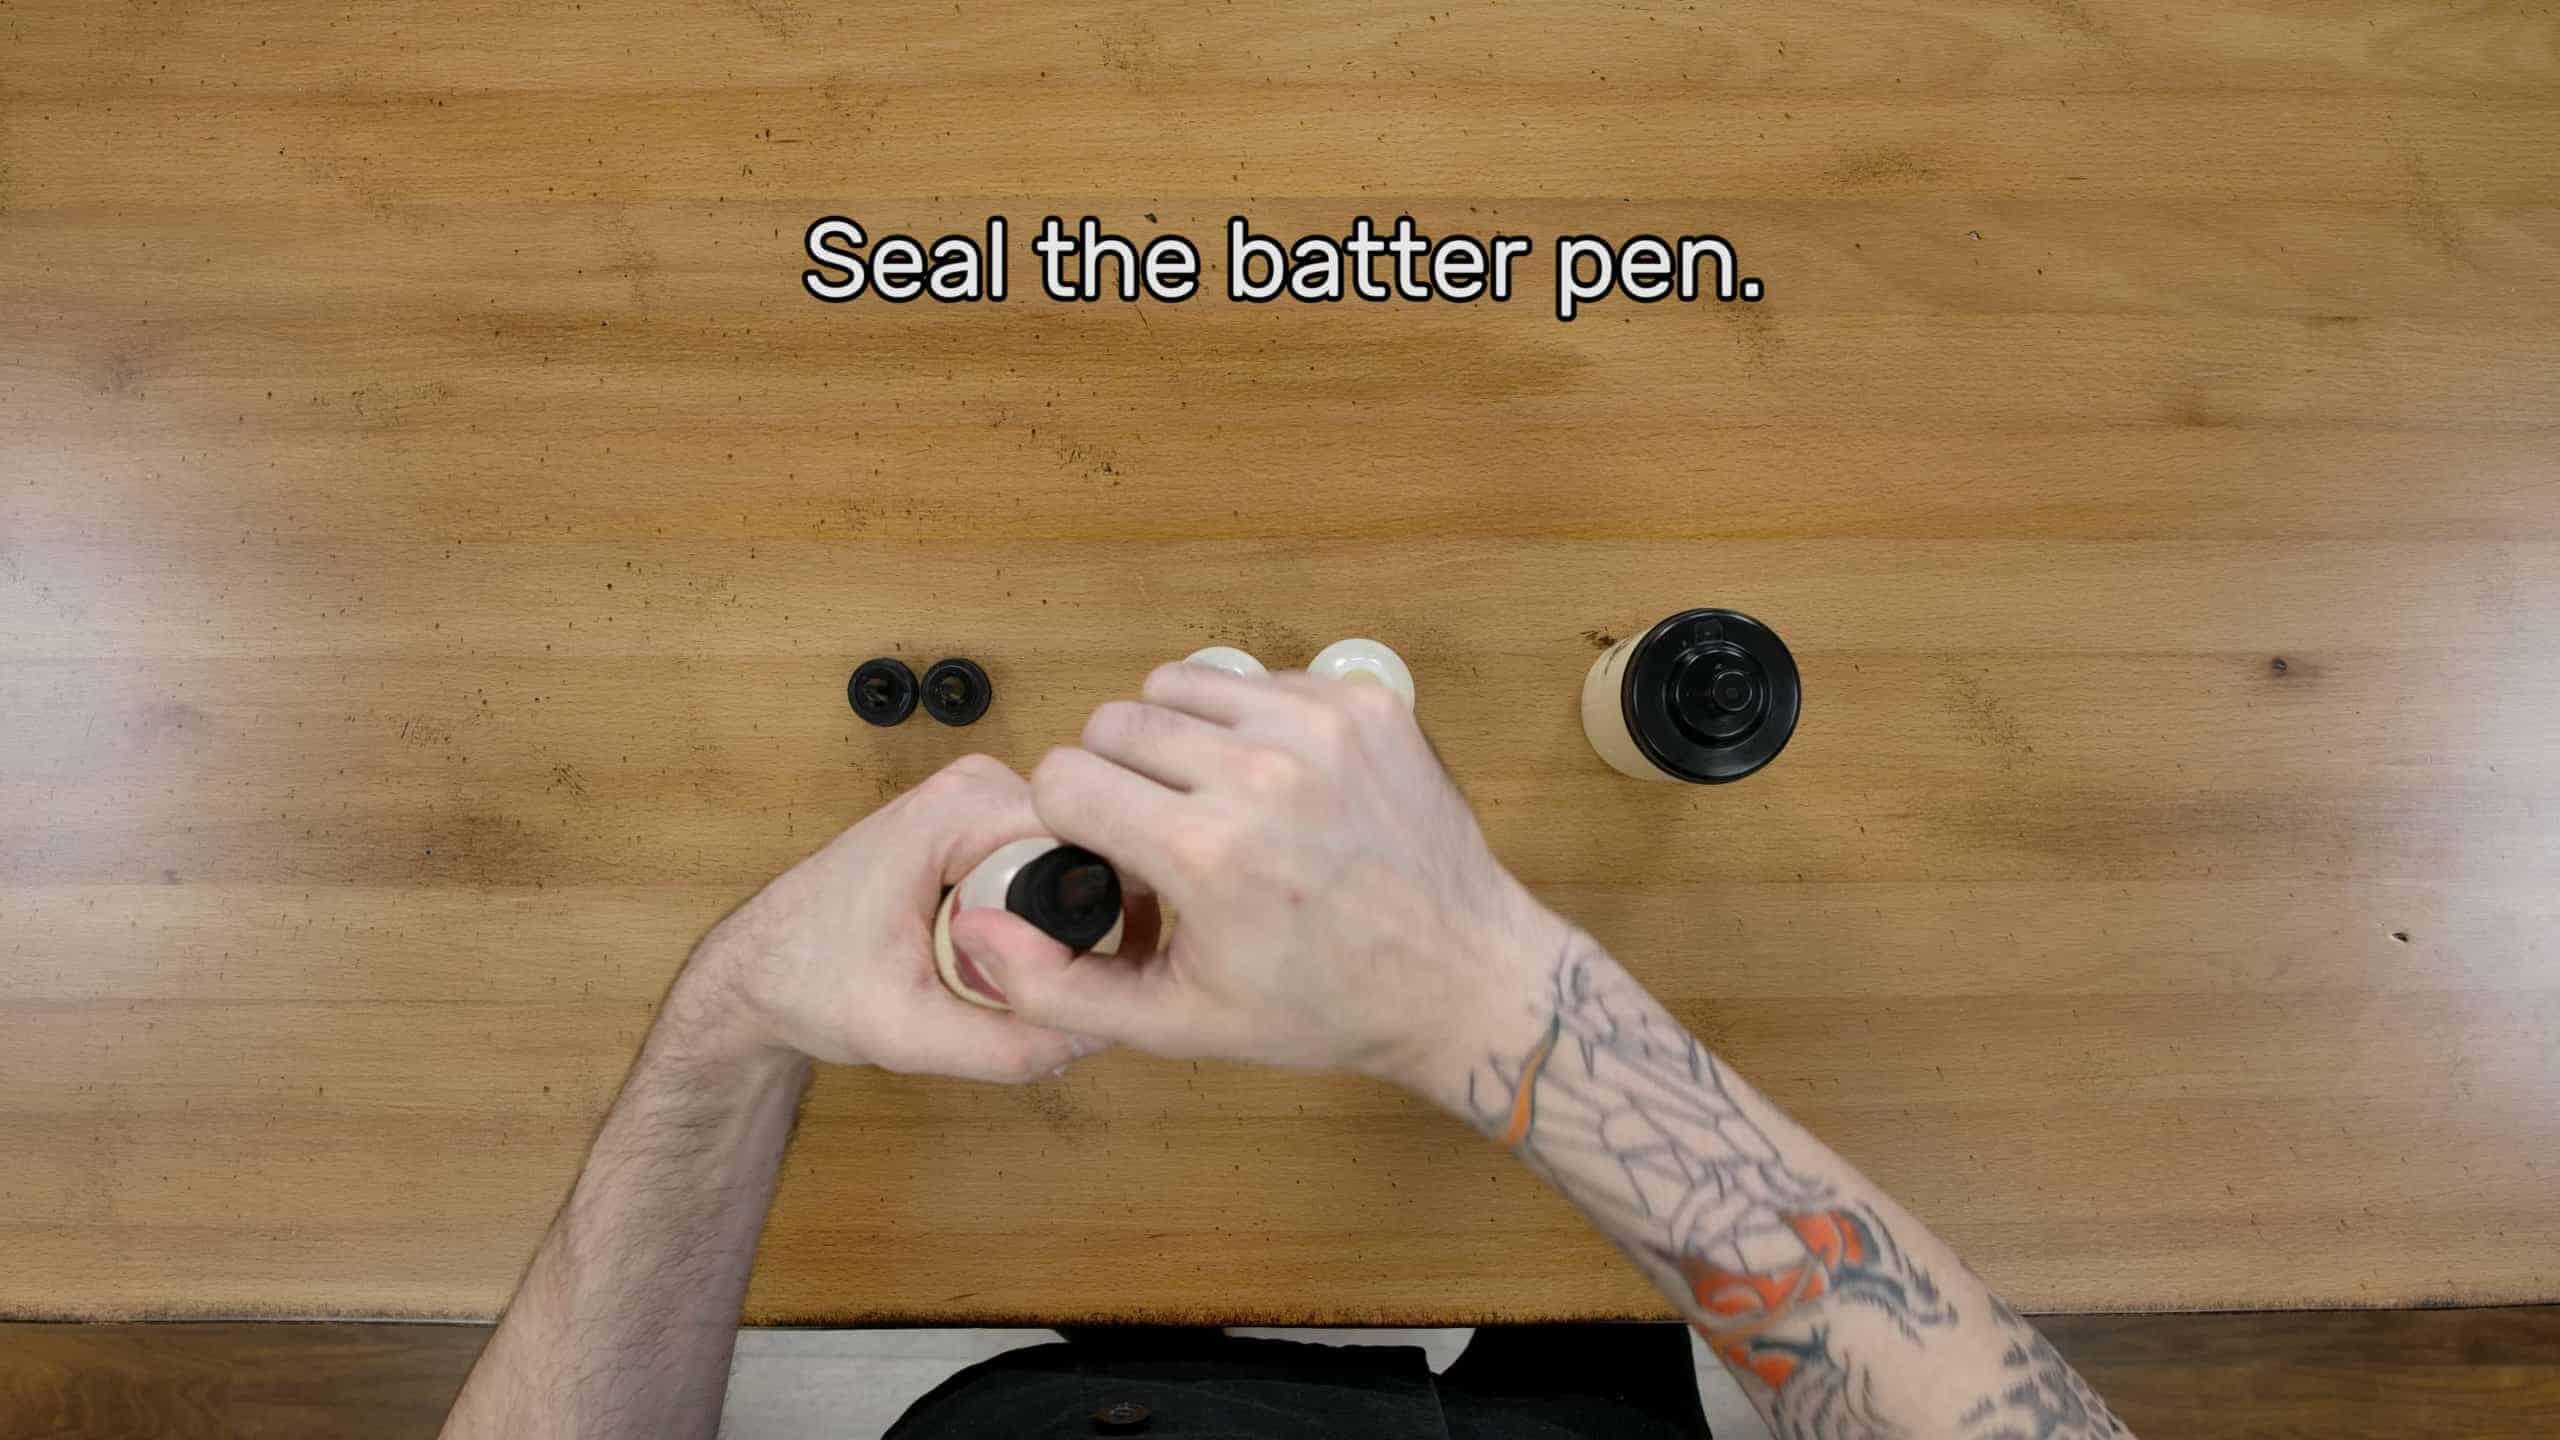
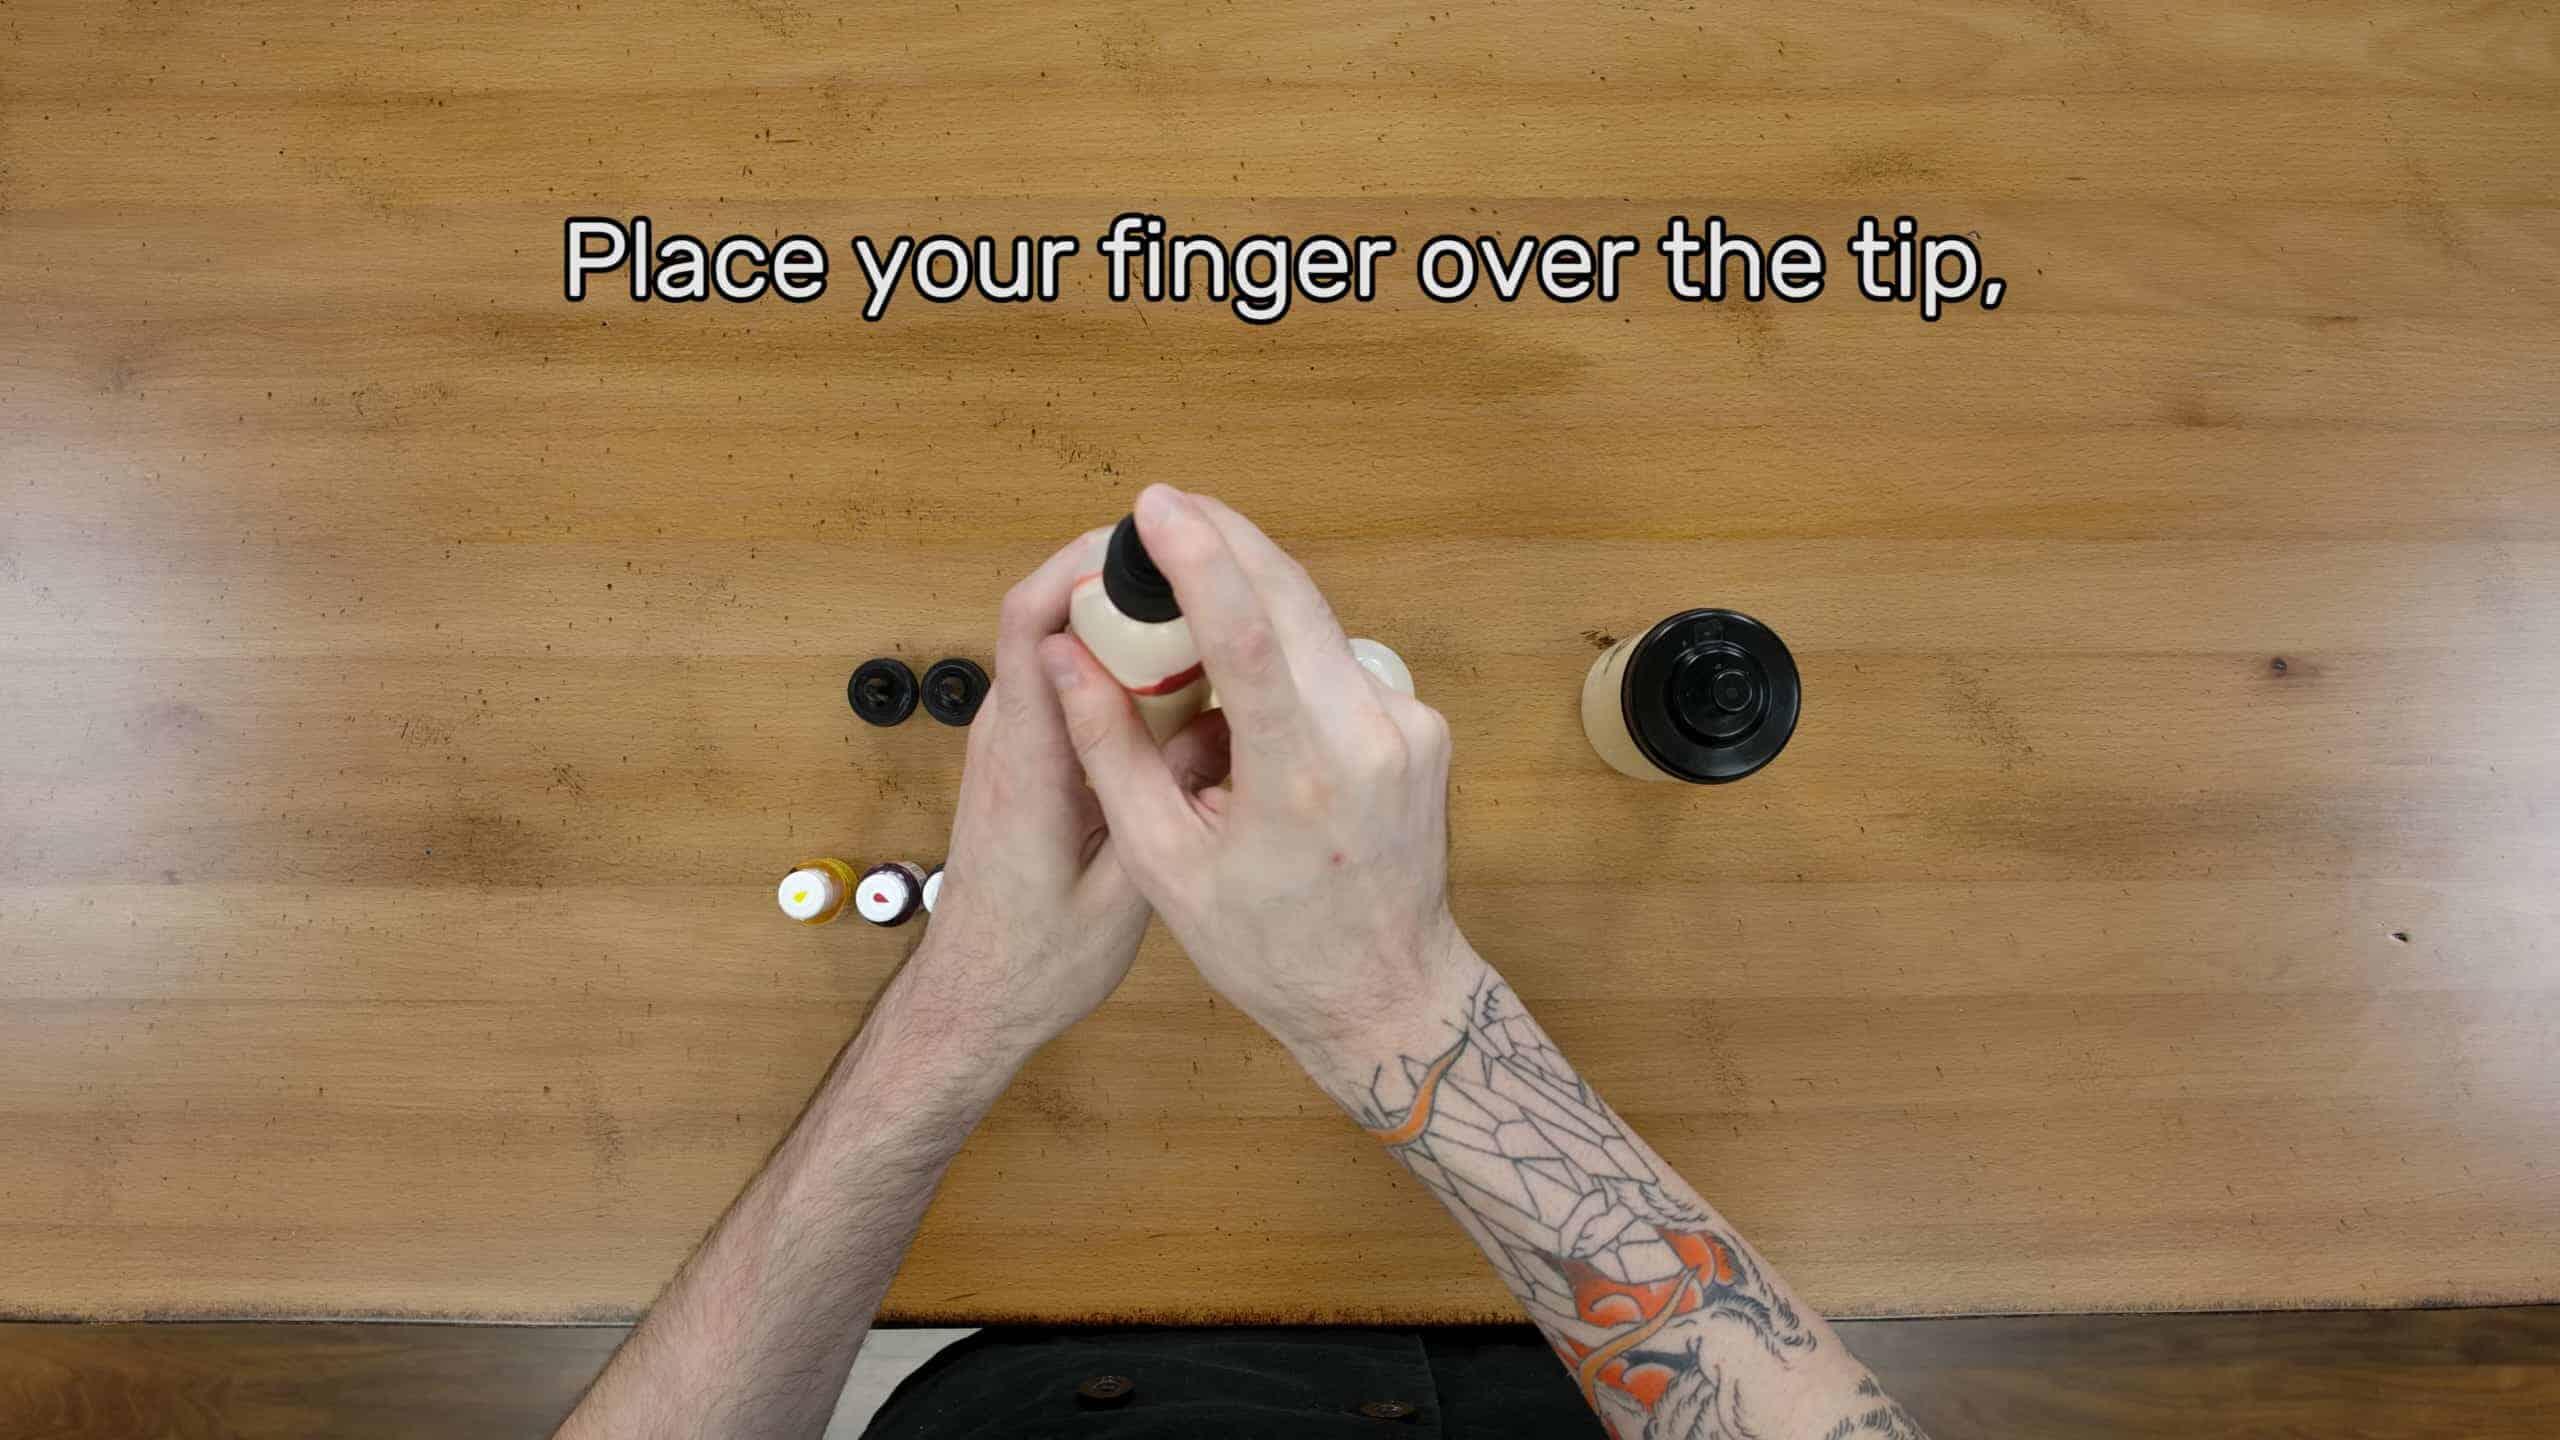
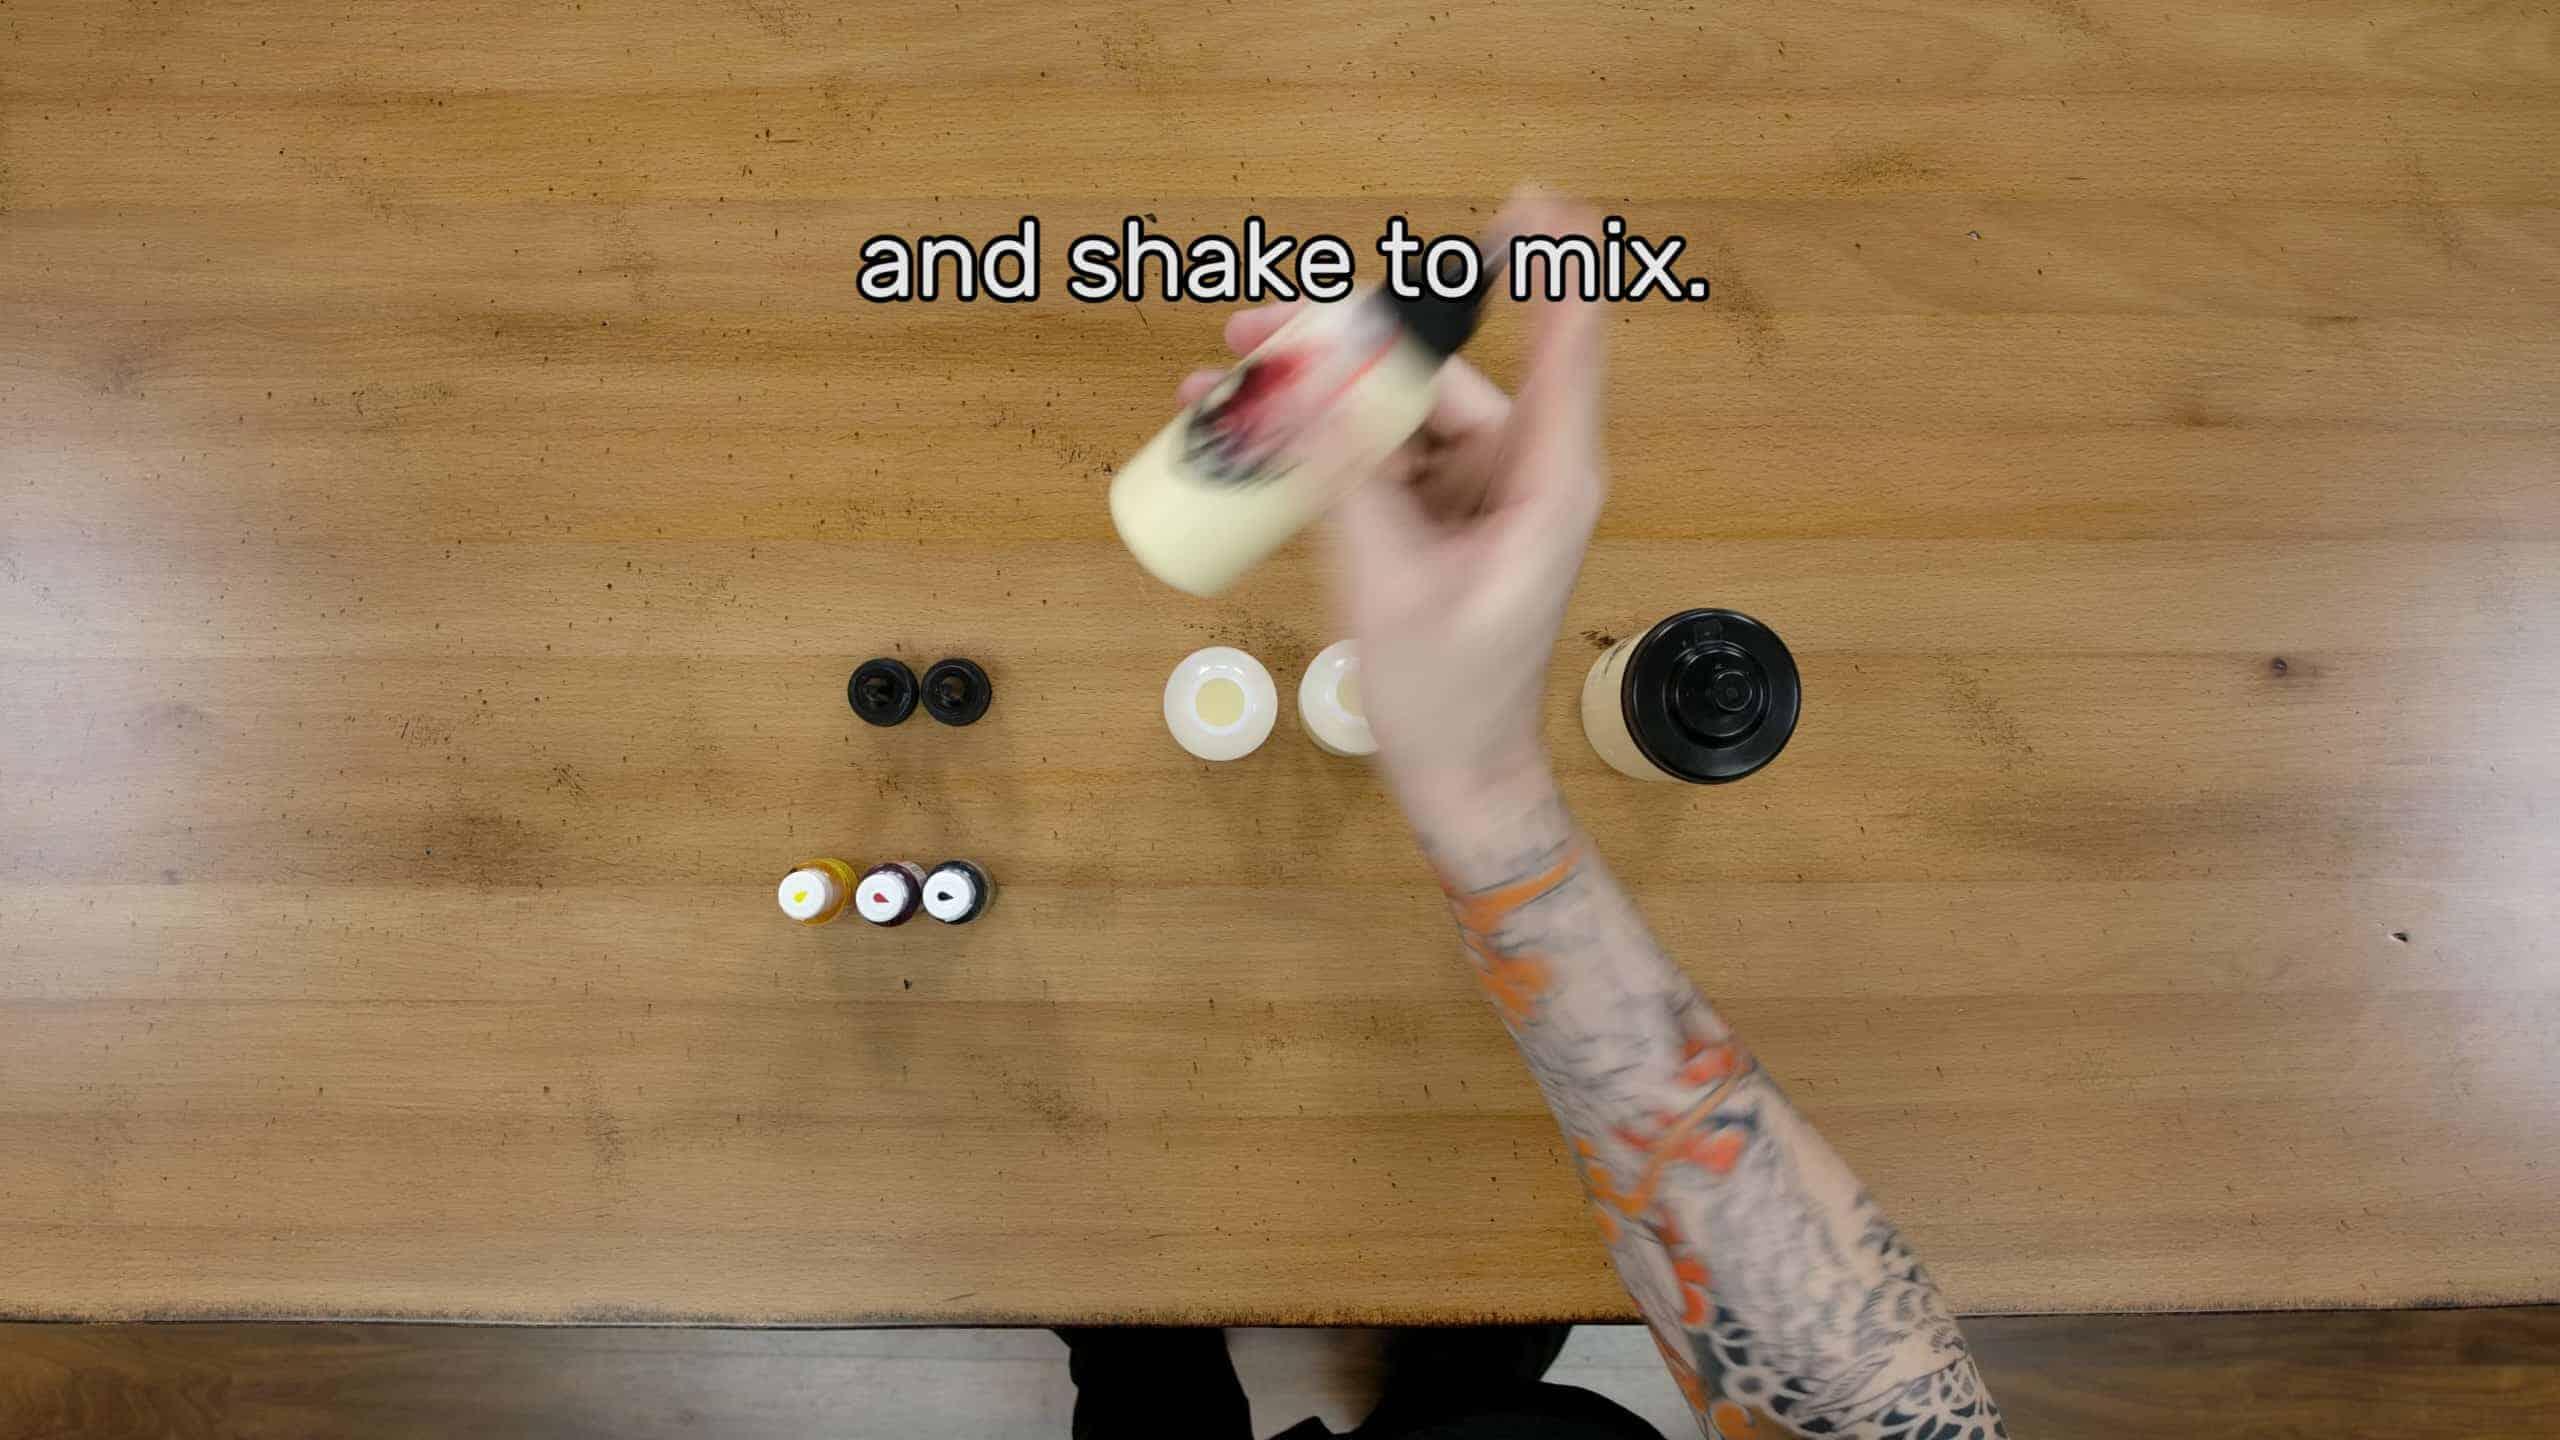
Once you’ve added this extra batter, screw the tip and cap of your pen in place, put your finger over the tip, and ‘shake the devil out of it’! Shake the batter pen thoroughly until all of the gel coloring you put in has mixed to an even, clear hue throughout the batter.
You may decide that your batter isn’t the right color yet – perhaps it’s too light and you were hoping for something a bit deeper – so feel free to take the tip back off the pen and add a little more gel color. But remember – it’s a lot easier to add coloring to a batter that is too light than it is to remove coloring from batter that is too rich or deeply colored. That being said, if you want to ‘soften’ a batter color you can do this by dumping some of the colored batter out and adding plain batter to ‘dilute’ it.
Once you’ve got your batter mixed and your colors added, we can get to the fun stuff!
Step 3
TIPS FOR DRAWING WITH PANCAKE BATTER:
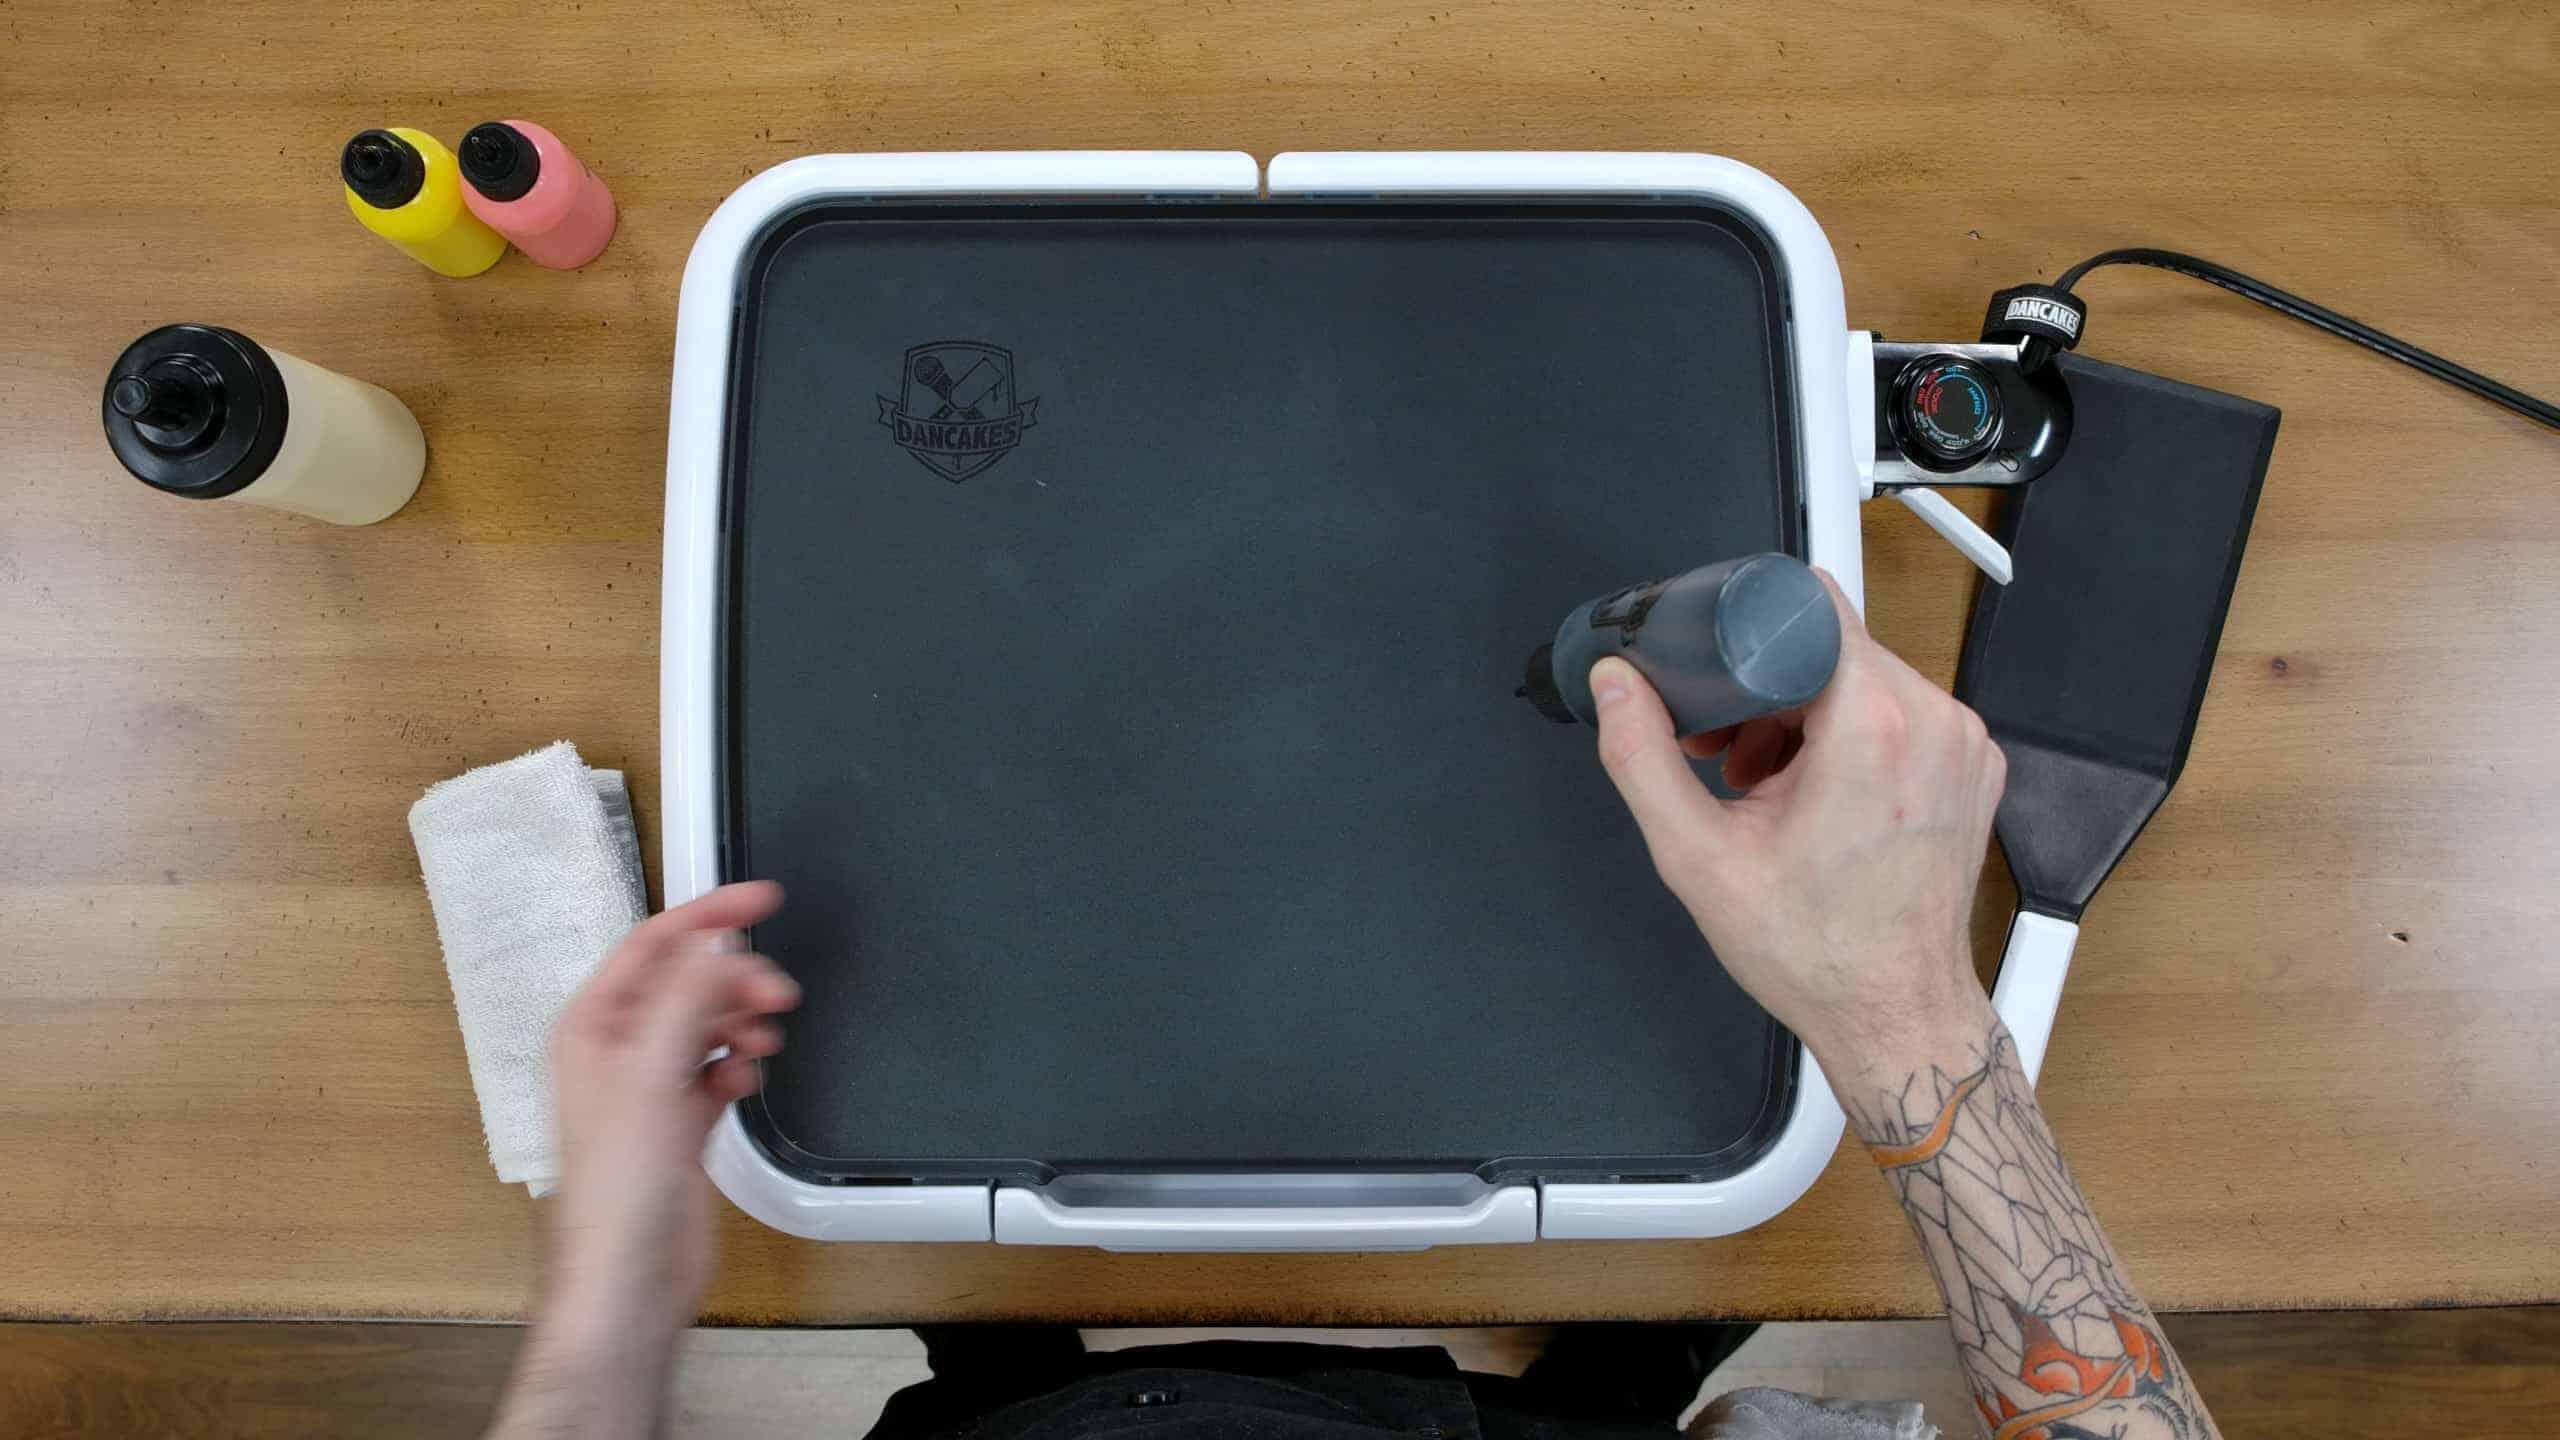
Tip 1: Draw with your griddle off. This tip more than any other helps new artists better understand how we’re able to craft such detailed pancake art designs at Dancakes. With about 90% of the designs we make we start with the griddle totally off, only turning it on towards the end of the process when we’re finished drawing. There are a lot of different ways to make pancake art out there and many peoples’ first exposure to the medium was through viral videos that showed ‘Heat Toning’ at work. Heat Toning is a style of pancake art in which the heat of the griddle is used to darken batter put down earlier; it’s a beautiful technique that requires a lot of discipline to do well (and we might do a tutorial on it at some point in the future) – but our standard method couldn’t be farther from it! We rely entirely on pre-mixed colorings to add contrast to our pancake designs, which empowers us to take as much time as we need and relax during the drawing process. There’s no rush.
Pro tip: You can use a small amount of heat – such as by turning your griddle on for a few seconds, then turning it back off – to ‘set’ your line work, which can help prevent smudging and bleeding when you’re filling your designs in. If you do this be careful not to burn yourself, and make sure that you read Tip 3, below.
Tip 2: Don’t use non-stick sprays, oils, butter or grease. When people get in the mindset of making pancakes, they often naturally assume that we’re going to put down some kind of a grease or oil to lubricate the surface of the griddle and prevent our pancake designs from sticking…but we specifically avoid doing so. There’s a few reasons for this. The first is that most griddles, pans and skillets already come with a fairly dependable non-stick coating and adding another non-stick agent is redundant, wasteful and messy. The second is that we want our line work to stick just a little during the drawing process – with too much of a non-stick agent present, our lines can run, bleed, and peel in ways that make it harder to control how our final design appears. The last is that non-stick agents have a tendency to cause splotchy cooking patterns in pancakes, where bubbles of oil can almost burn their outlines into whatever design you’re working on. This disrupts our ability to control the final look of our pancake art design, and so we try to avoid using non-stick agents entirely. That being said: If you’re working with a cooking surface that has no non-stick coating already applied to it (like a stainless steel griddle) you may have no other choice than to use some kind of a non-stick agent. These cooking surfaces are not ideal but can be used effectively with practice.
Tip 3: Use a hand towel or washcloth to rest your drawing hand on the griddle. If you’ve ever tried to draw something without resting your hand on a table, desk, or otherwise flat and sturdy surface, you’ll know that it makes it a lot harder to control your lines. But with a griddle – a device that is explicitly designed to get hot enough to burn things – it’s really not a great idea to get into the habit of resting our hands directly on the surface. Even if we always draw with the griddle off, there will come a time that we want to draw something while it is still hot (like when we finish cooking a pancake design and want to start drawing another right away), and the last thing we want is to sear the side of our hand because we forgot to wait. So we advise all new pancake artists to get into the habit of resting your drawing hand on something insulating like a folded-over washcloth or hand towel. It’s nice to have a towel lying around anyway in case of messes, and folded washcloths have the added benefit of reducing the friction between your hand and the griddle surface so you can glide across it to craft smoother, more confident lines.
Tip 4: Think about your pancake art designs like you are creating your own coloring book page. Pancake art is a bit of a funny medium, because at the end of the process you’ll be flipping your design over. This means that whatever you put down first ends up being on ‘top’ of the finished product (It also means that your final design will be the mirror image of whatever you draw – especially important when writing names and messages). If you put down outlines first and then overlap those outlines with another color of batter, the outlines will still show up on top of the final design. The more you practice the better you’ll understand how layering works, but we’ve found that a great way to help new artists dive in is to think about the process like you’re creating yourself a page from a coloring book. Draw empty outlines, then take colored batter and fill them in. For all the layering, the process isn’t that dissimilar to drawing on paper, and having that knowledge can help you find your confidence.
Pro tip: You can use different colors for your ‘coloring book’ outlines. Even with the most complex portraits and involved pancake art designs, we’re often just using different colors to outline different shapes, then filling them in like elaborate, multicolored pages from a coloring book.
Tip 5: Get in the habit of using suction to control the flow of batter from a batter pen – what we call ‘squeeze control’. Pancake batter is a liquid and so it has a tendency to behave like one – it wants to run everywhere. You’ll find that if you just grab a batter pen and start drawing it can be very hard to stop the flow once you’ve started. This can really interrupt your line work, and cause unintentional dollops and pooling where you didn’t intend any. The trick to overcoming this is through what we call squeeze control – squeeze a small amount of air out of your batter pens before inverting them to start drawing. You don’t need to grip them hard and squeeze a ton of air out; you just need to create a little bit of suction, so that whenever you want the batter to stop flowing you can simply release a little bit of your pressure (control your squeeze). Squeeze control does take practice, but if you remind yourself of it enough it will eventually become second nature, at which point you’ll be able to do all kinds of line weight variations and tapering. This technique is how you become truly fluent in the medium of pancake art.
And with that – it’s time for the fun part. Let’s walk through a simple Heart-Eyes Emoji pancake art design!
Step 4
MAKING YOUR PANCAKE ART DESIGN:
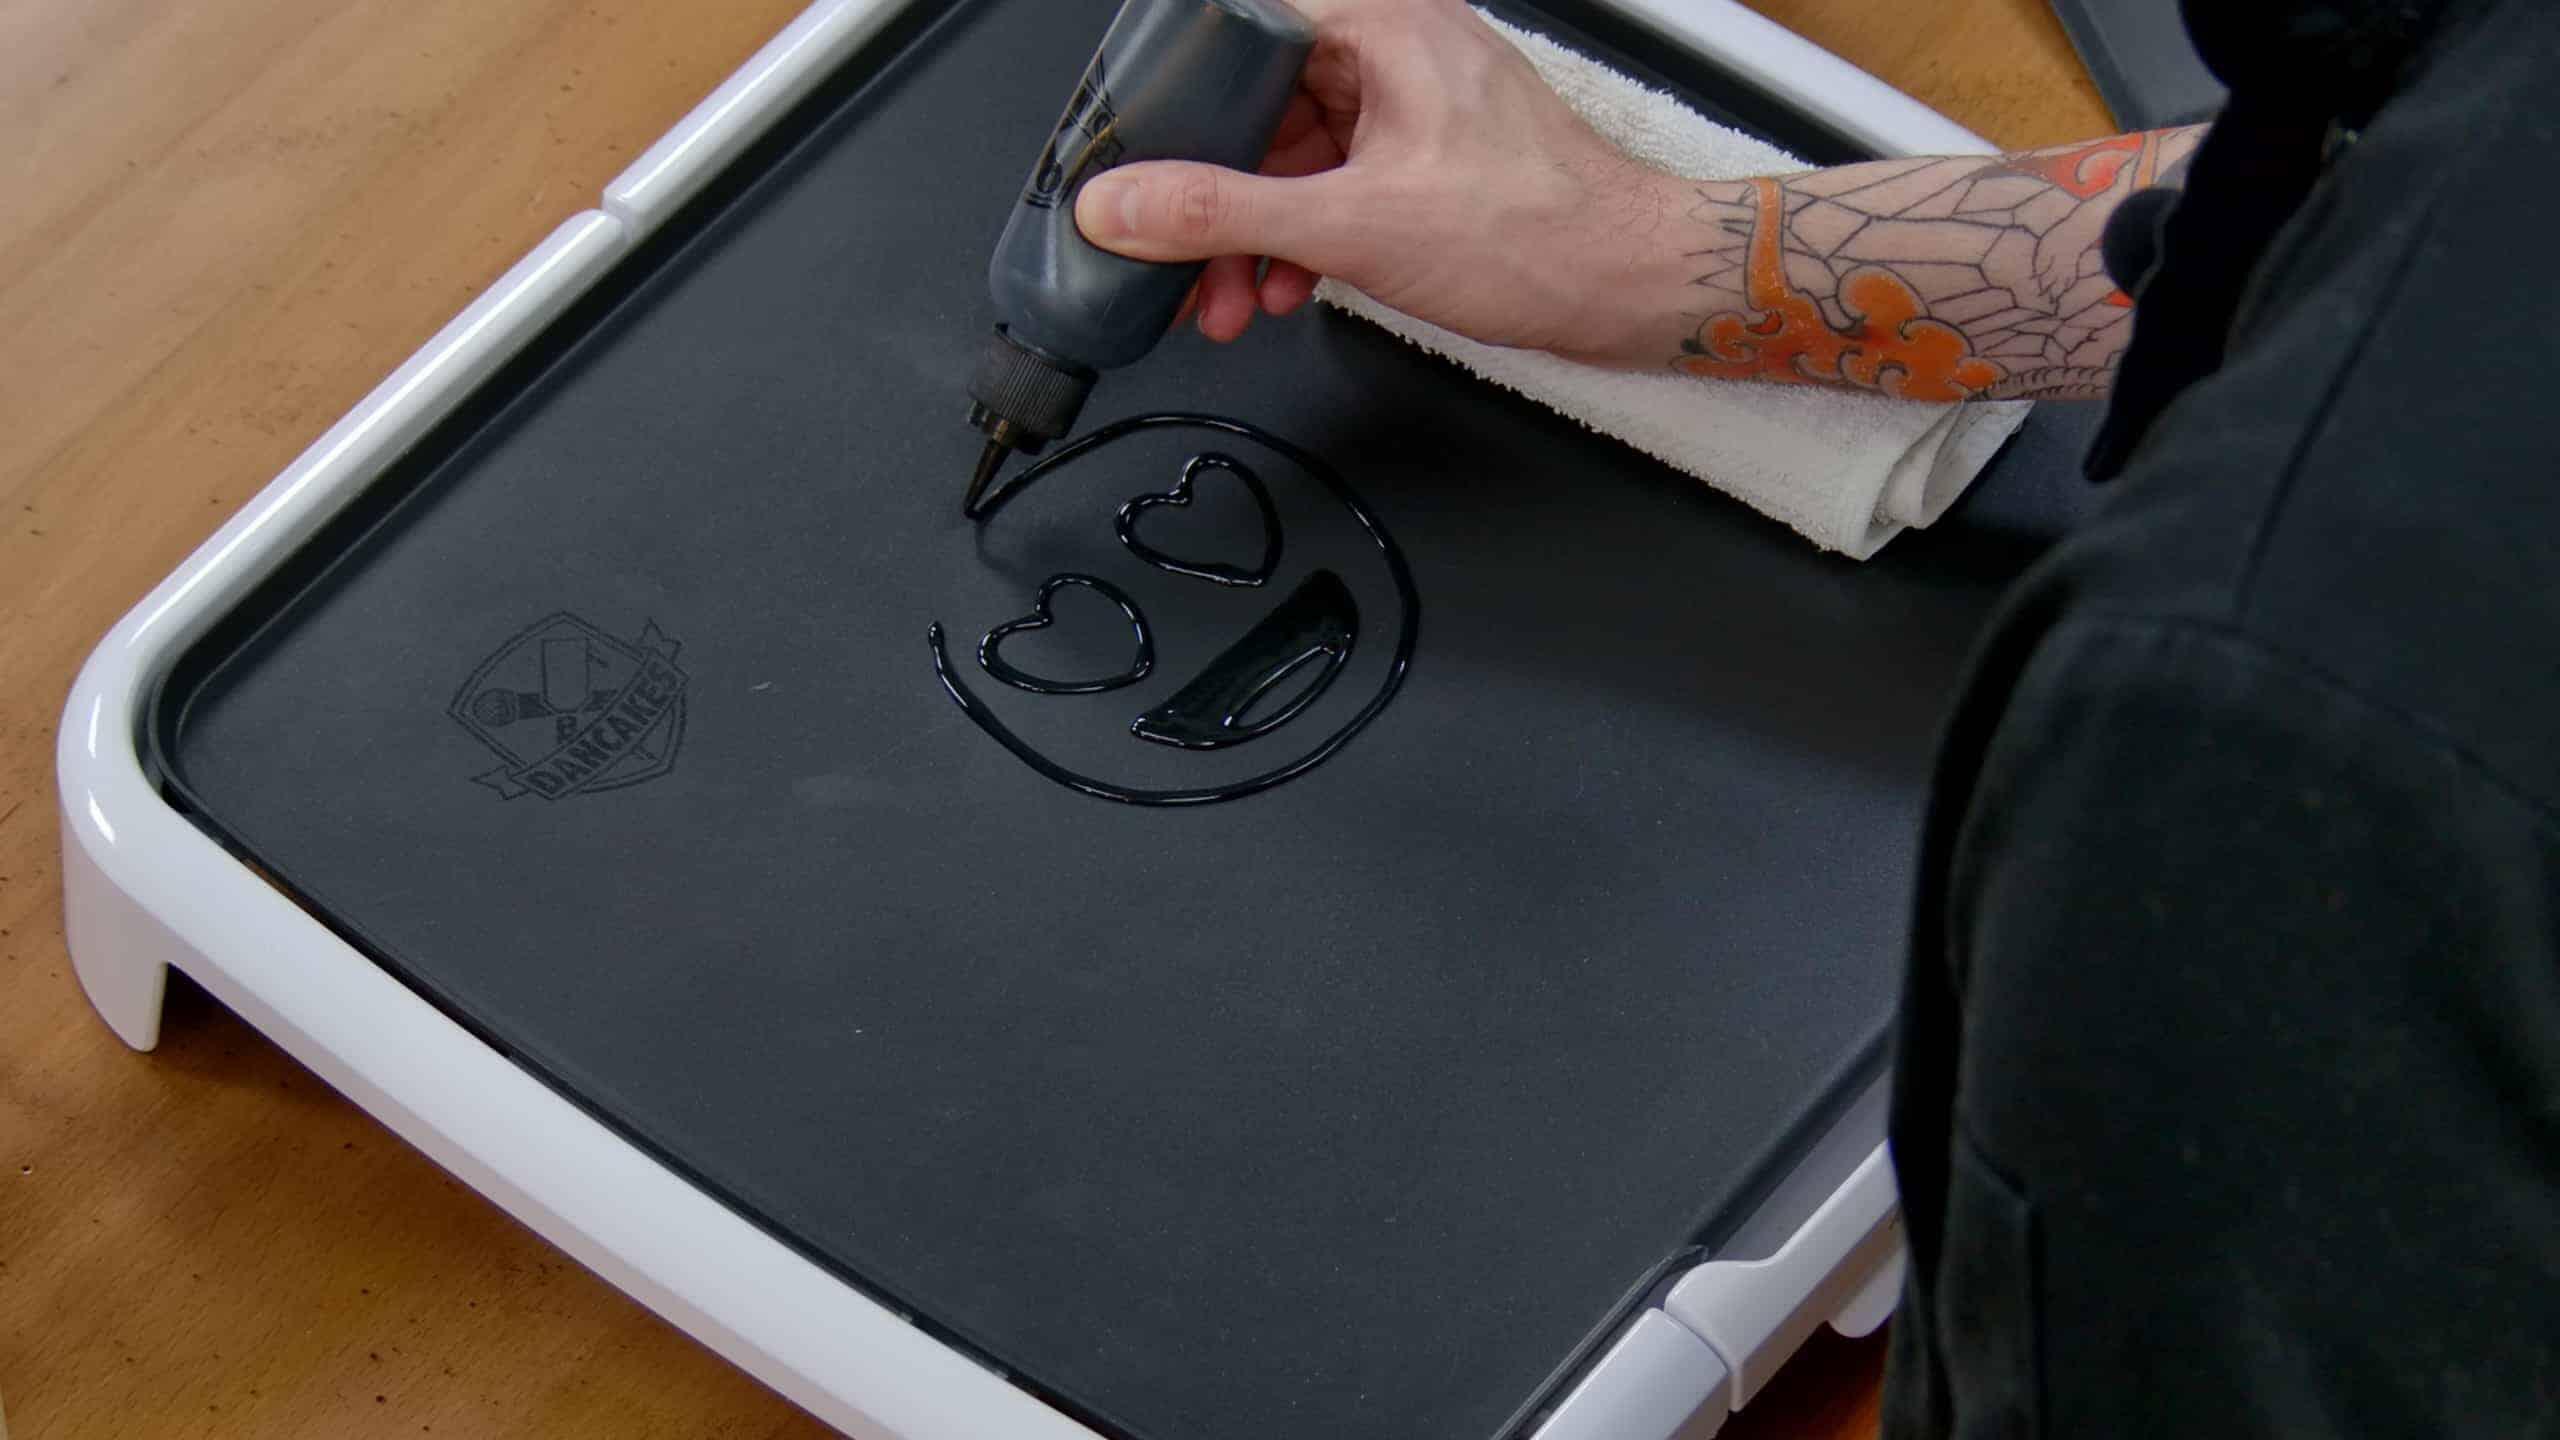
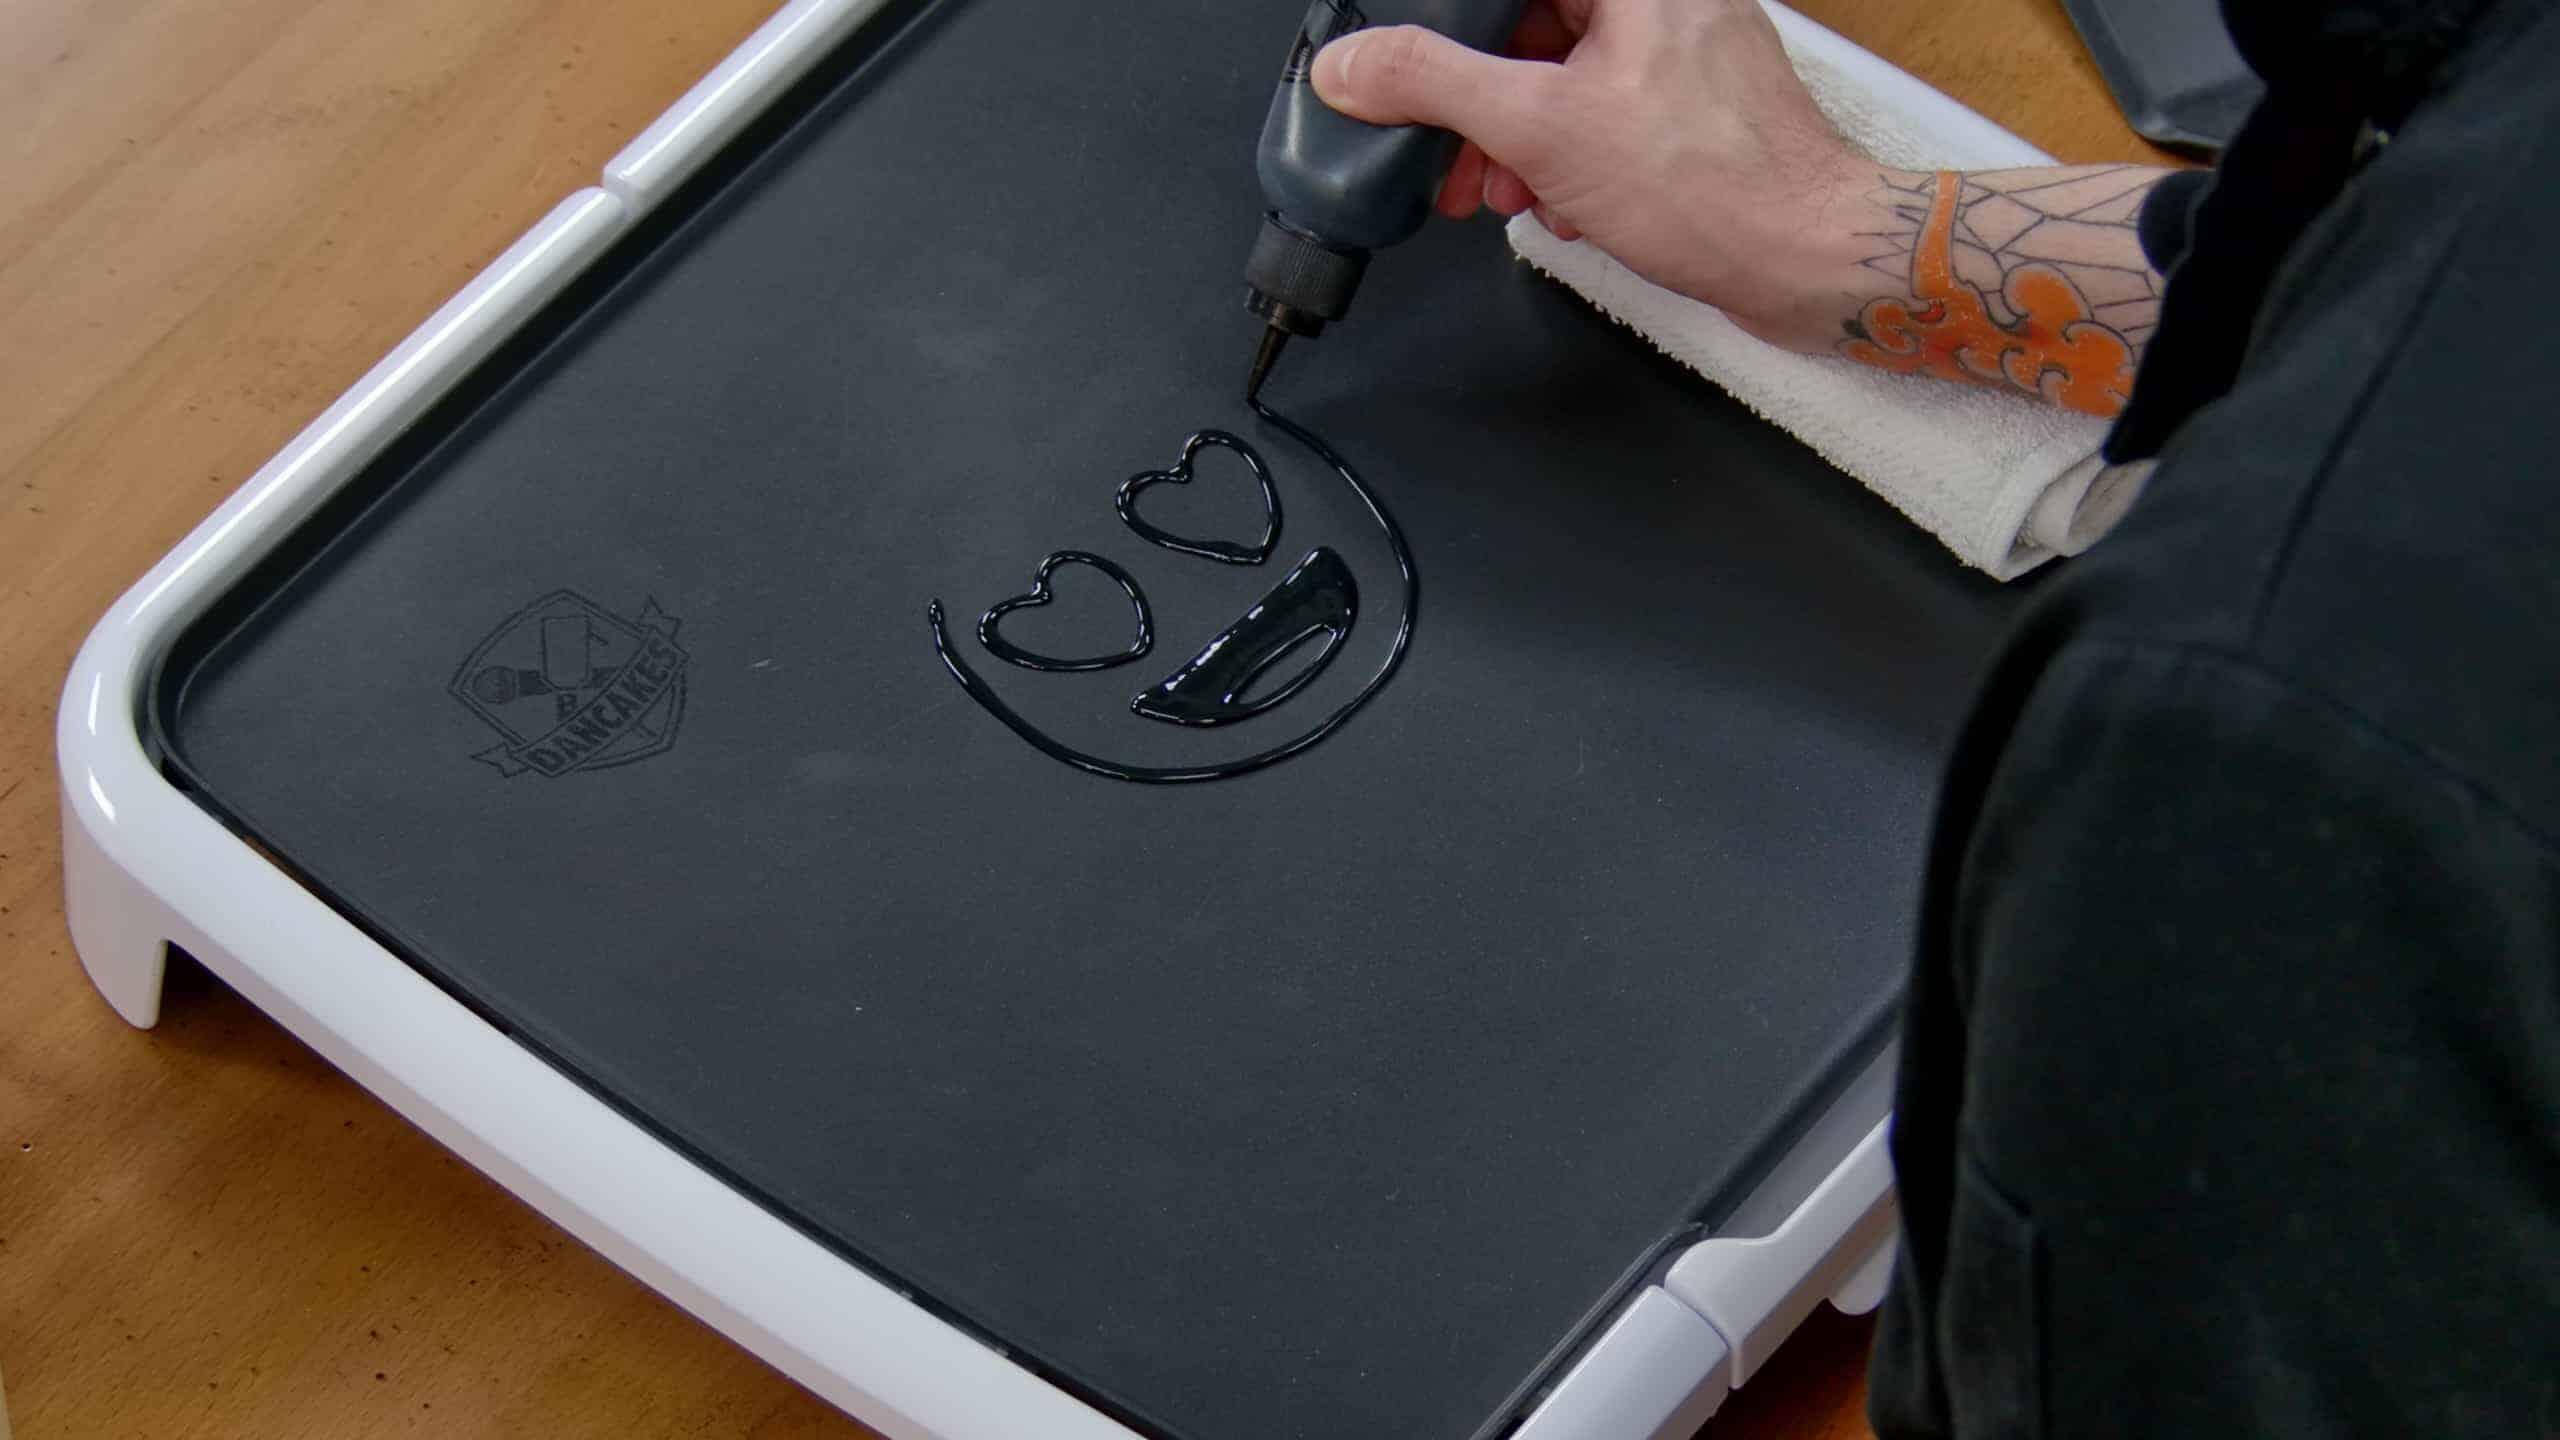
There’s a dependable ‘order of operations’ when it comes to actually putting batter pen to griddle and drawing your pancake art design. Usually, it looks something like this:
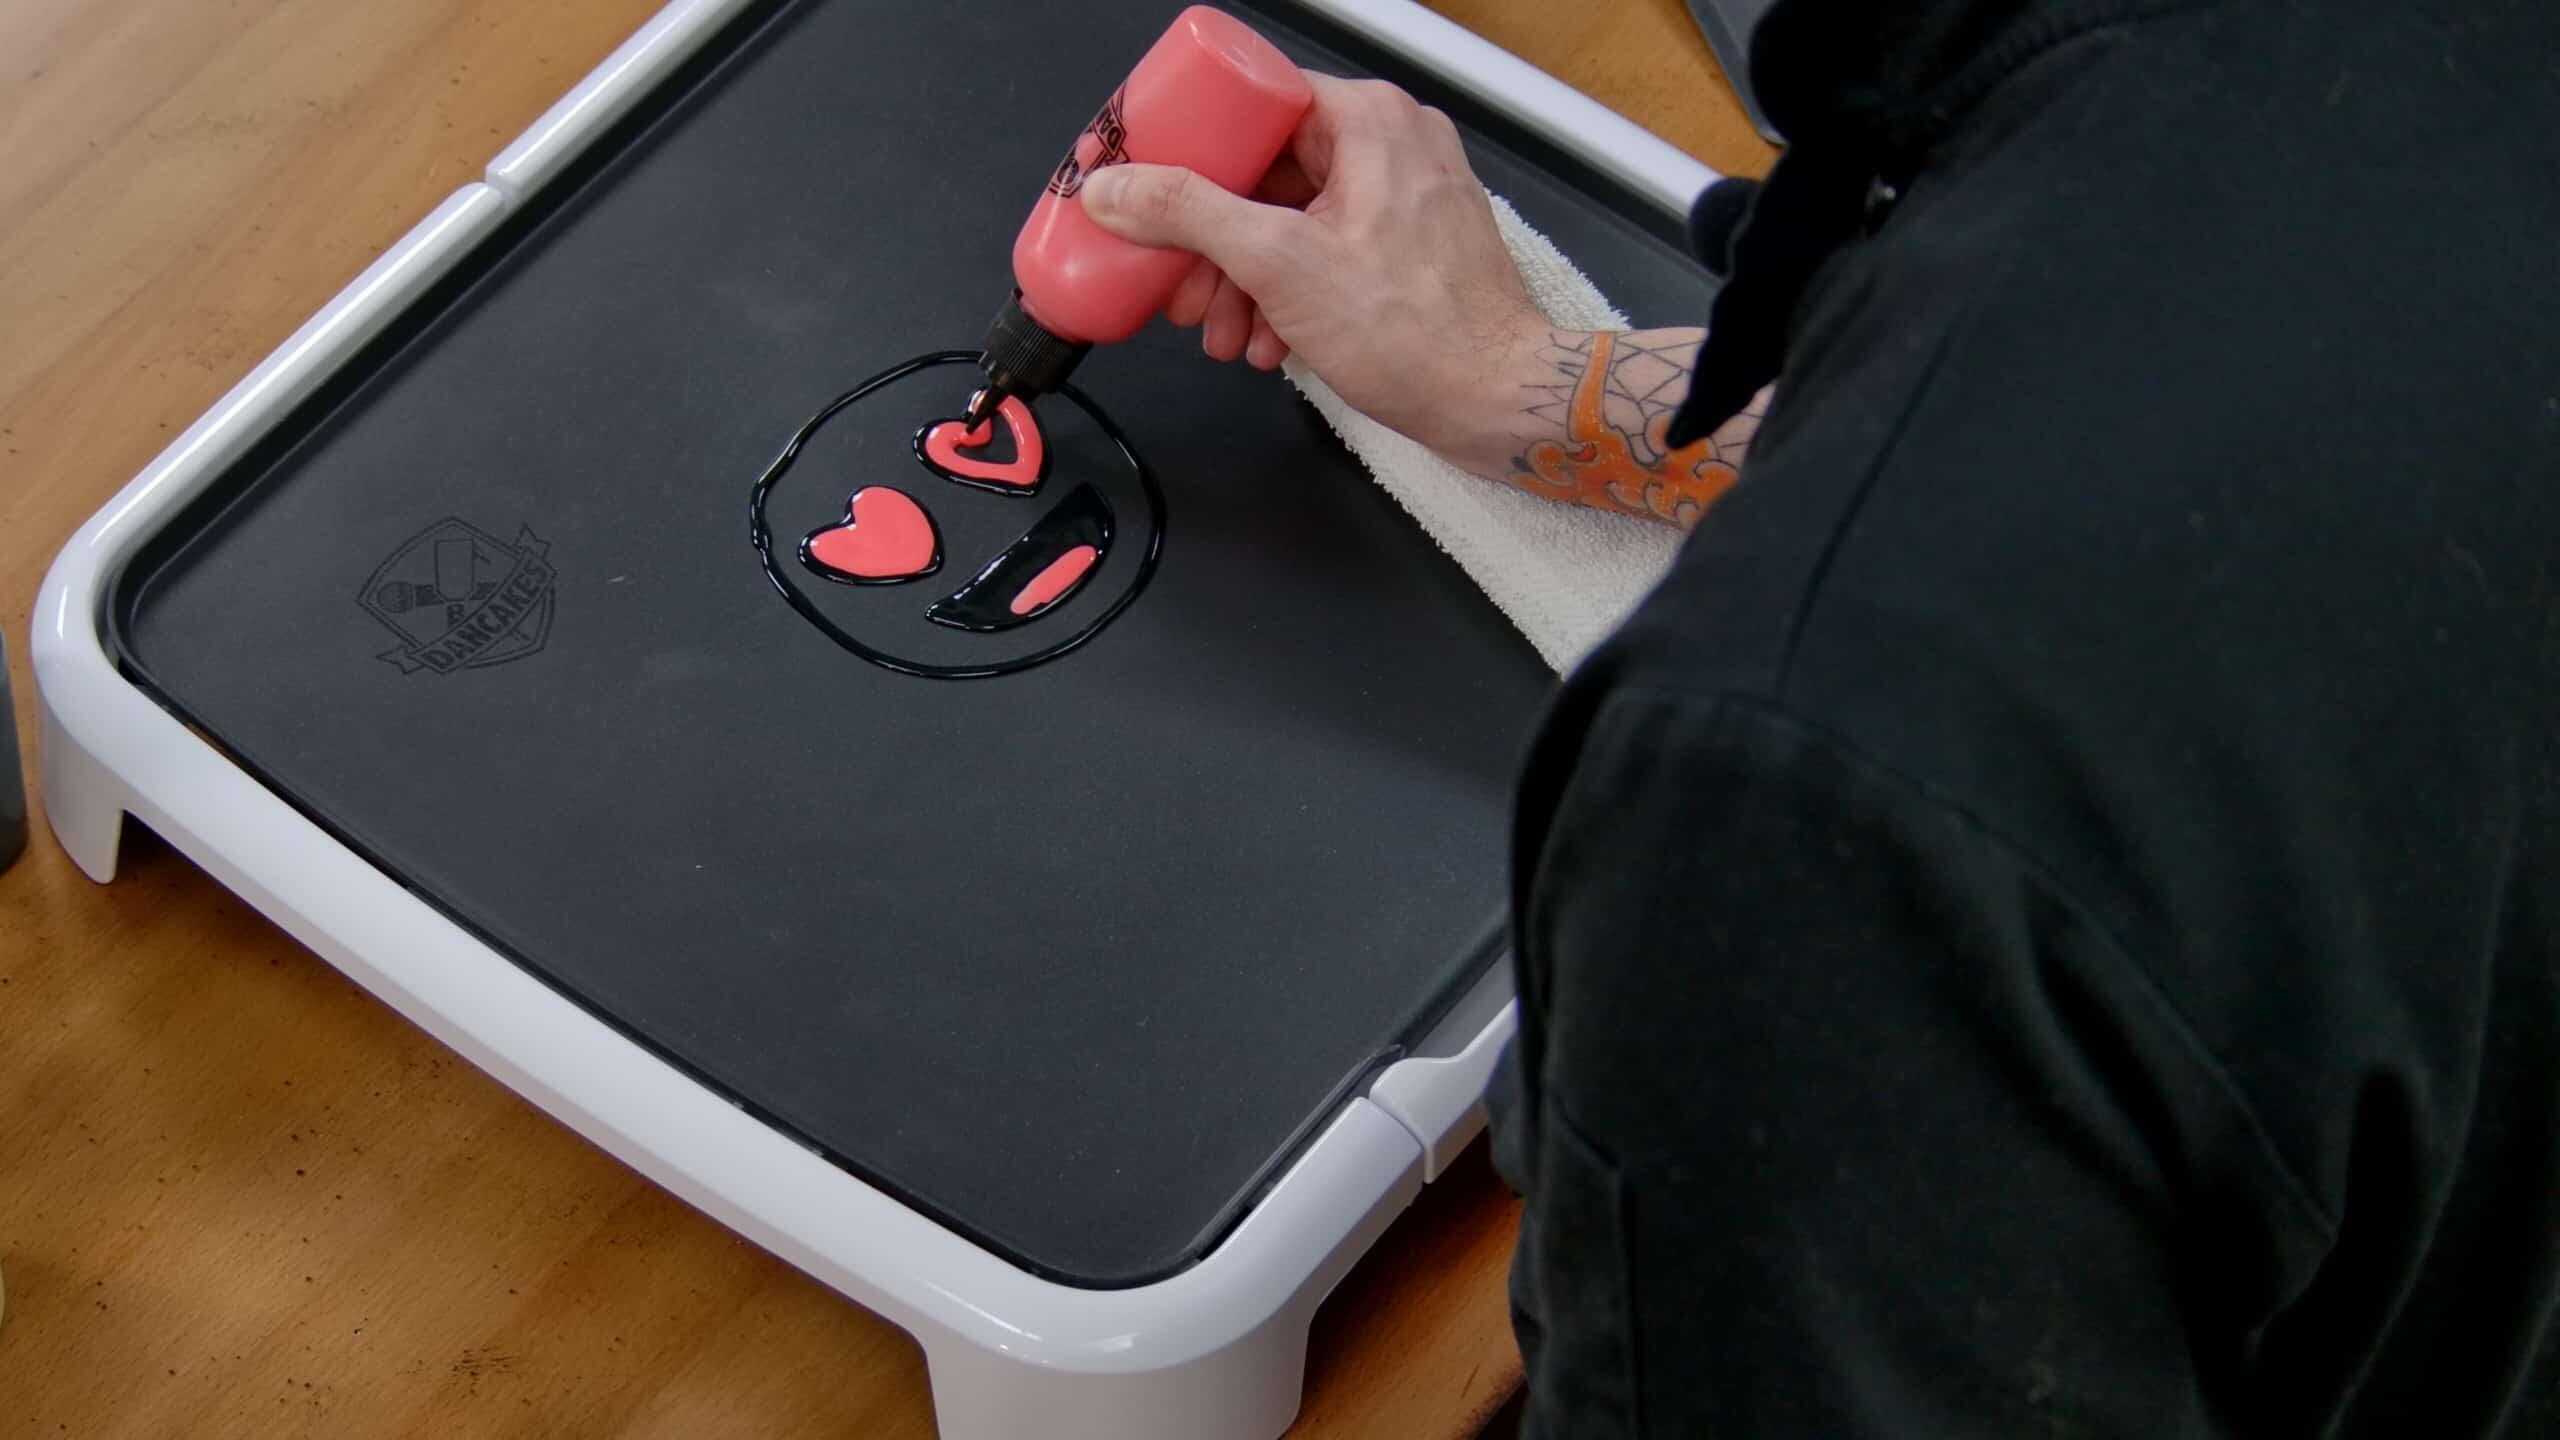
- Draw your outlines – like you’re creating yourself a coloring book.
- Color in details – on our heart-eyes emoji design that consists of coloring in the eyes and mouth with red batter, but on more complex designs, this would involve using highlights and shading to create dynamic lighting effects on your pieces.
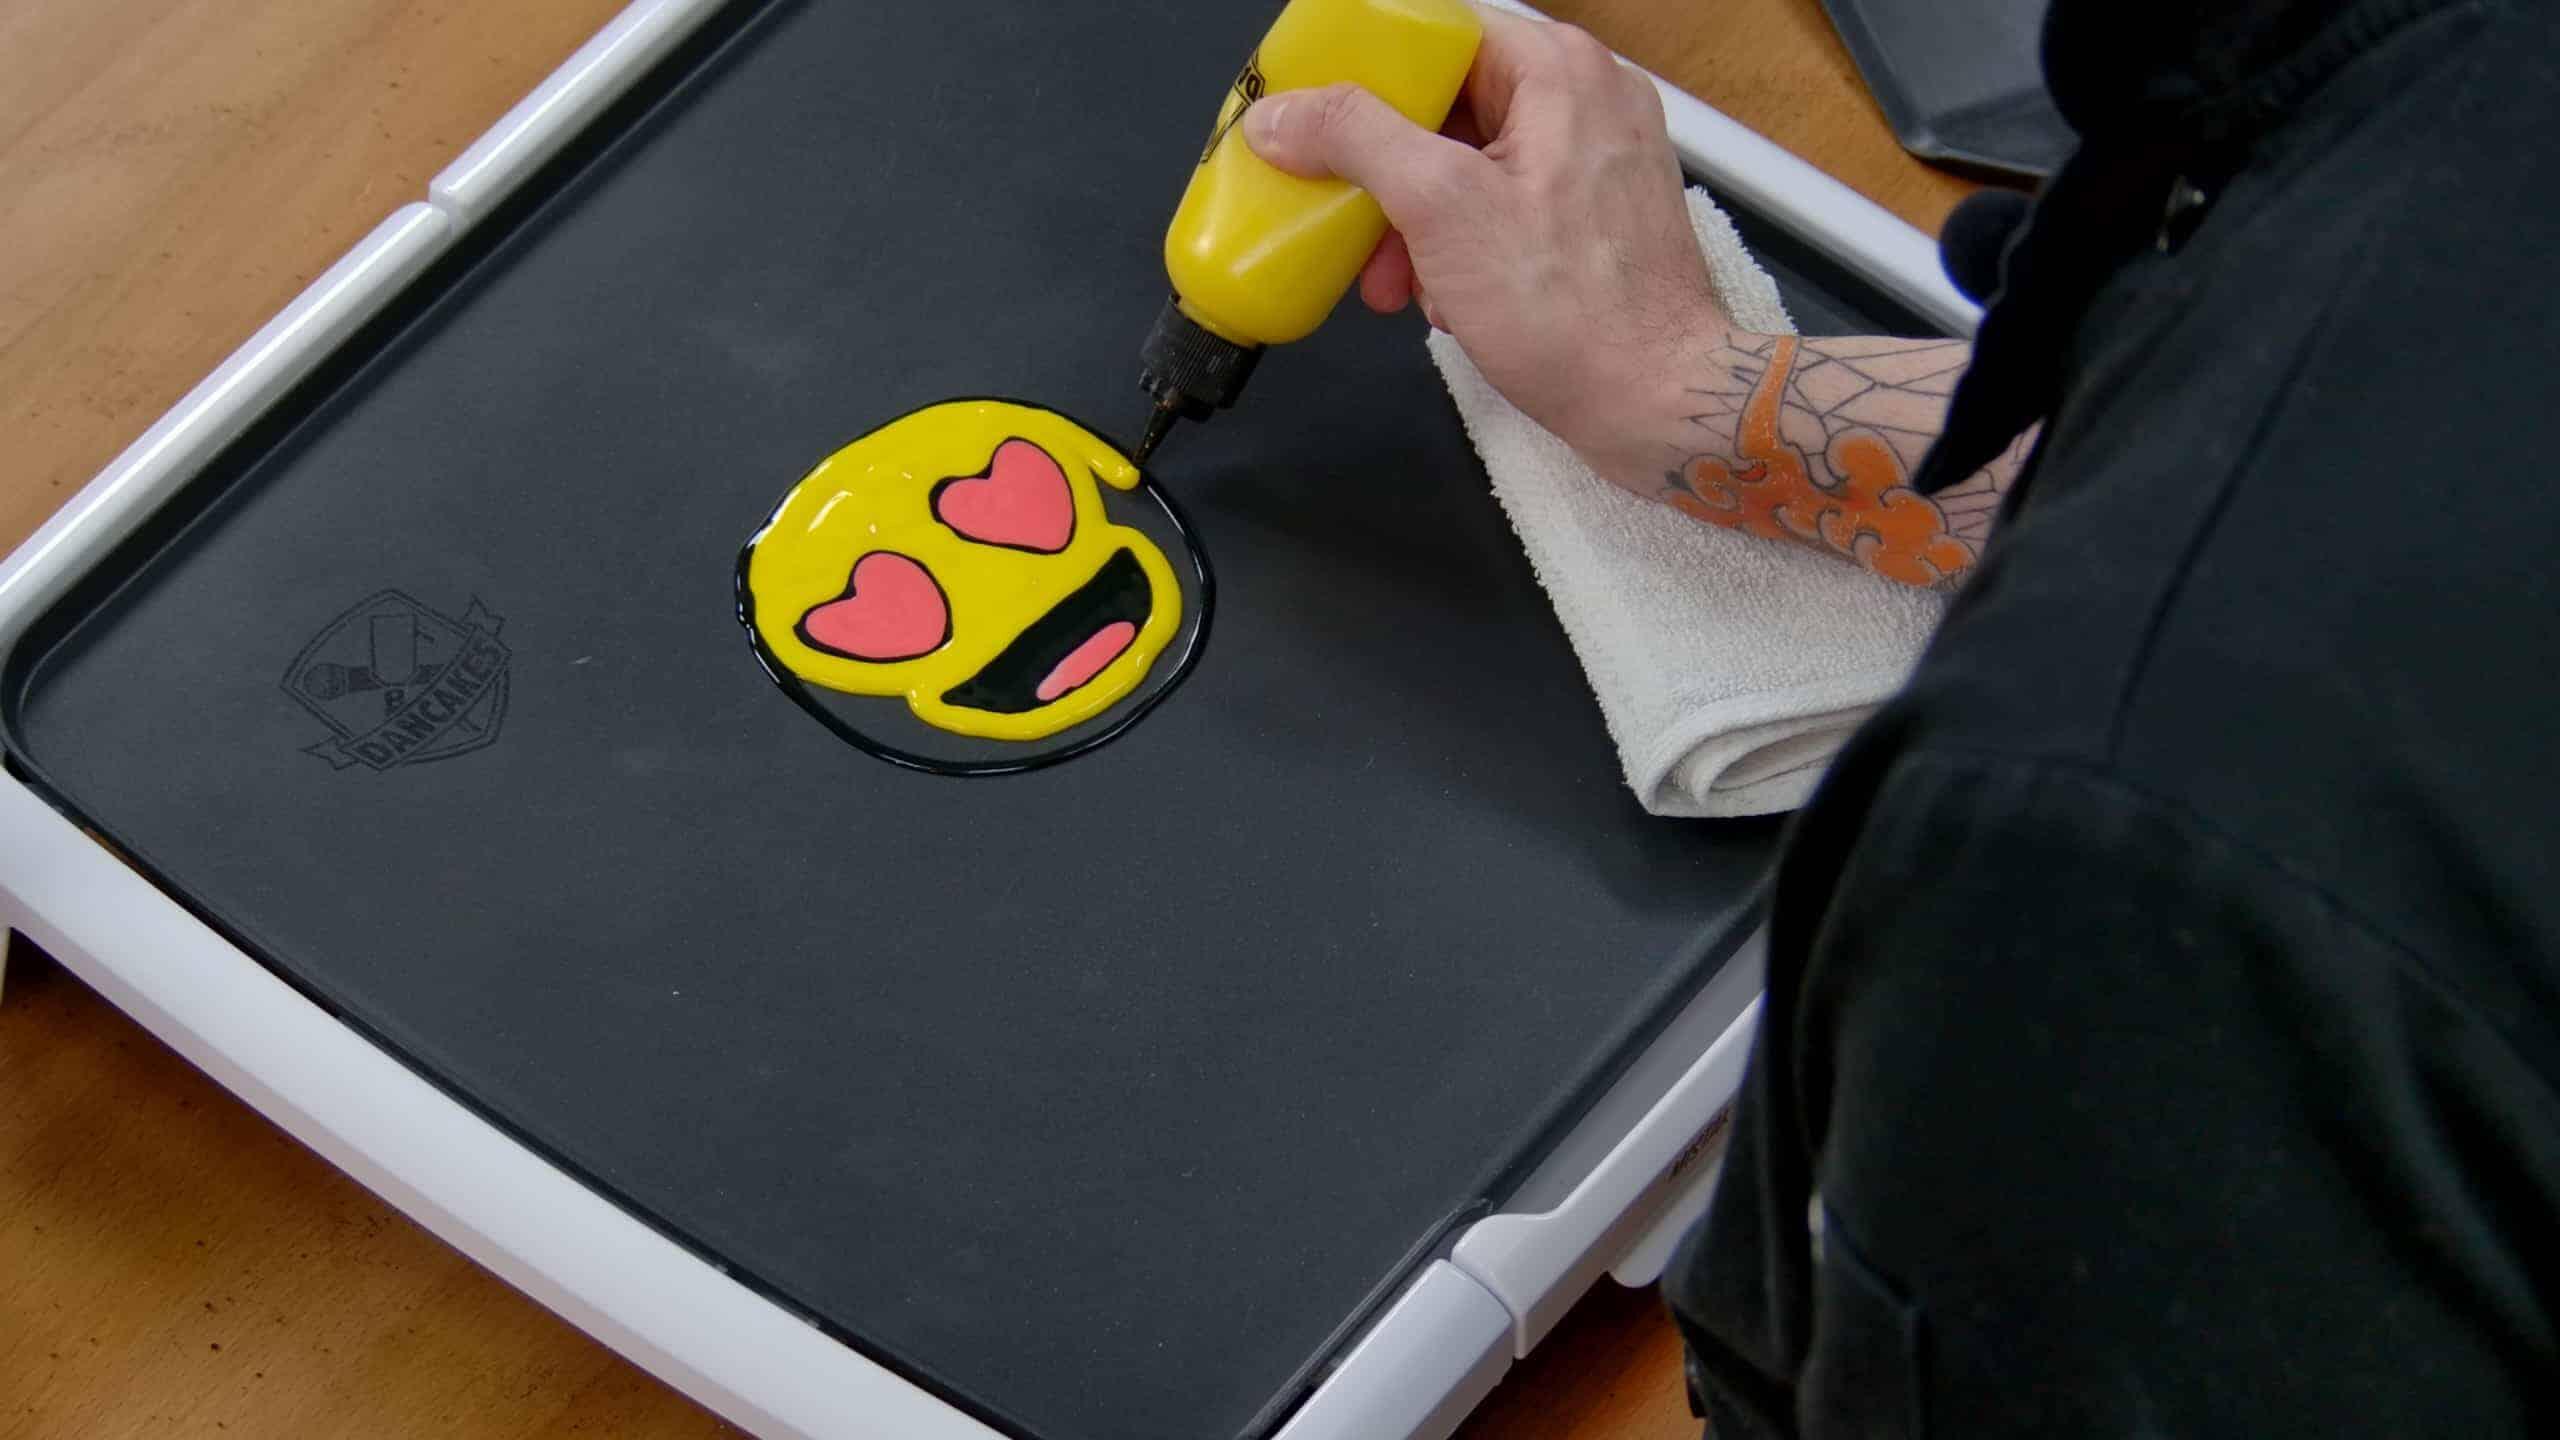
- Fill in the rest – here, we’re using a simple bold yellow batter to fill in our design, but if you’re making a more complex design you might have different zones that use different fill colors.
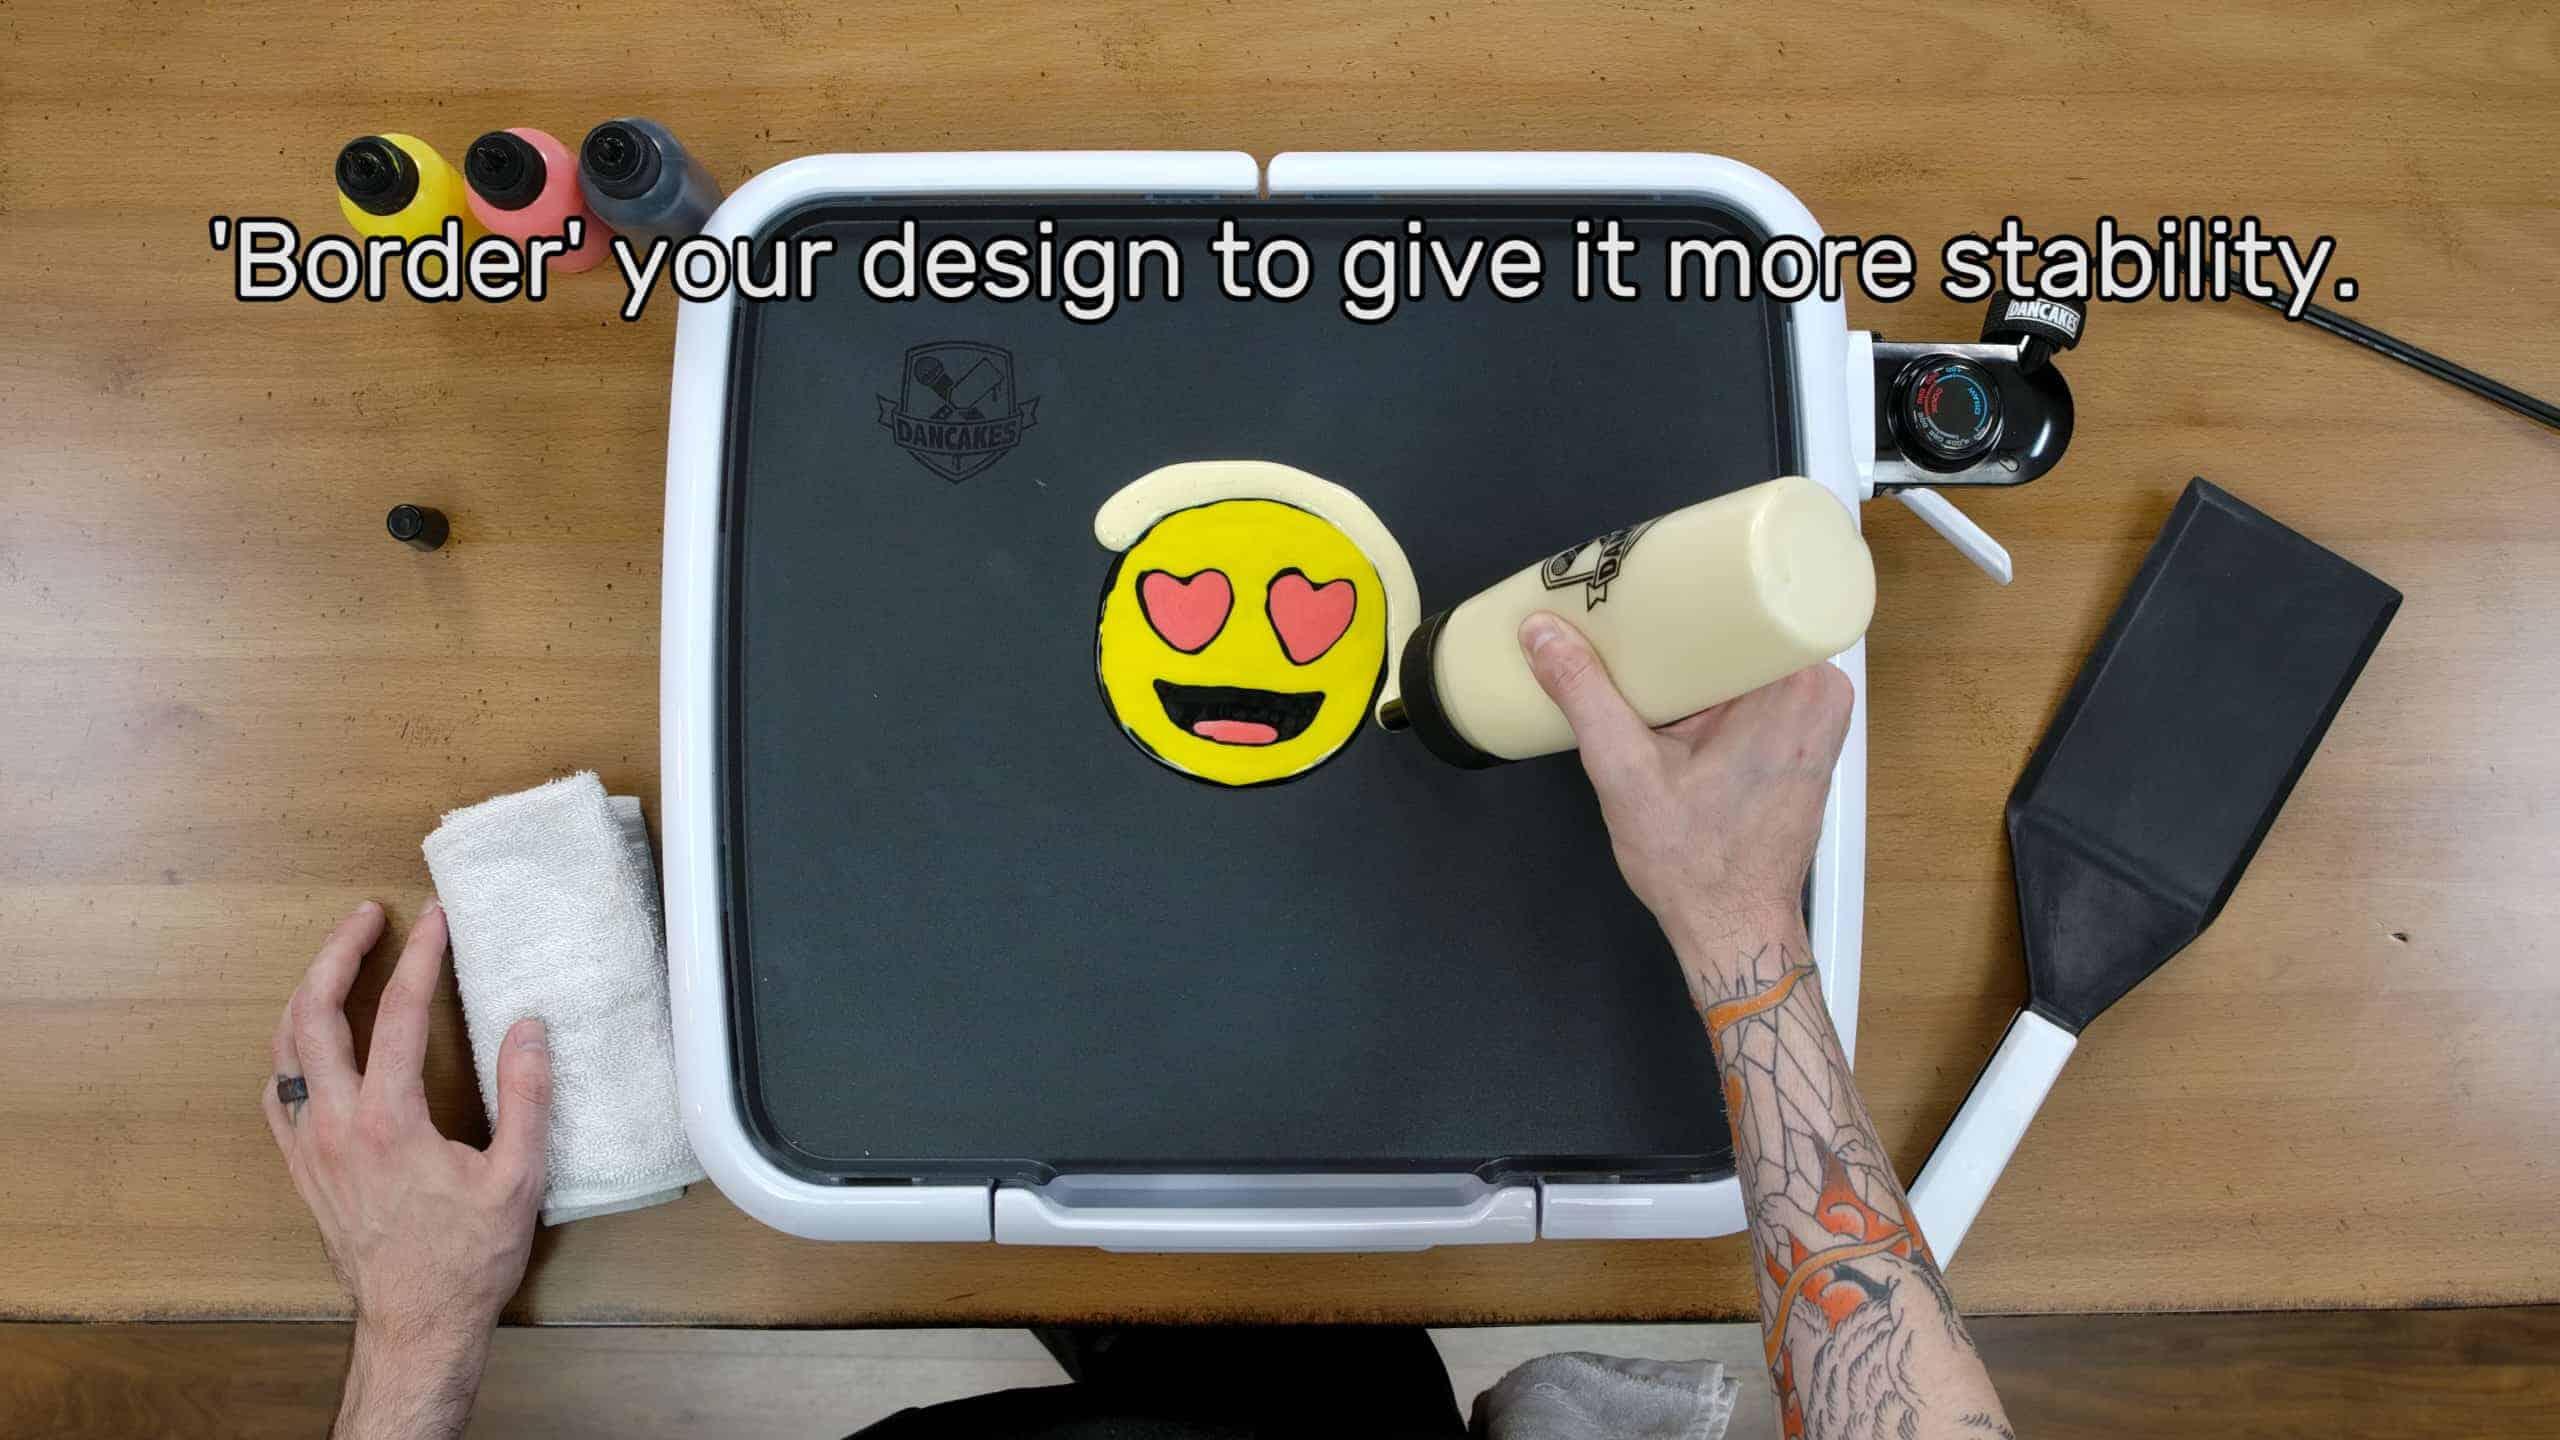
- Border your design – here, we’ve used the Dancakes Fill Bottle to pour a bold border around the edge of our design, to give it more body and make the final design ‘pop’! You can use any color of batter for this step.
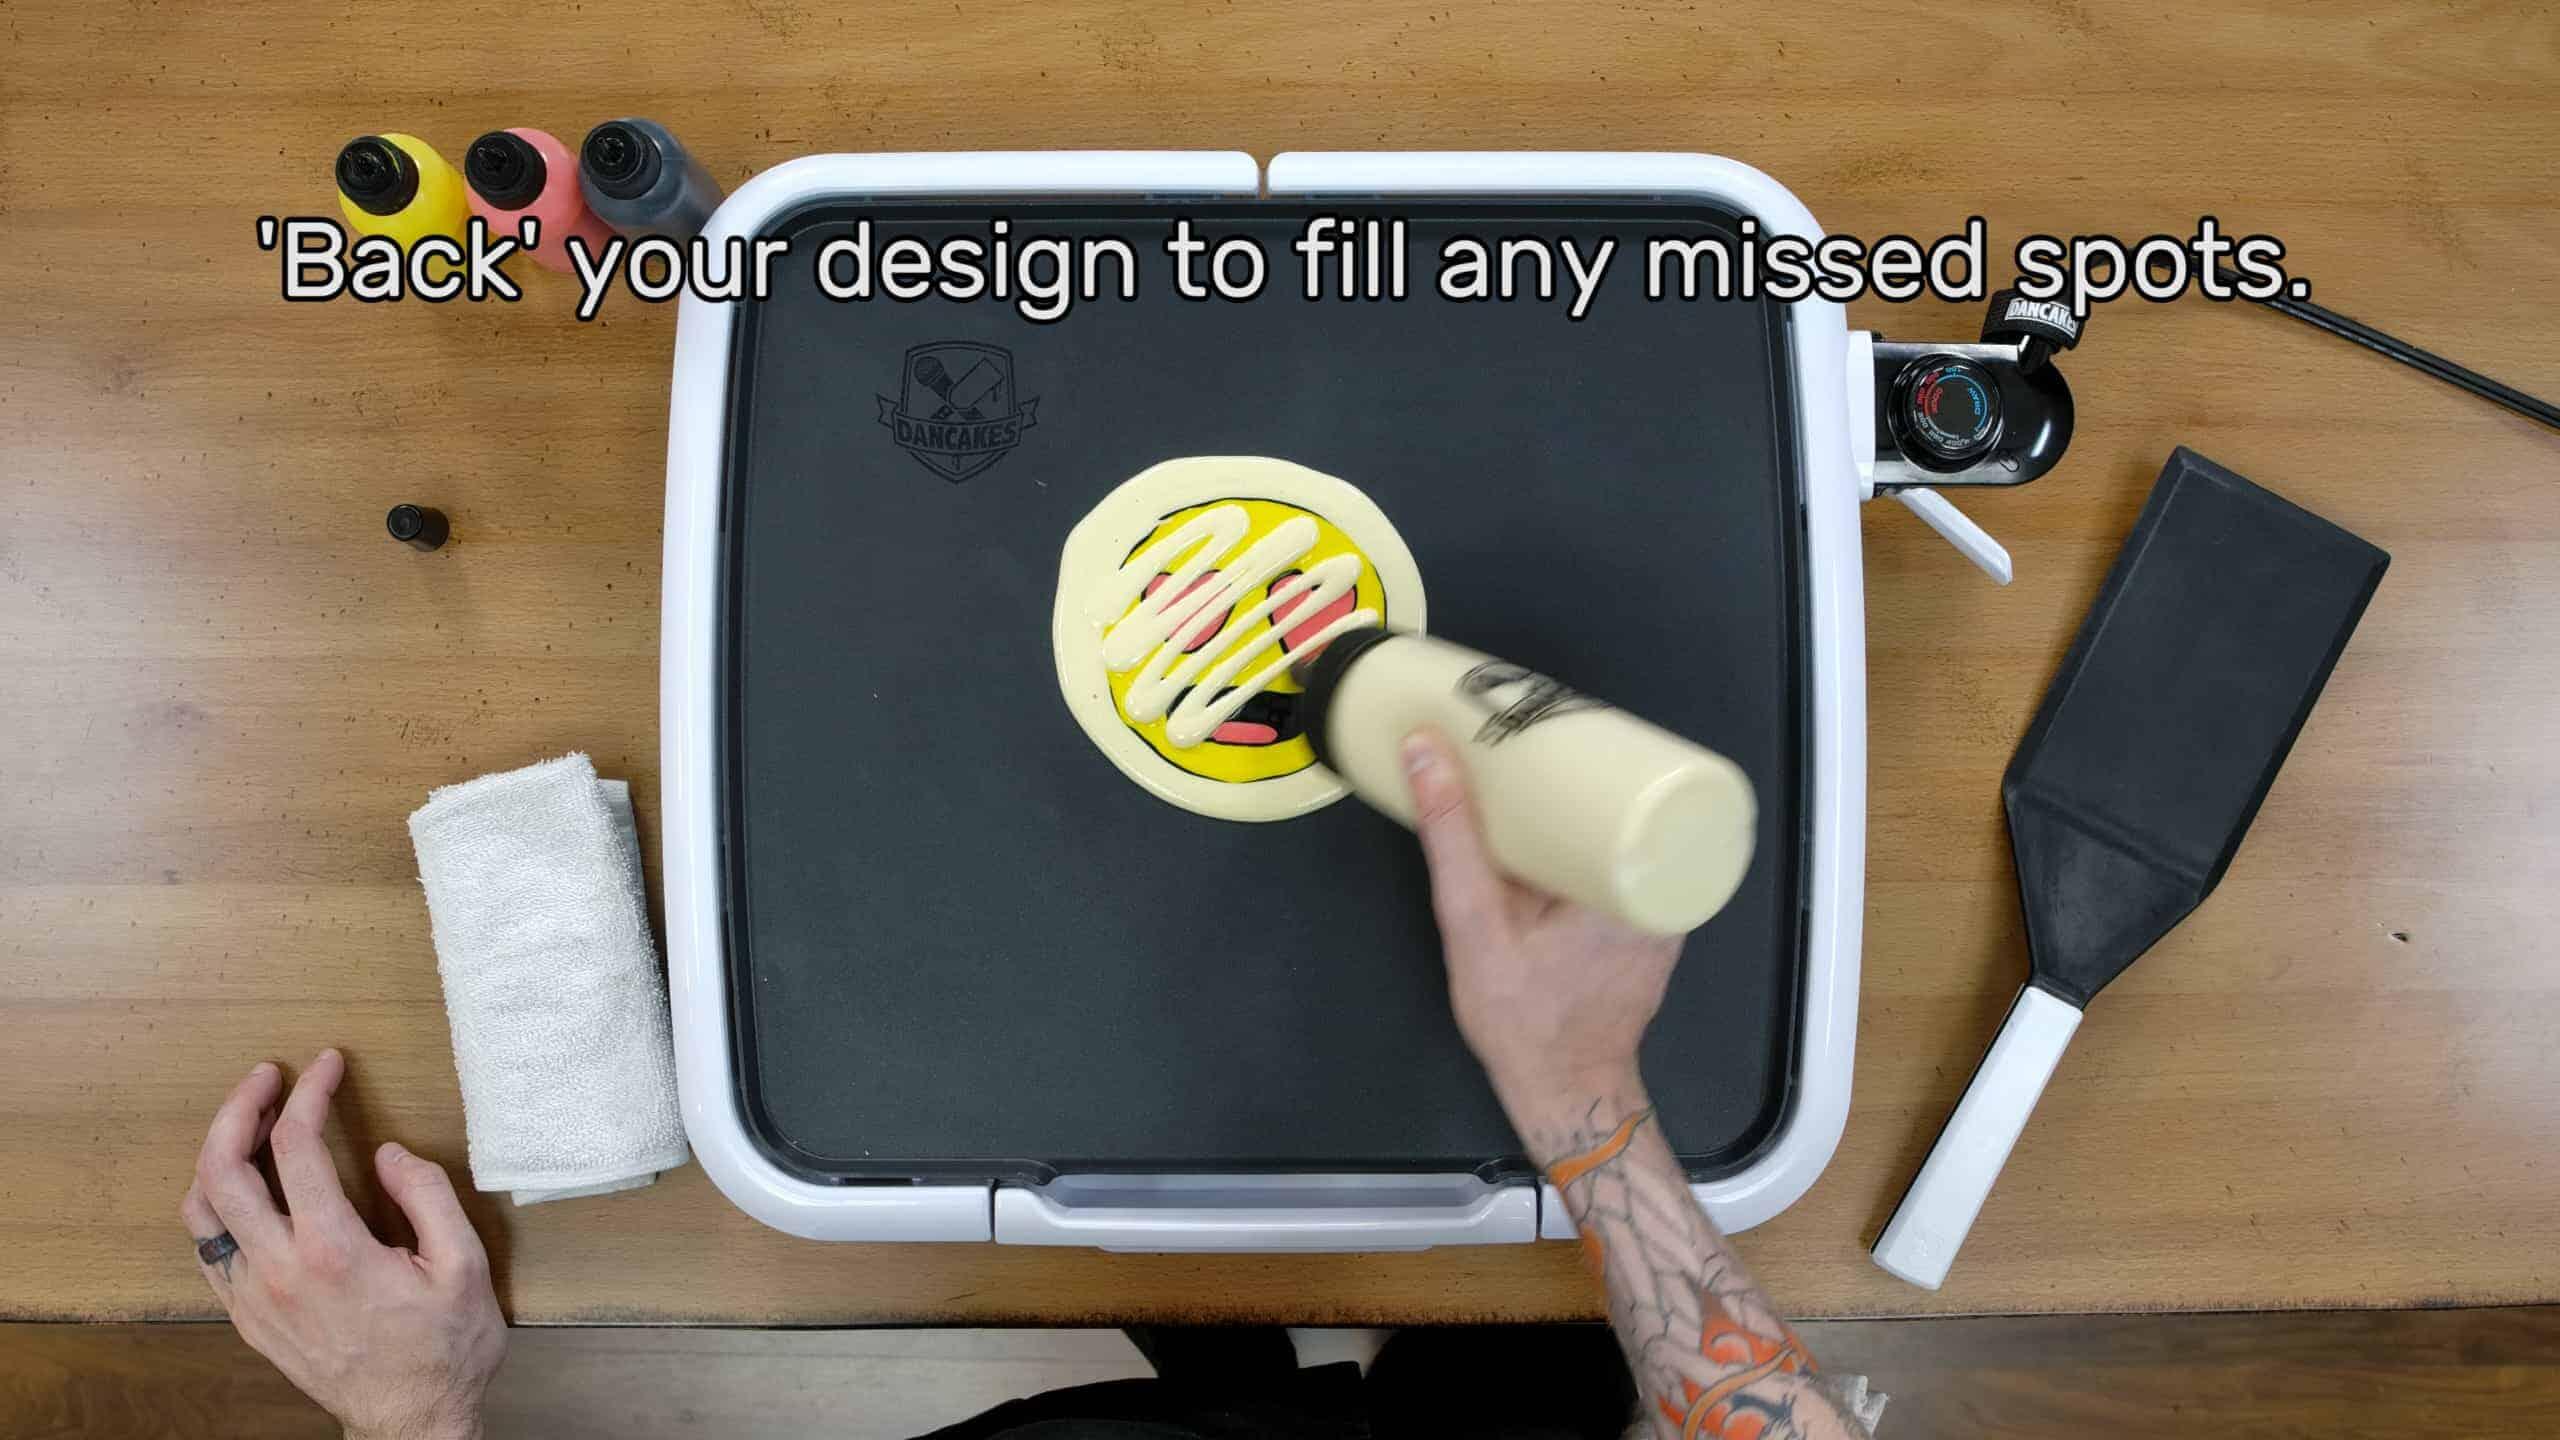
- Back your design – You’ll often see us cover the back of our pancake art with plain pancake batter to fill in any spots that we missed and to give them more body (more to eat!). This can also help brighten the colors of your final product.
When you’ve outlined, detailed, filled, bordered and backed your design…it’s time to cook!
Step 5
COOKING AND CARVING YOUR DESIGN:
When your drawing process is complete, it’s time to cook this pancake!
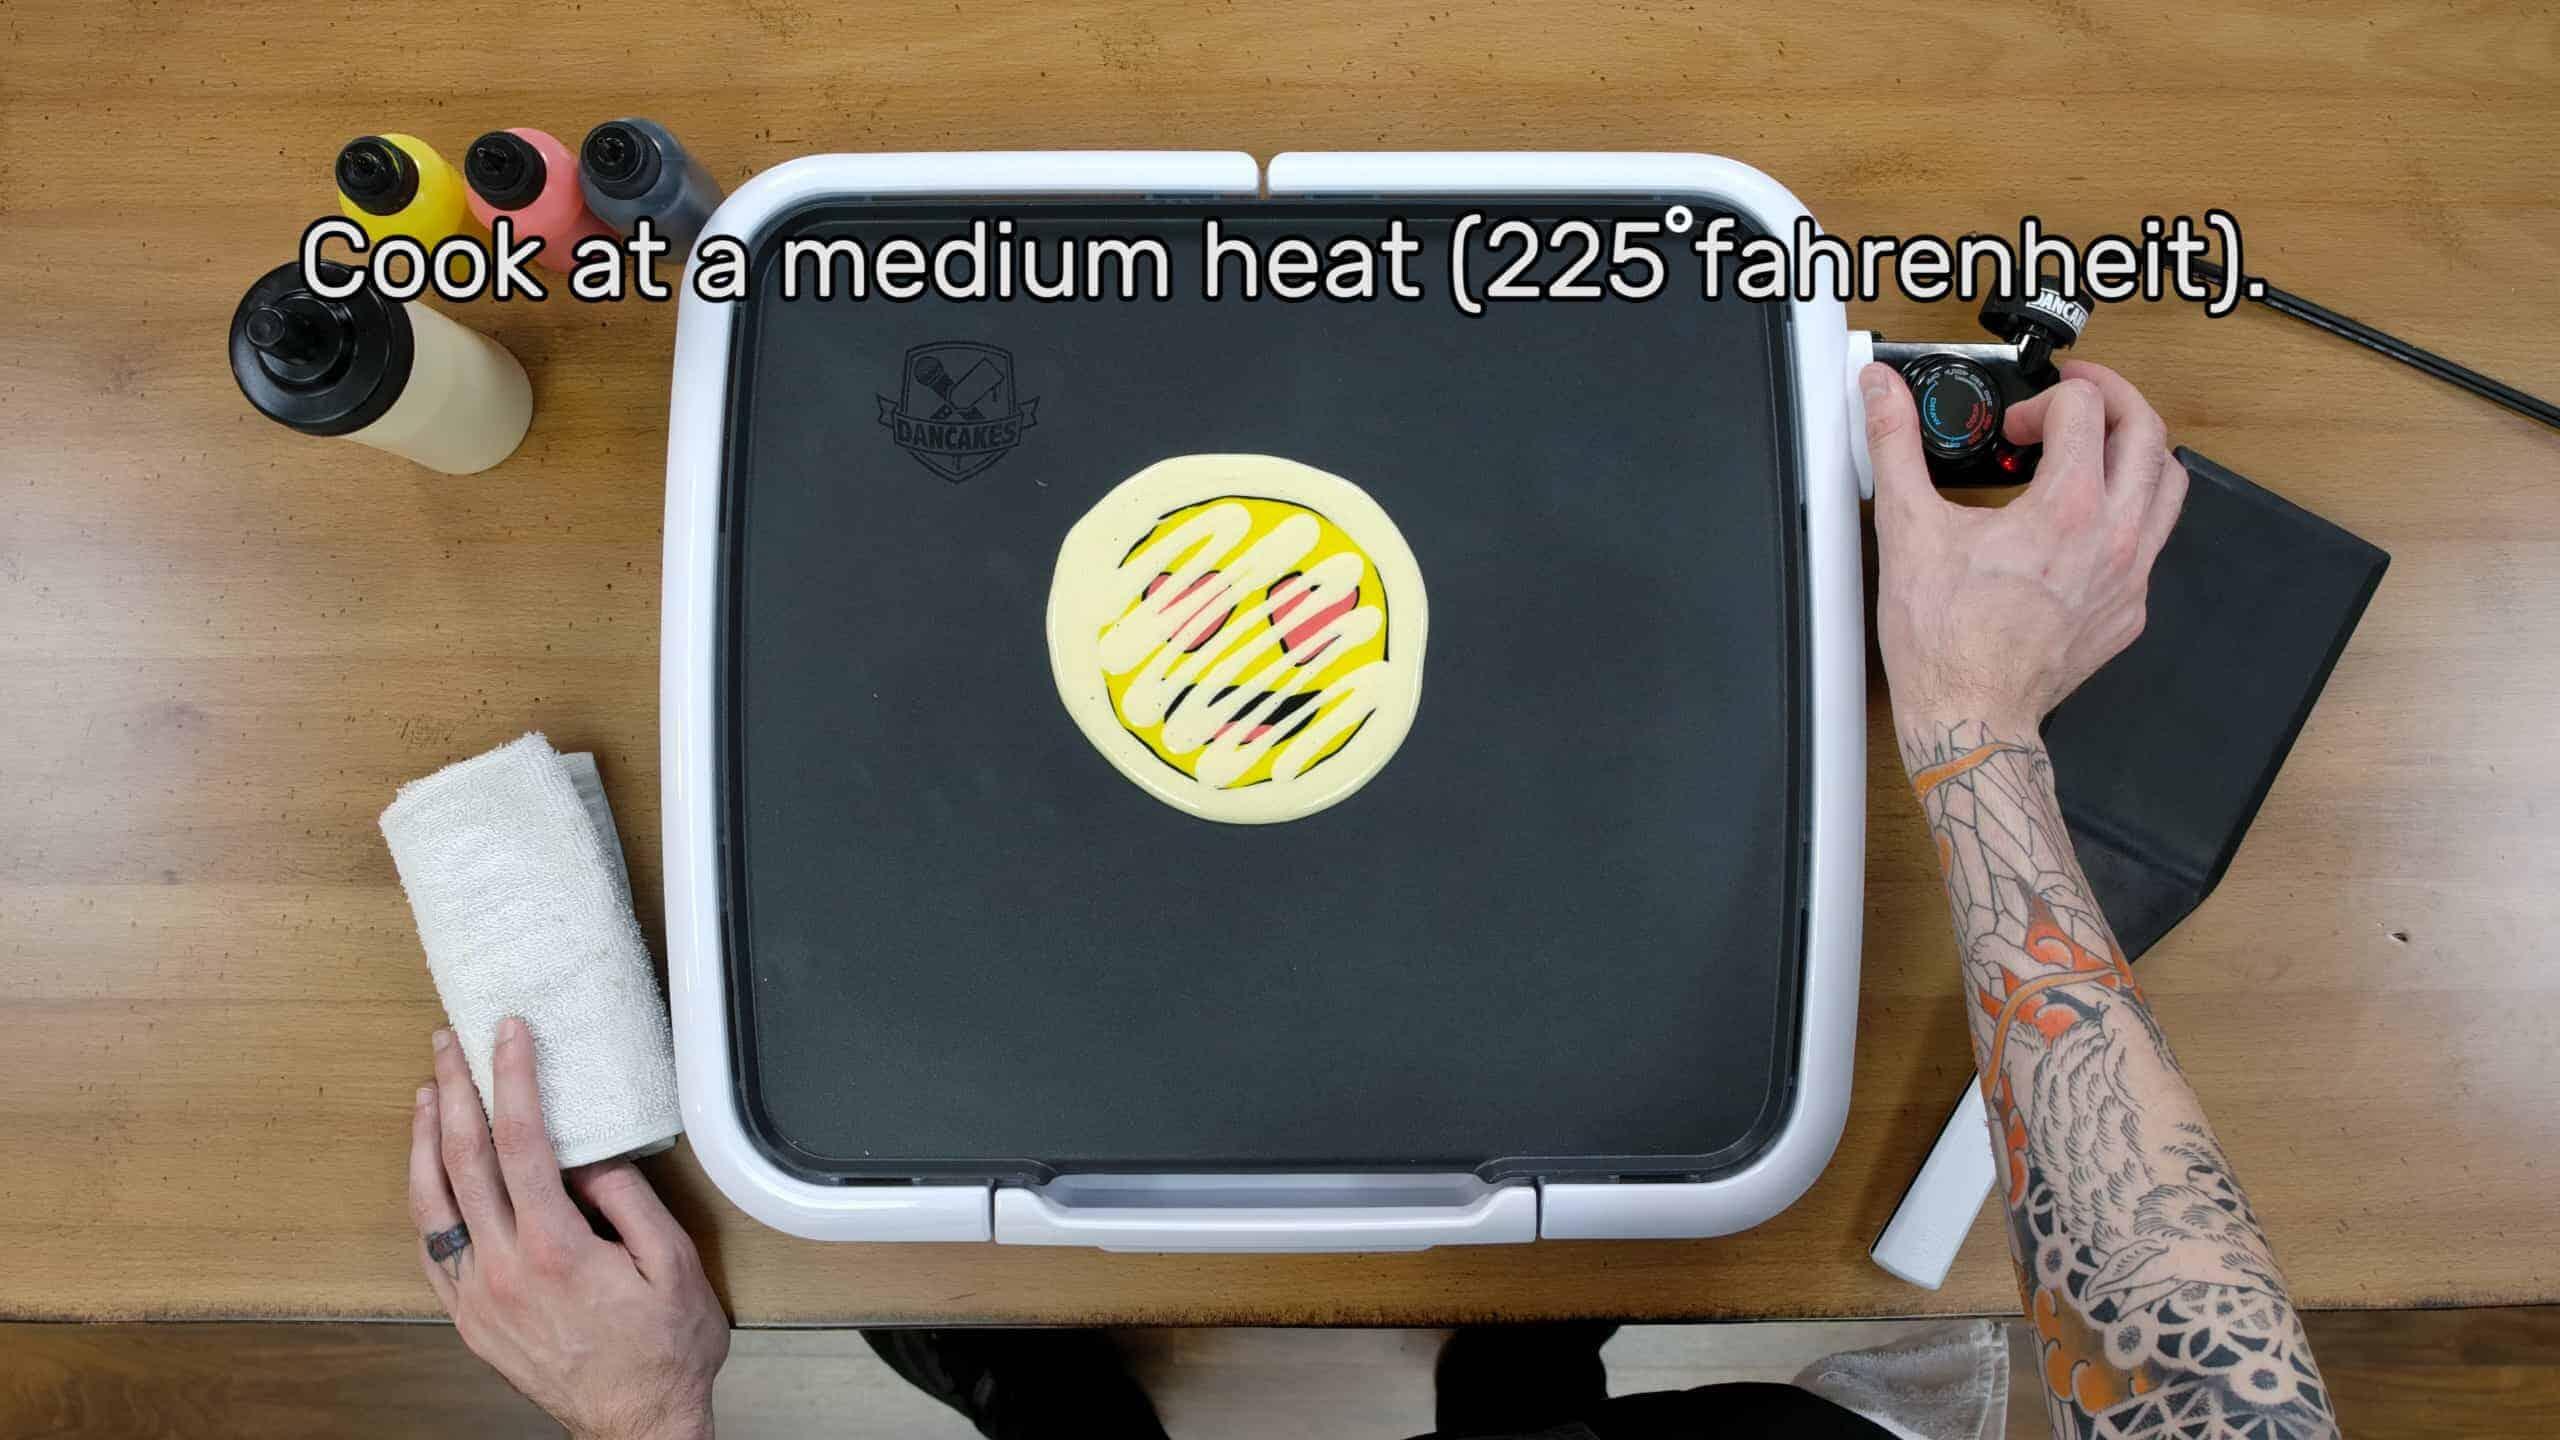
With our gel coloring method, it’s important that we don’t cook our designs too hot. No matter what beautiful, vibrant shades of color you mix into your batter, if the pancake is cooked at too high of a temperature the whole thing can turn the same shade of brown. Not only will this take away your ‘color fidelity’, it can also mess with the contrast between your lines and your fill, which can make your final product look like an indistinguishable blob of overcooked batter. We don’t want that! So to compensate for this we always try to cook at no more than a medium heat, which is approximately 225 degrees Fahrenheit (labelled as the midpoint of the ‘cook’ setting on the Dancakes Griddle’s thermostat). If you’re using a gas or electric range to cook your pancake art it can be a little tricky to measure this, but as with every other part of this process – you’ll get better with practice (and mistakes are delicious).
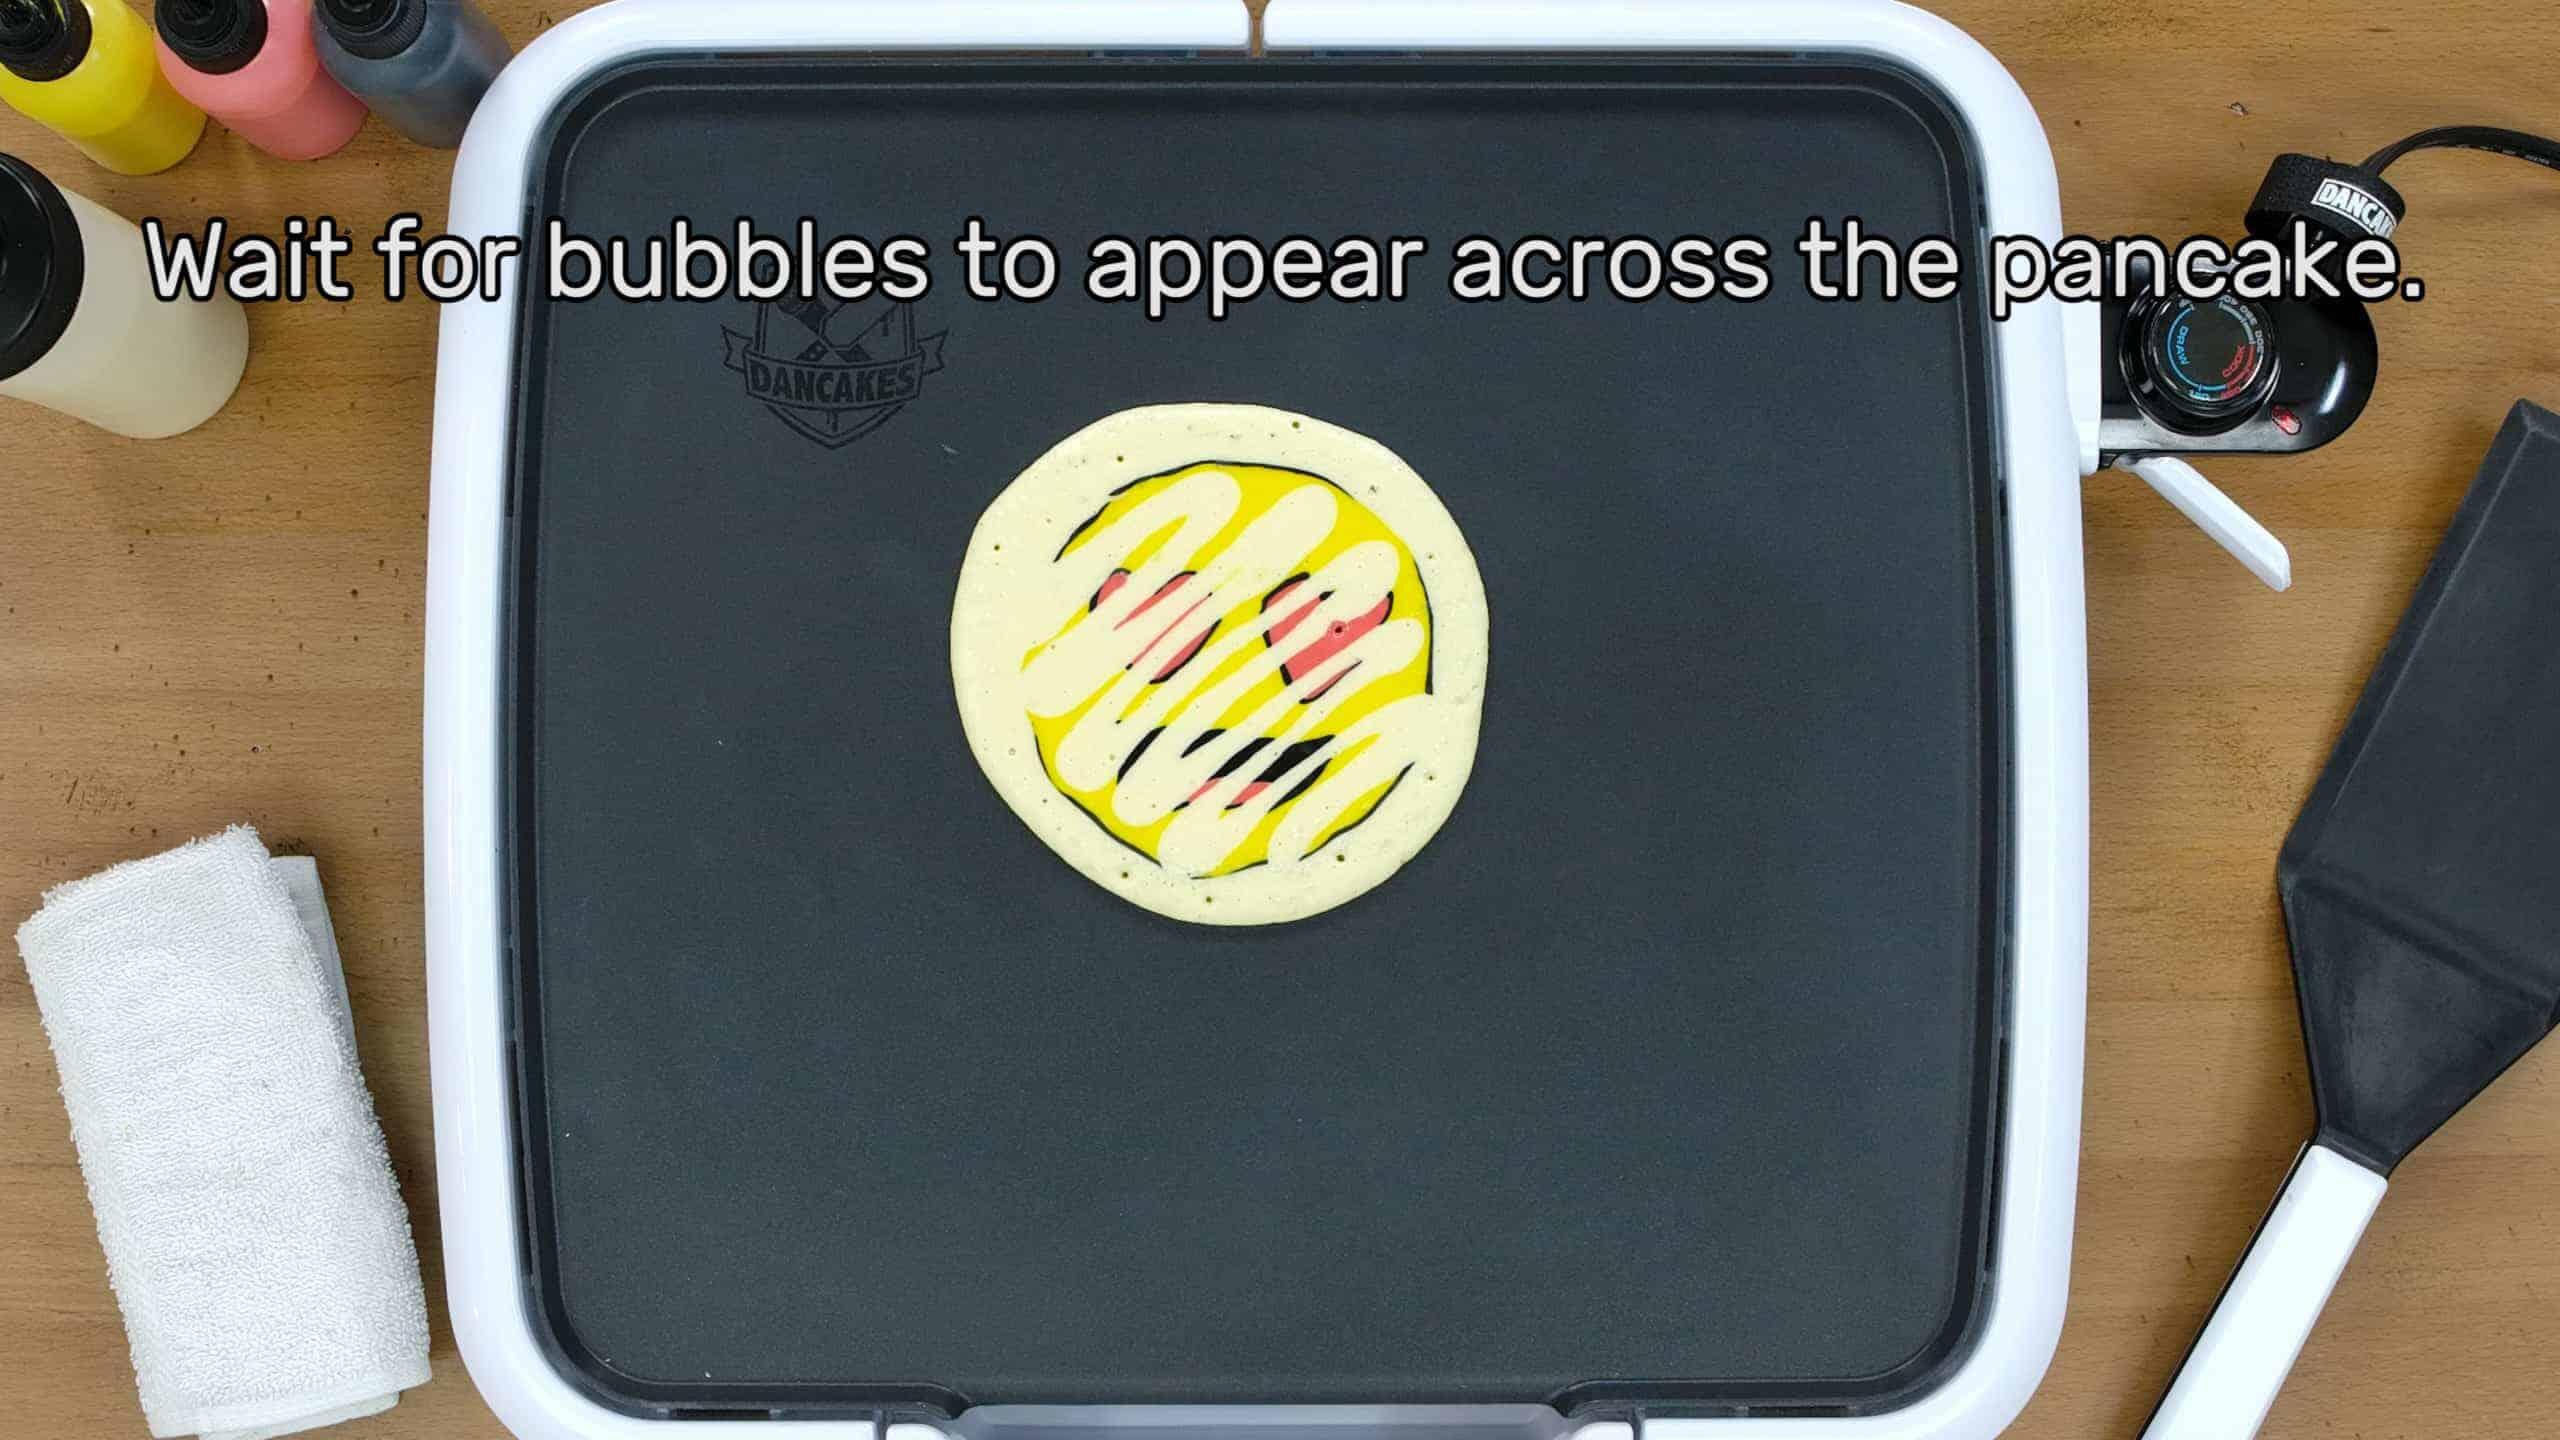
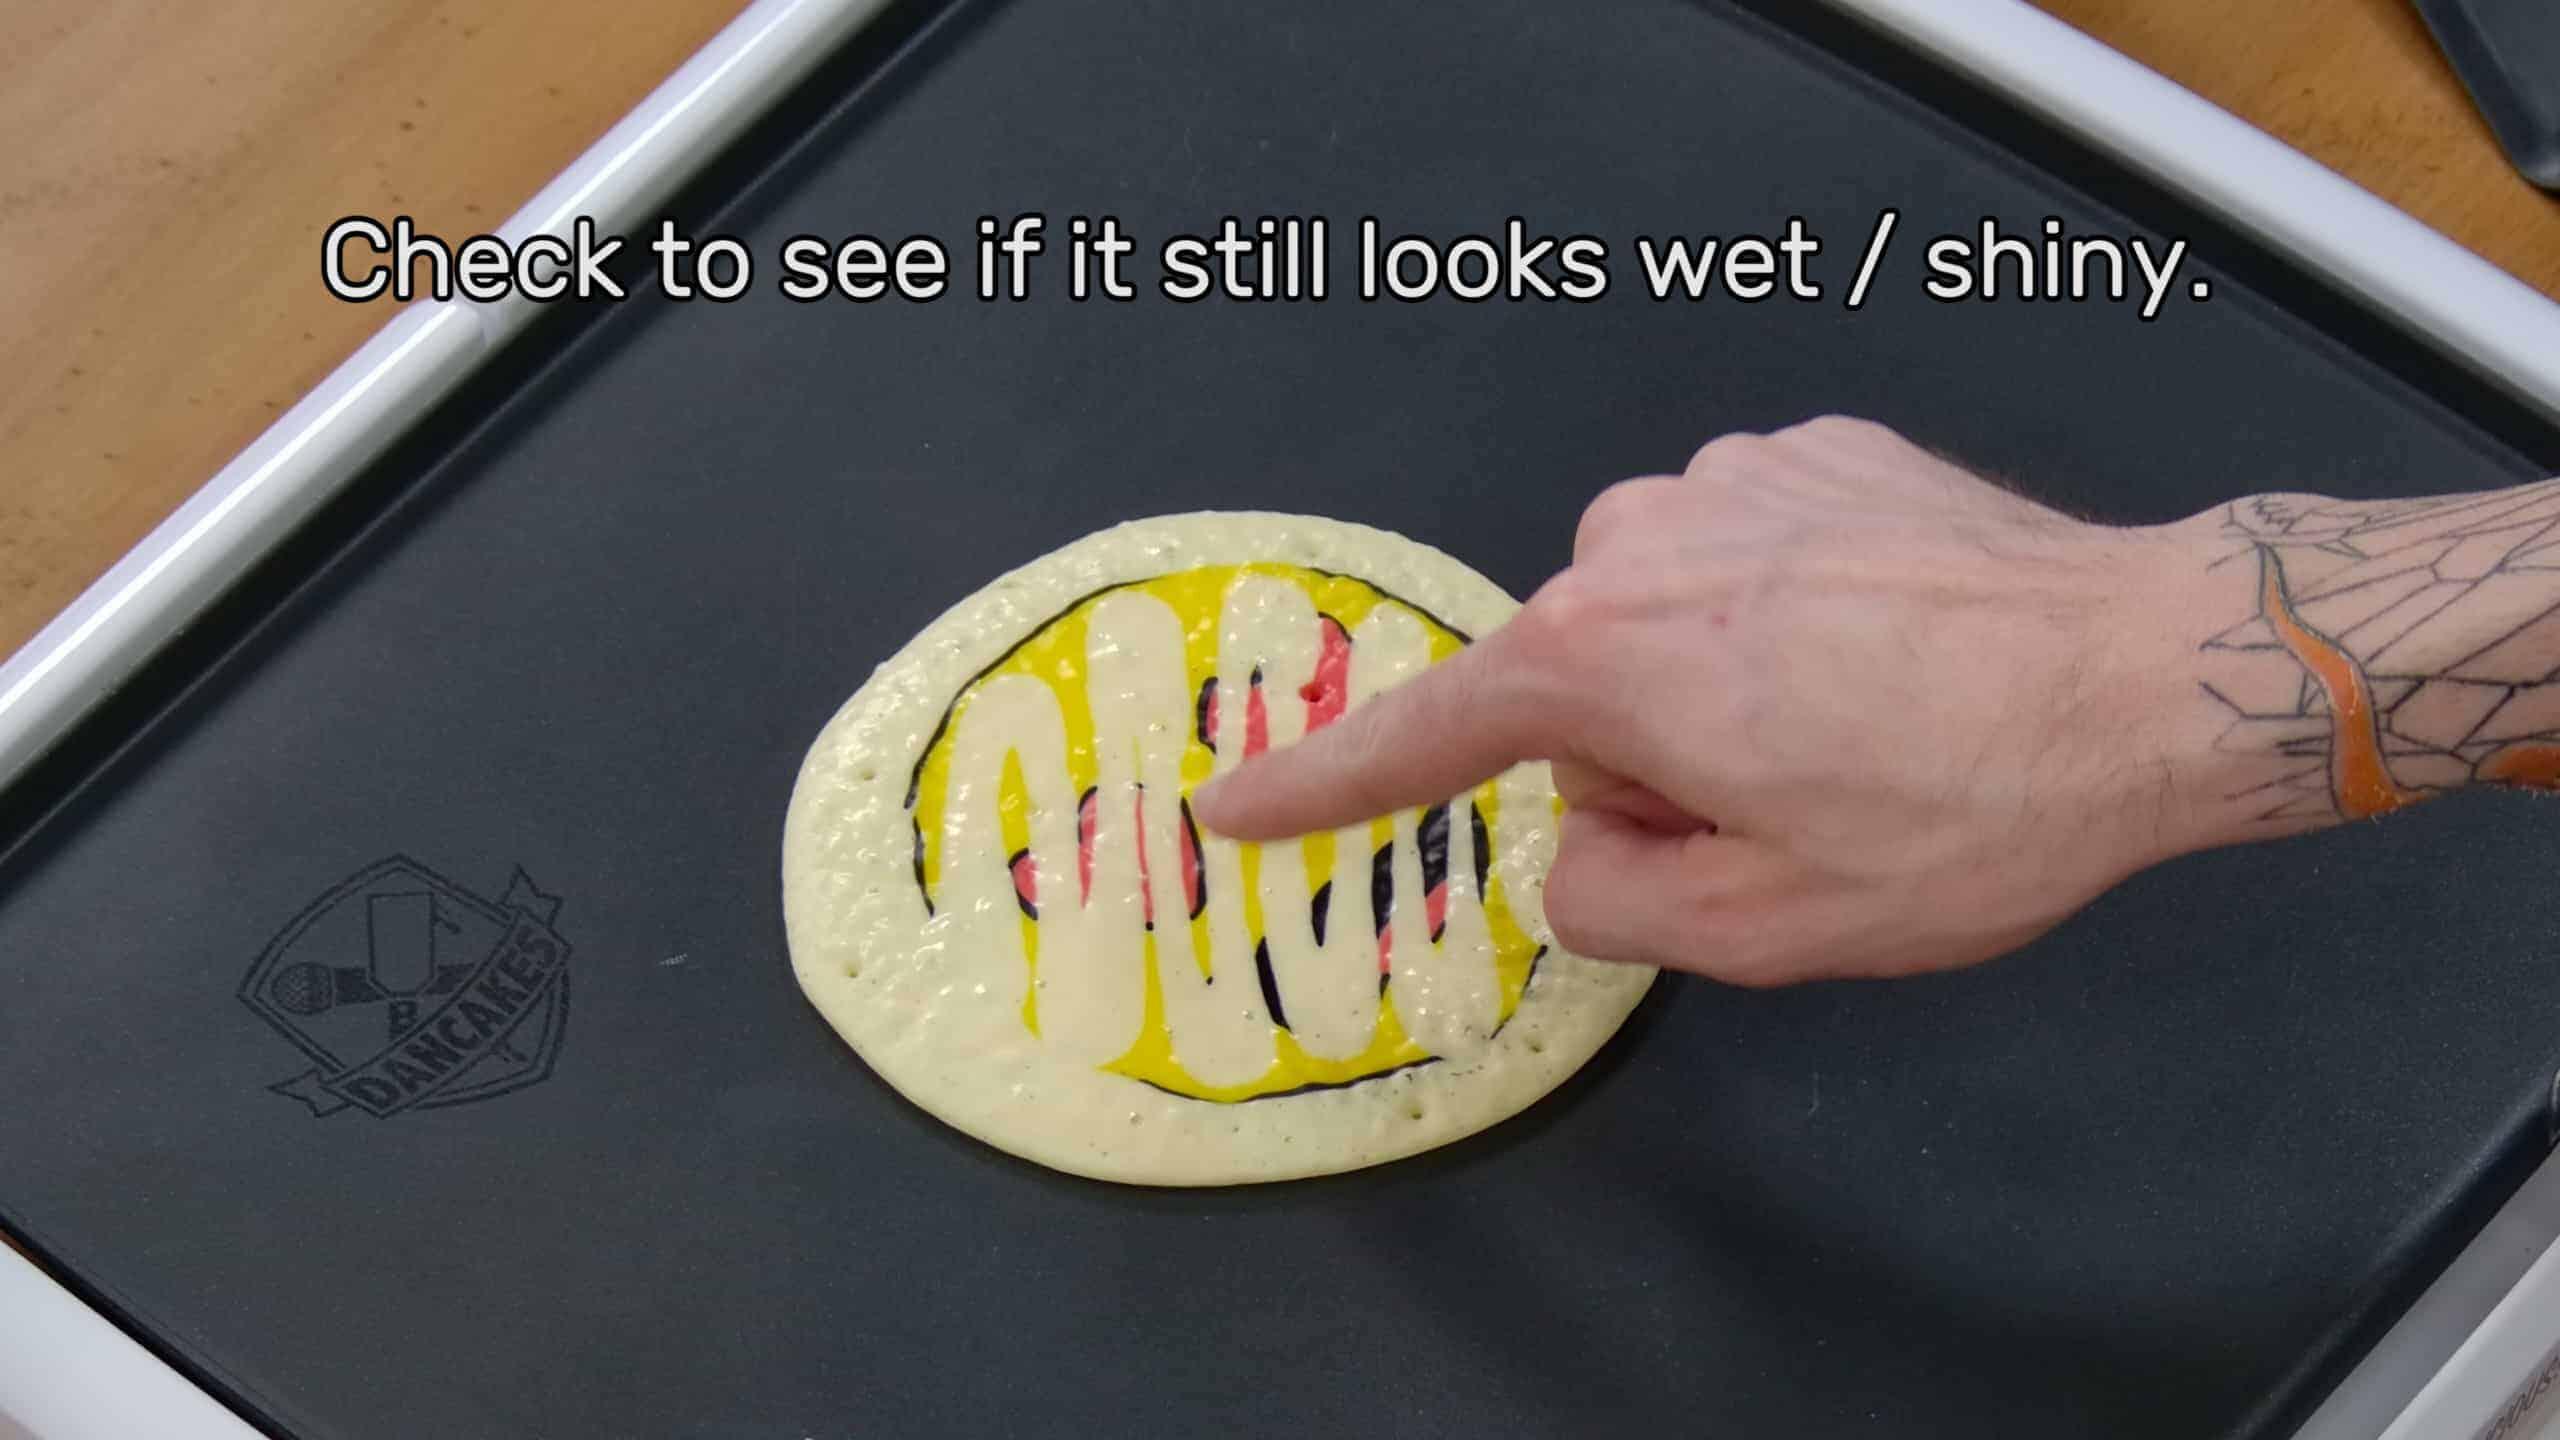
As your pancake design starts to cook you’ll be able to watch as bubbles appear and pop across it. This happens because of the moisture content – the heat of the griddle is literally transforming the liquid water in the pancake batter into steam. As this happens, bubbles appear, pop, and release the steam into the air, leaving behind an increasingly solid pancake. You’ll want to keep an eye on the texture of the pancake – how shiny or ‘wet’ it appears. If the whole thing looks as shiny and wet as it does while you’re drawing it, it still needs to cook, but if that shiny texture gives way to popped bubbles and a matte texture, it’s almost time to start carving it.
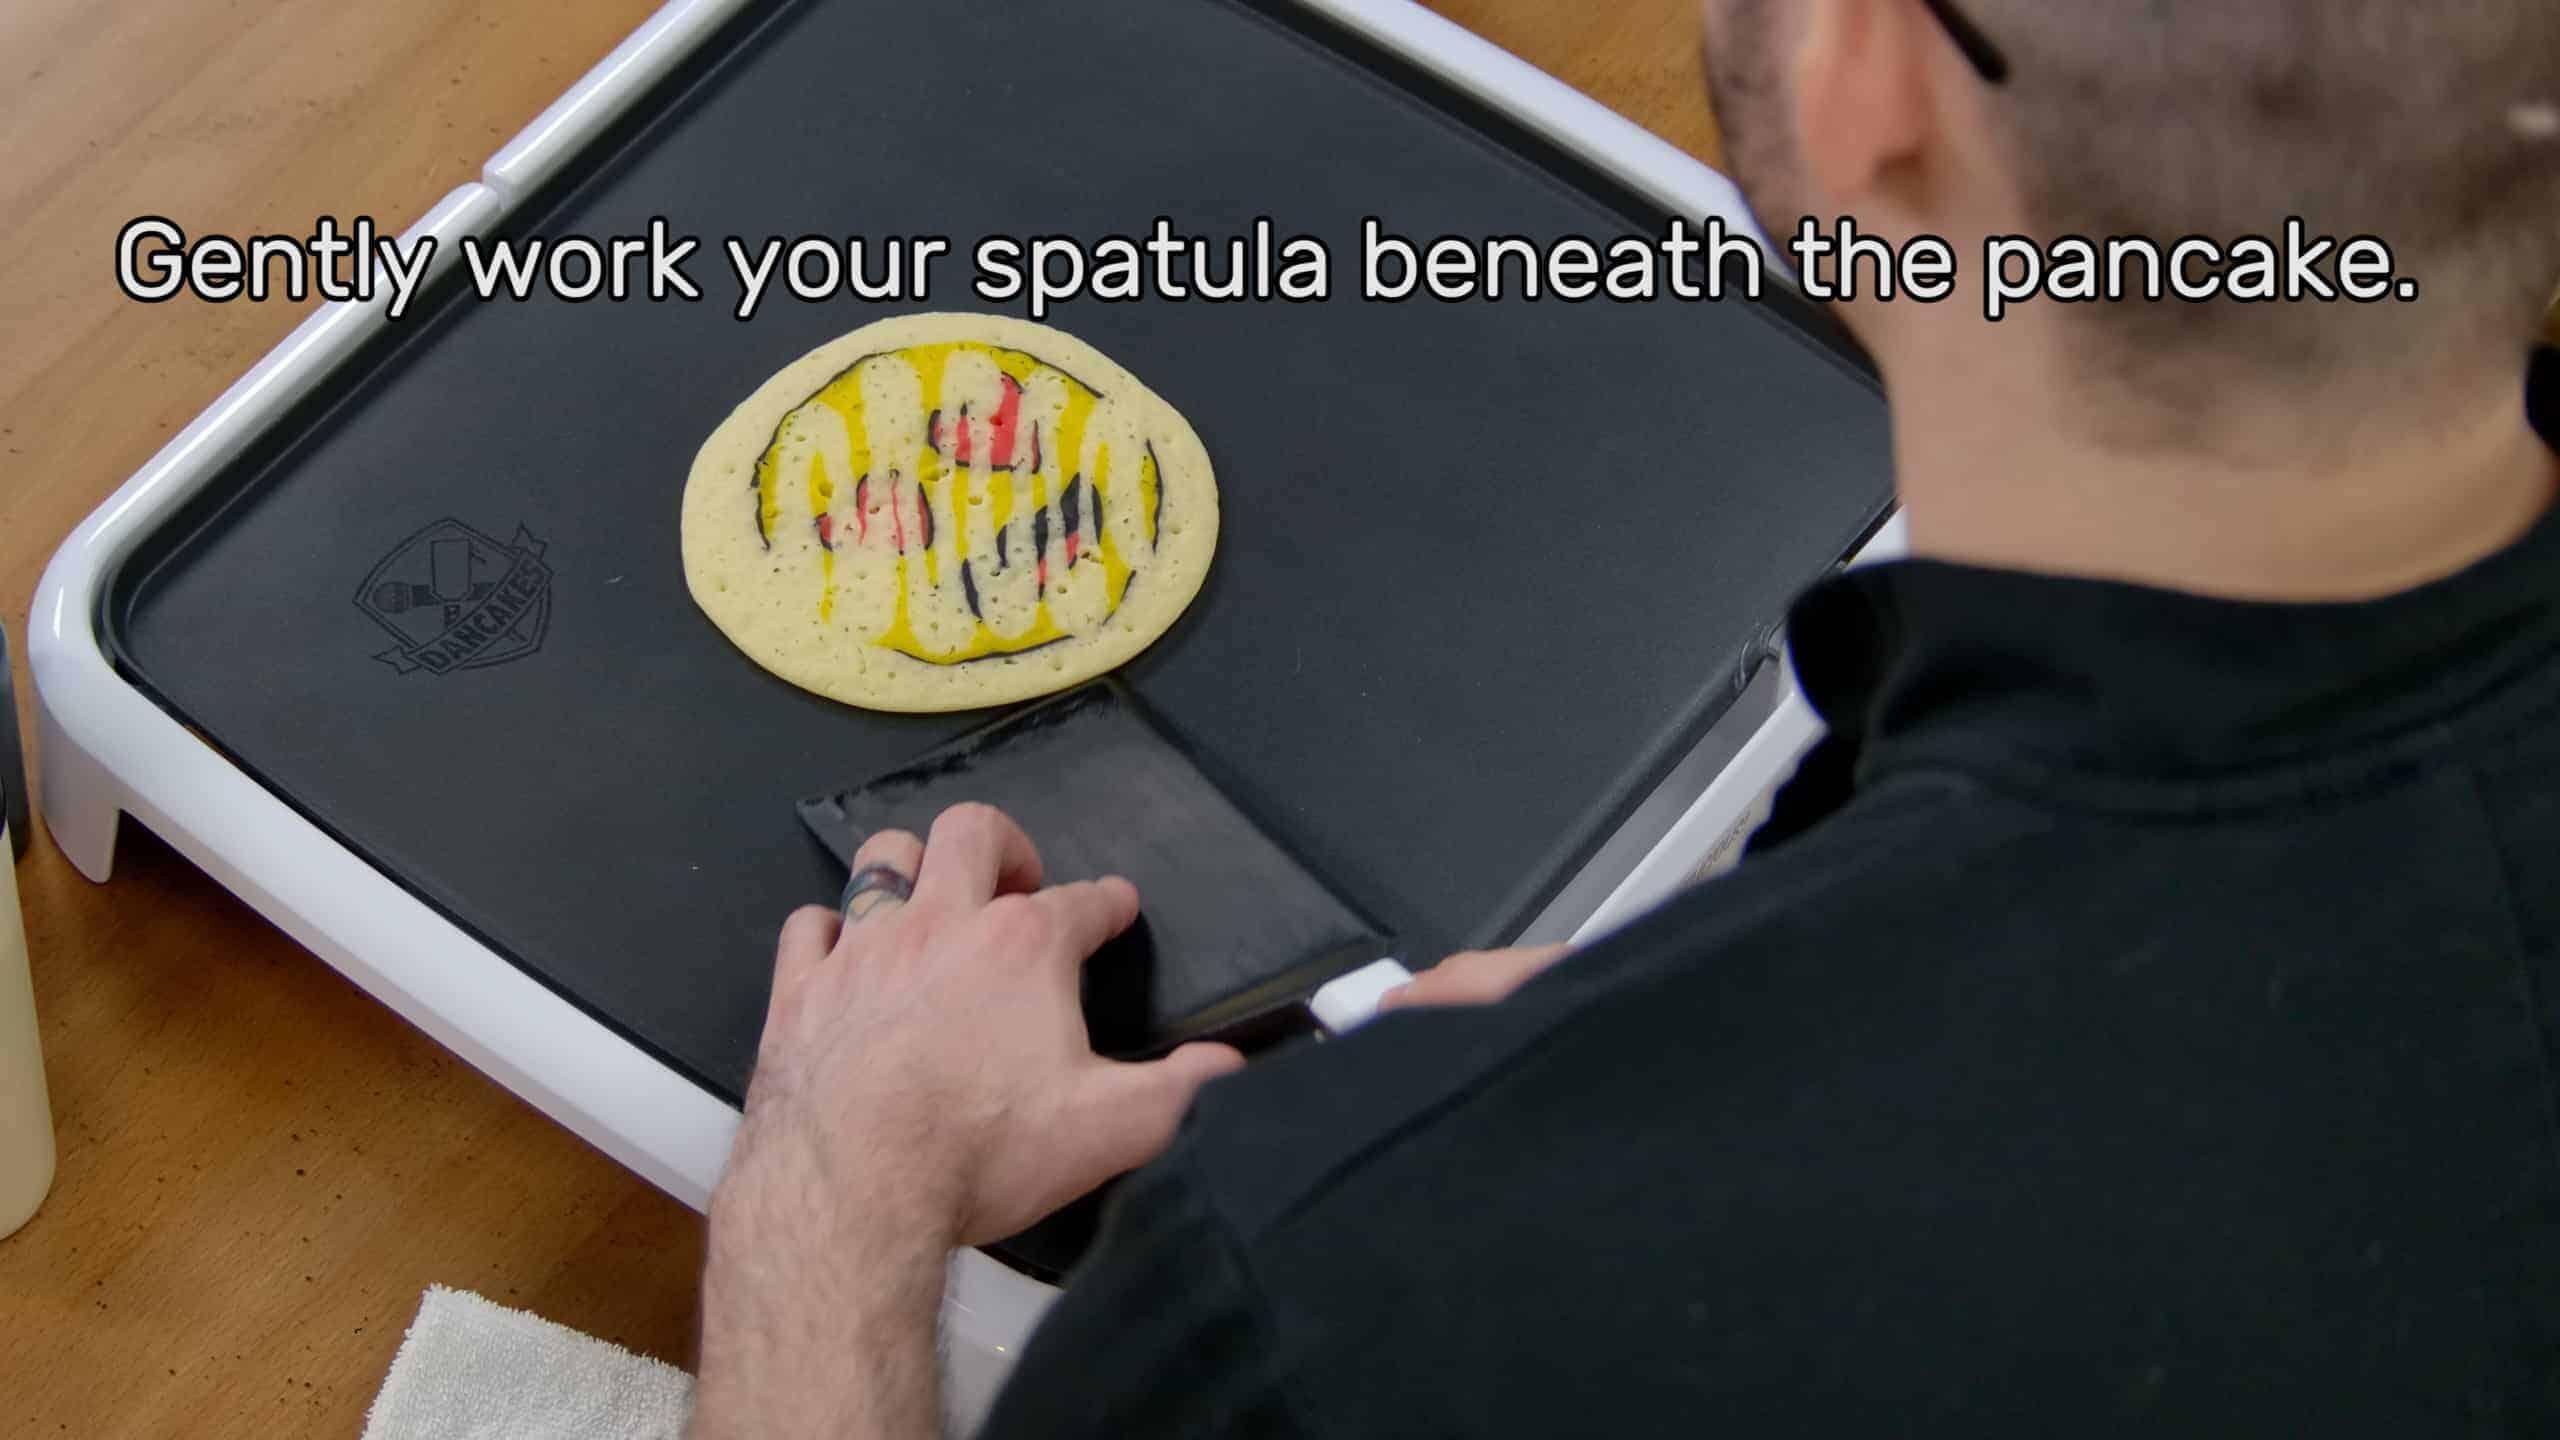
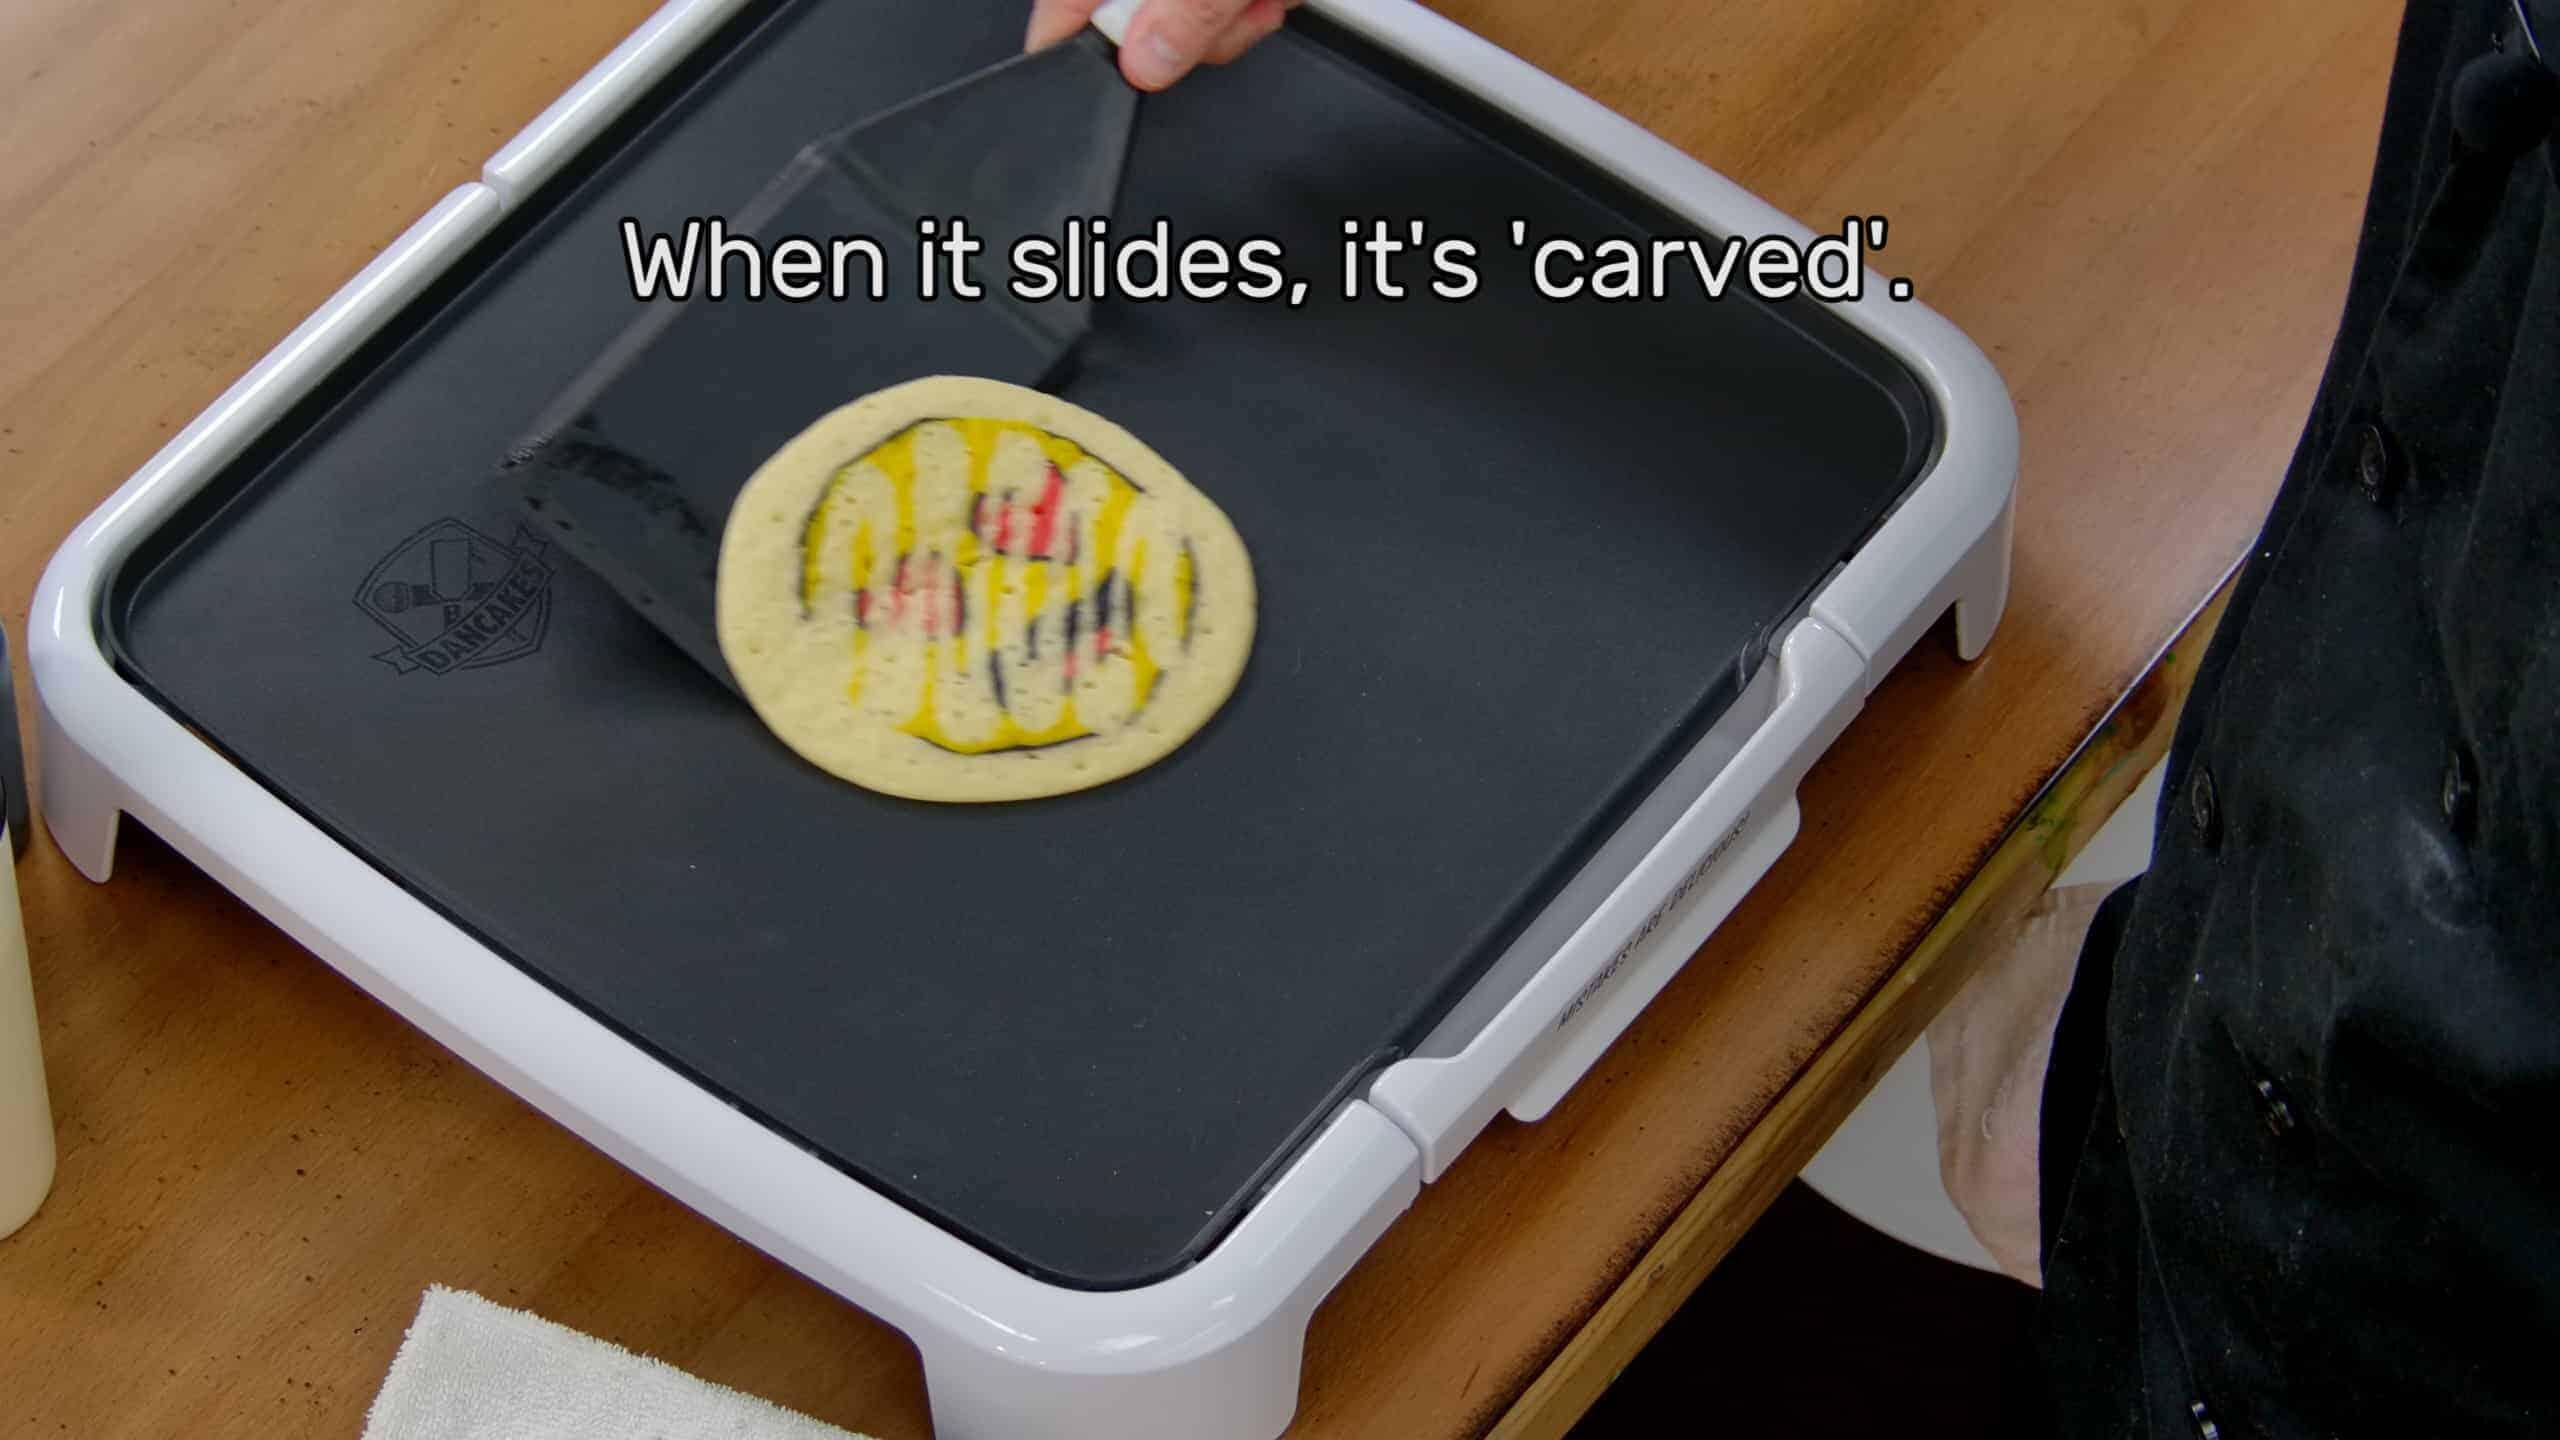
Once the pancake looks as though it has cooked solid, it needs to be ‘carved loose‘ from the surface of the griddle. A side-effect of using no non-stick agent is that the pancakes have a tendency to be a little stuck in place, despite the non-stick coating of the griddle we use. This is a perfectly normal part of the process, and this is why the Dancakes Spatula has such a firmly bladed edge to it. To properly ‘carve’ a pancake, simply take your spatula or turner, set it flat against the griddle, and gently ease your way underneath the pancake, working your way around the design in circles until you’re able to easily get the whole thing to slide across the griddle. This can take patience – it’s important to be firm, but gentle, and don’t try to force loose a pancake that doesn’t feel ready to release on its own. If you try to rush this step it’s very easy to cause irreparable damage to your design, so be careful. You’ll get the hang of it.
Once the design slides easily across the griddle it has been ‘carved’, and at that point, it’s time to move on to the flip!
Step 6

FLIPPING AND PLATING YOUR DESIGN:
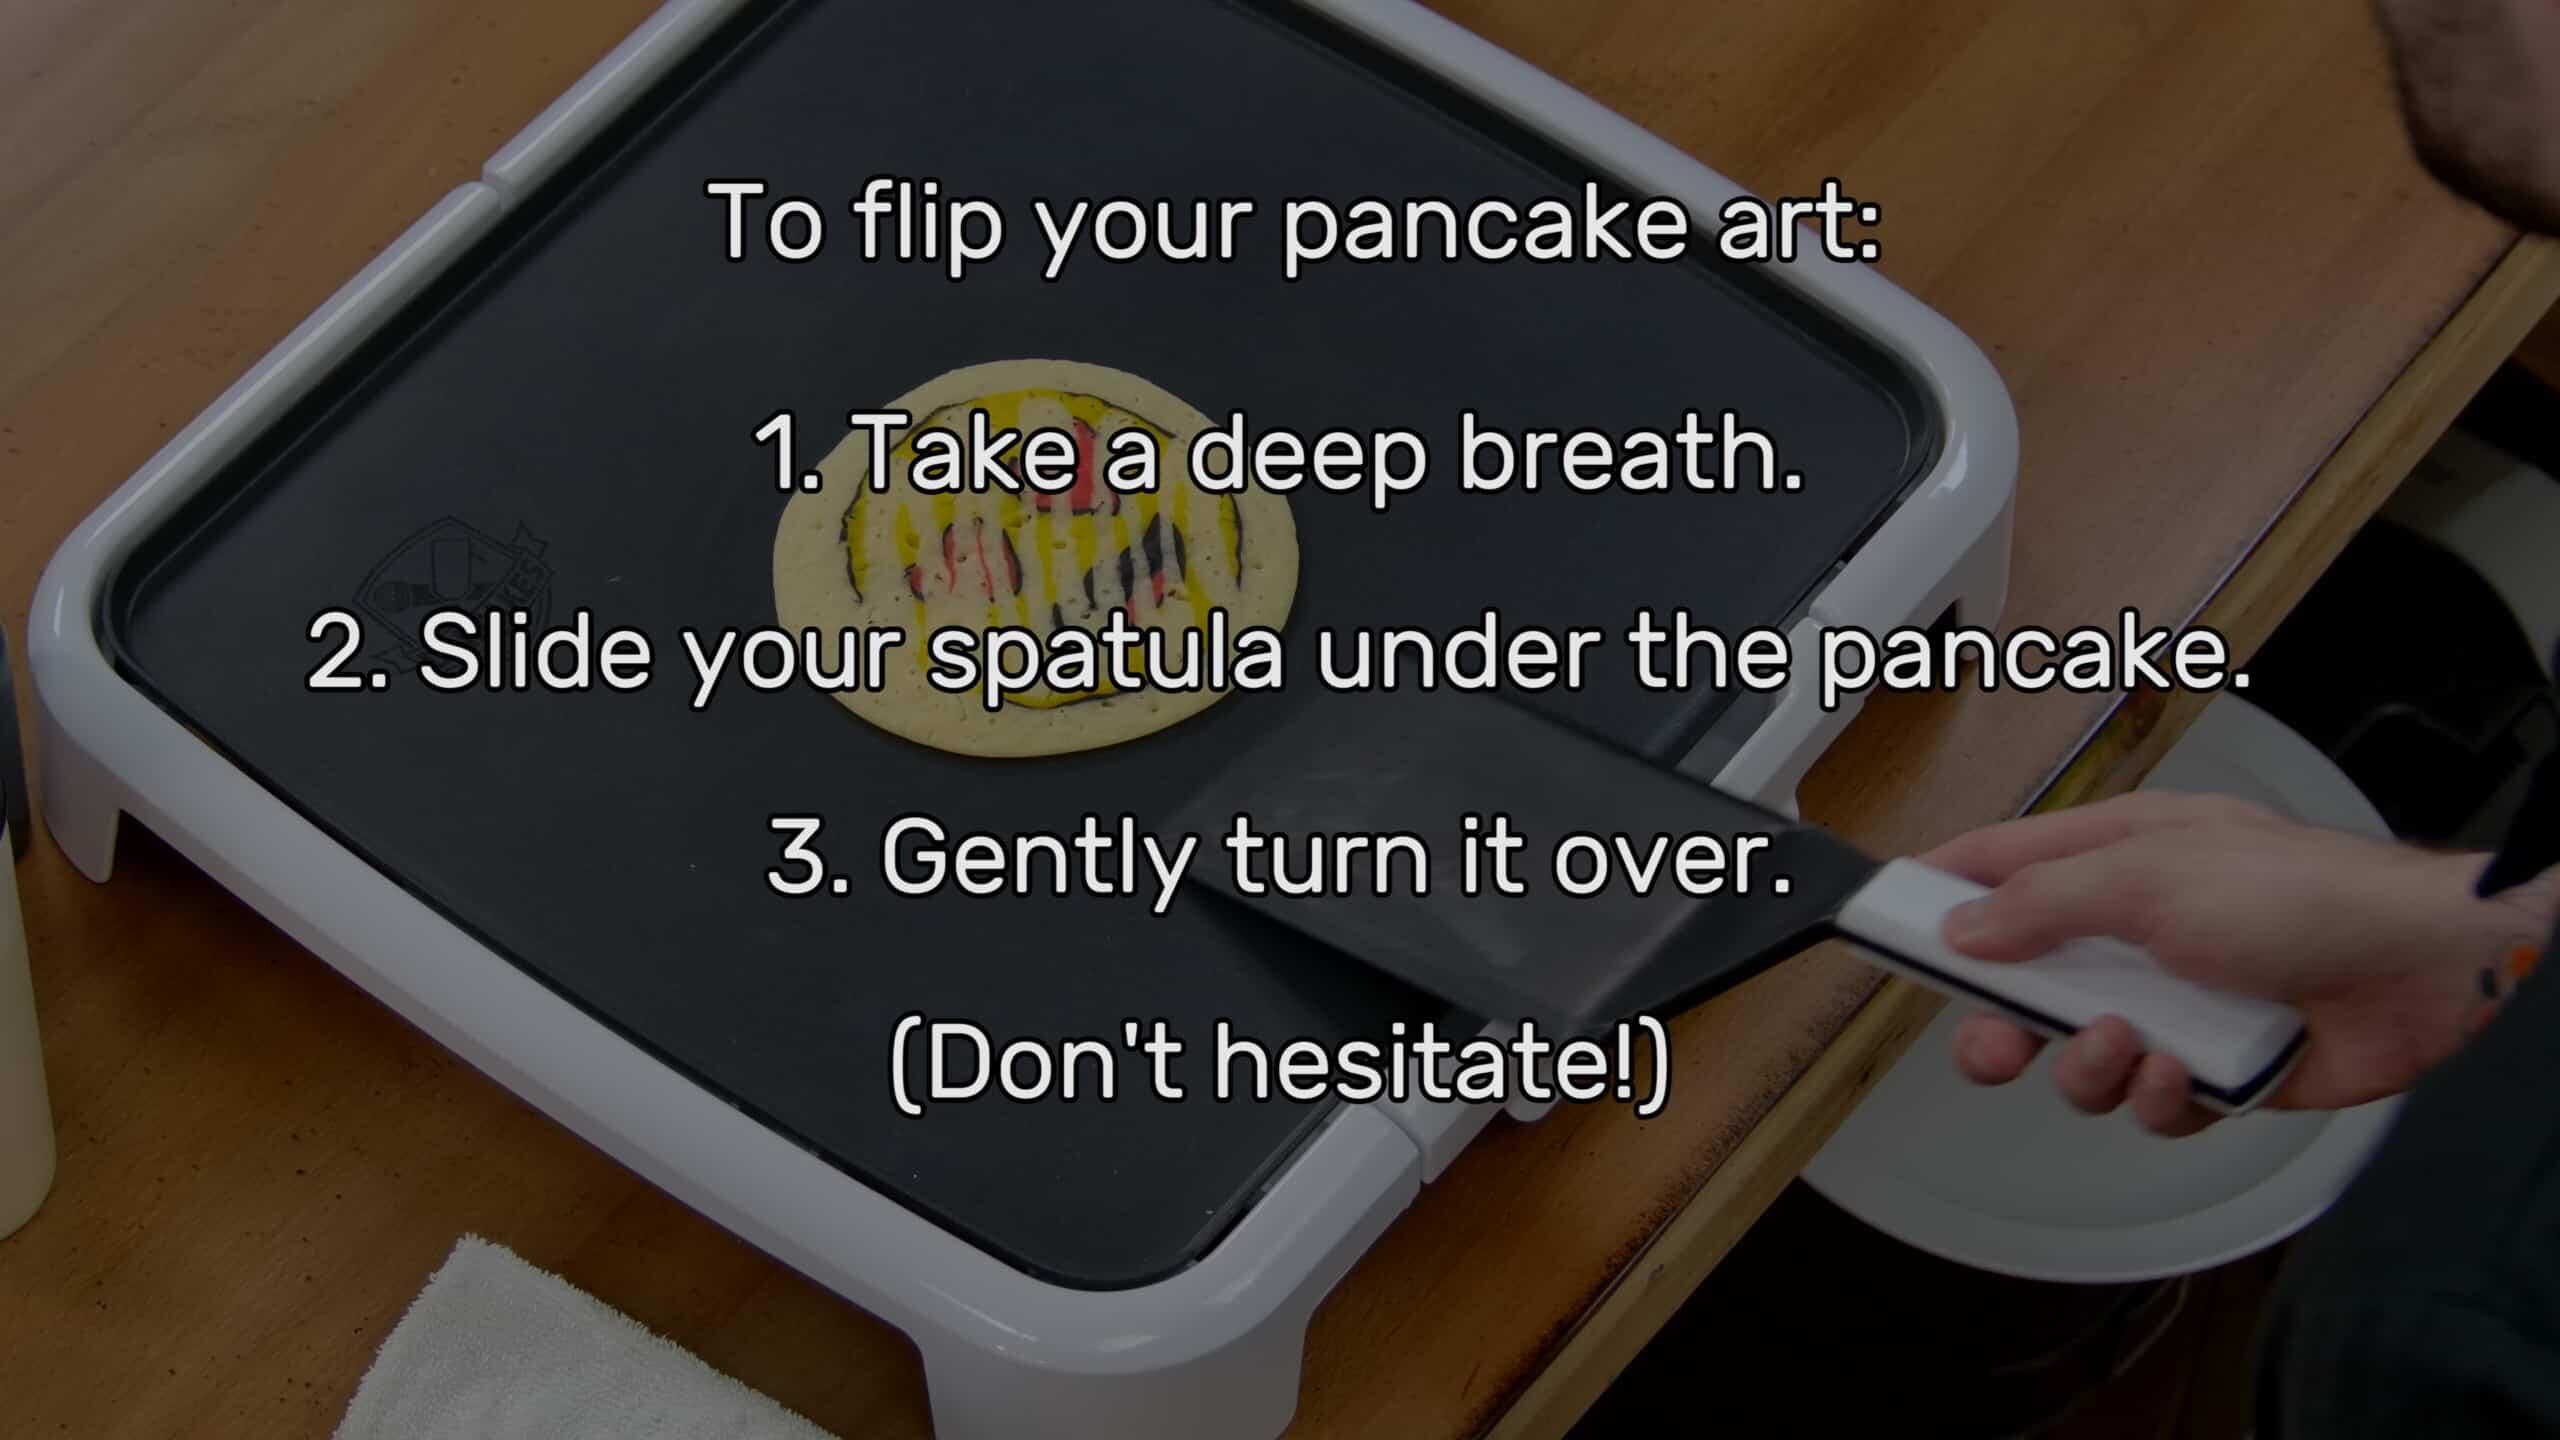
Flipping a pancake is easy enough, but since we take so much care in the mixing and drawing of our pancake art designs we want to be mindful not to damage it. This still happens sometimes – and that’s okay because, you guessed it, mistakes are delicious – but there’s a trick to flipping pancake art properly: confidence.
‘Flipping’ is a bit of a misnomer because we’re really ‘turning’ the pancake over more than flipping it (flipping it makes it sound like we’re going to hurl it into the sky, and that usually doesn’t end well). But if you’re confident, smooth and straightforward, it is as simple as sliding your spatula beneath your design and turning it over in one gliding motion. You don’t want to hesitate once your spatula is beneath your design – residual moisture in the pancake can cause it to stick to the spatula and you can end up with tears or folds in your design. So when you’re ready to flip, take a deep breath, slide your spatula under your design, and turn it over gently, all at once.
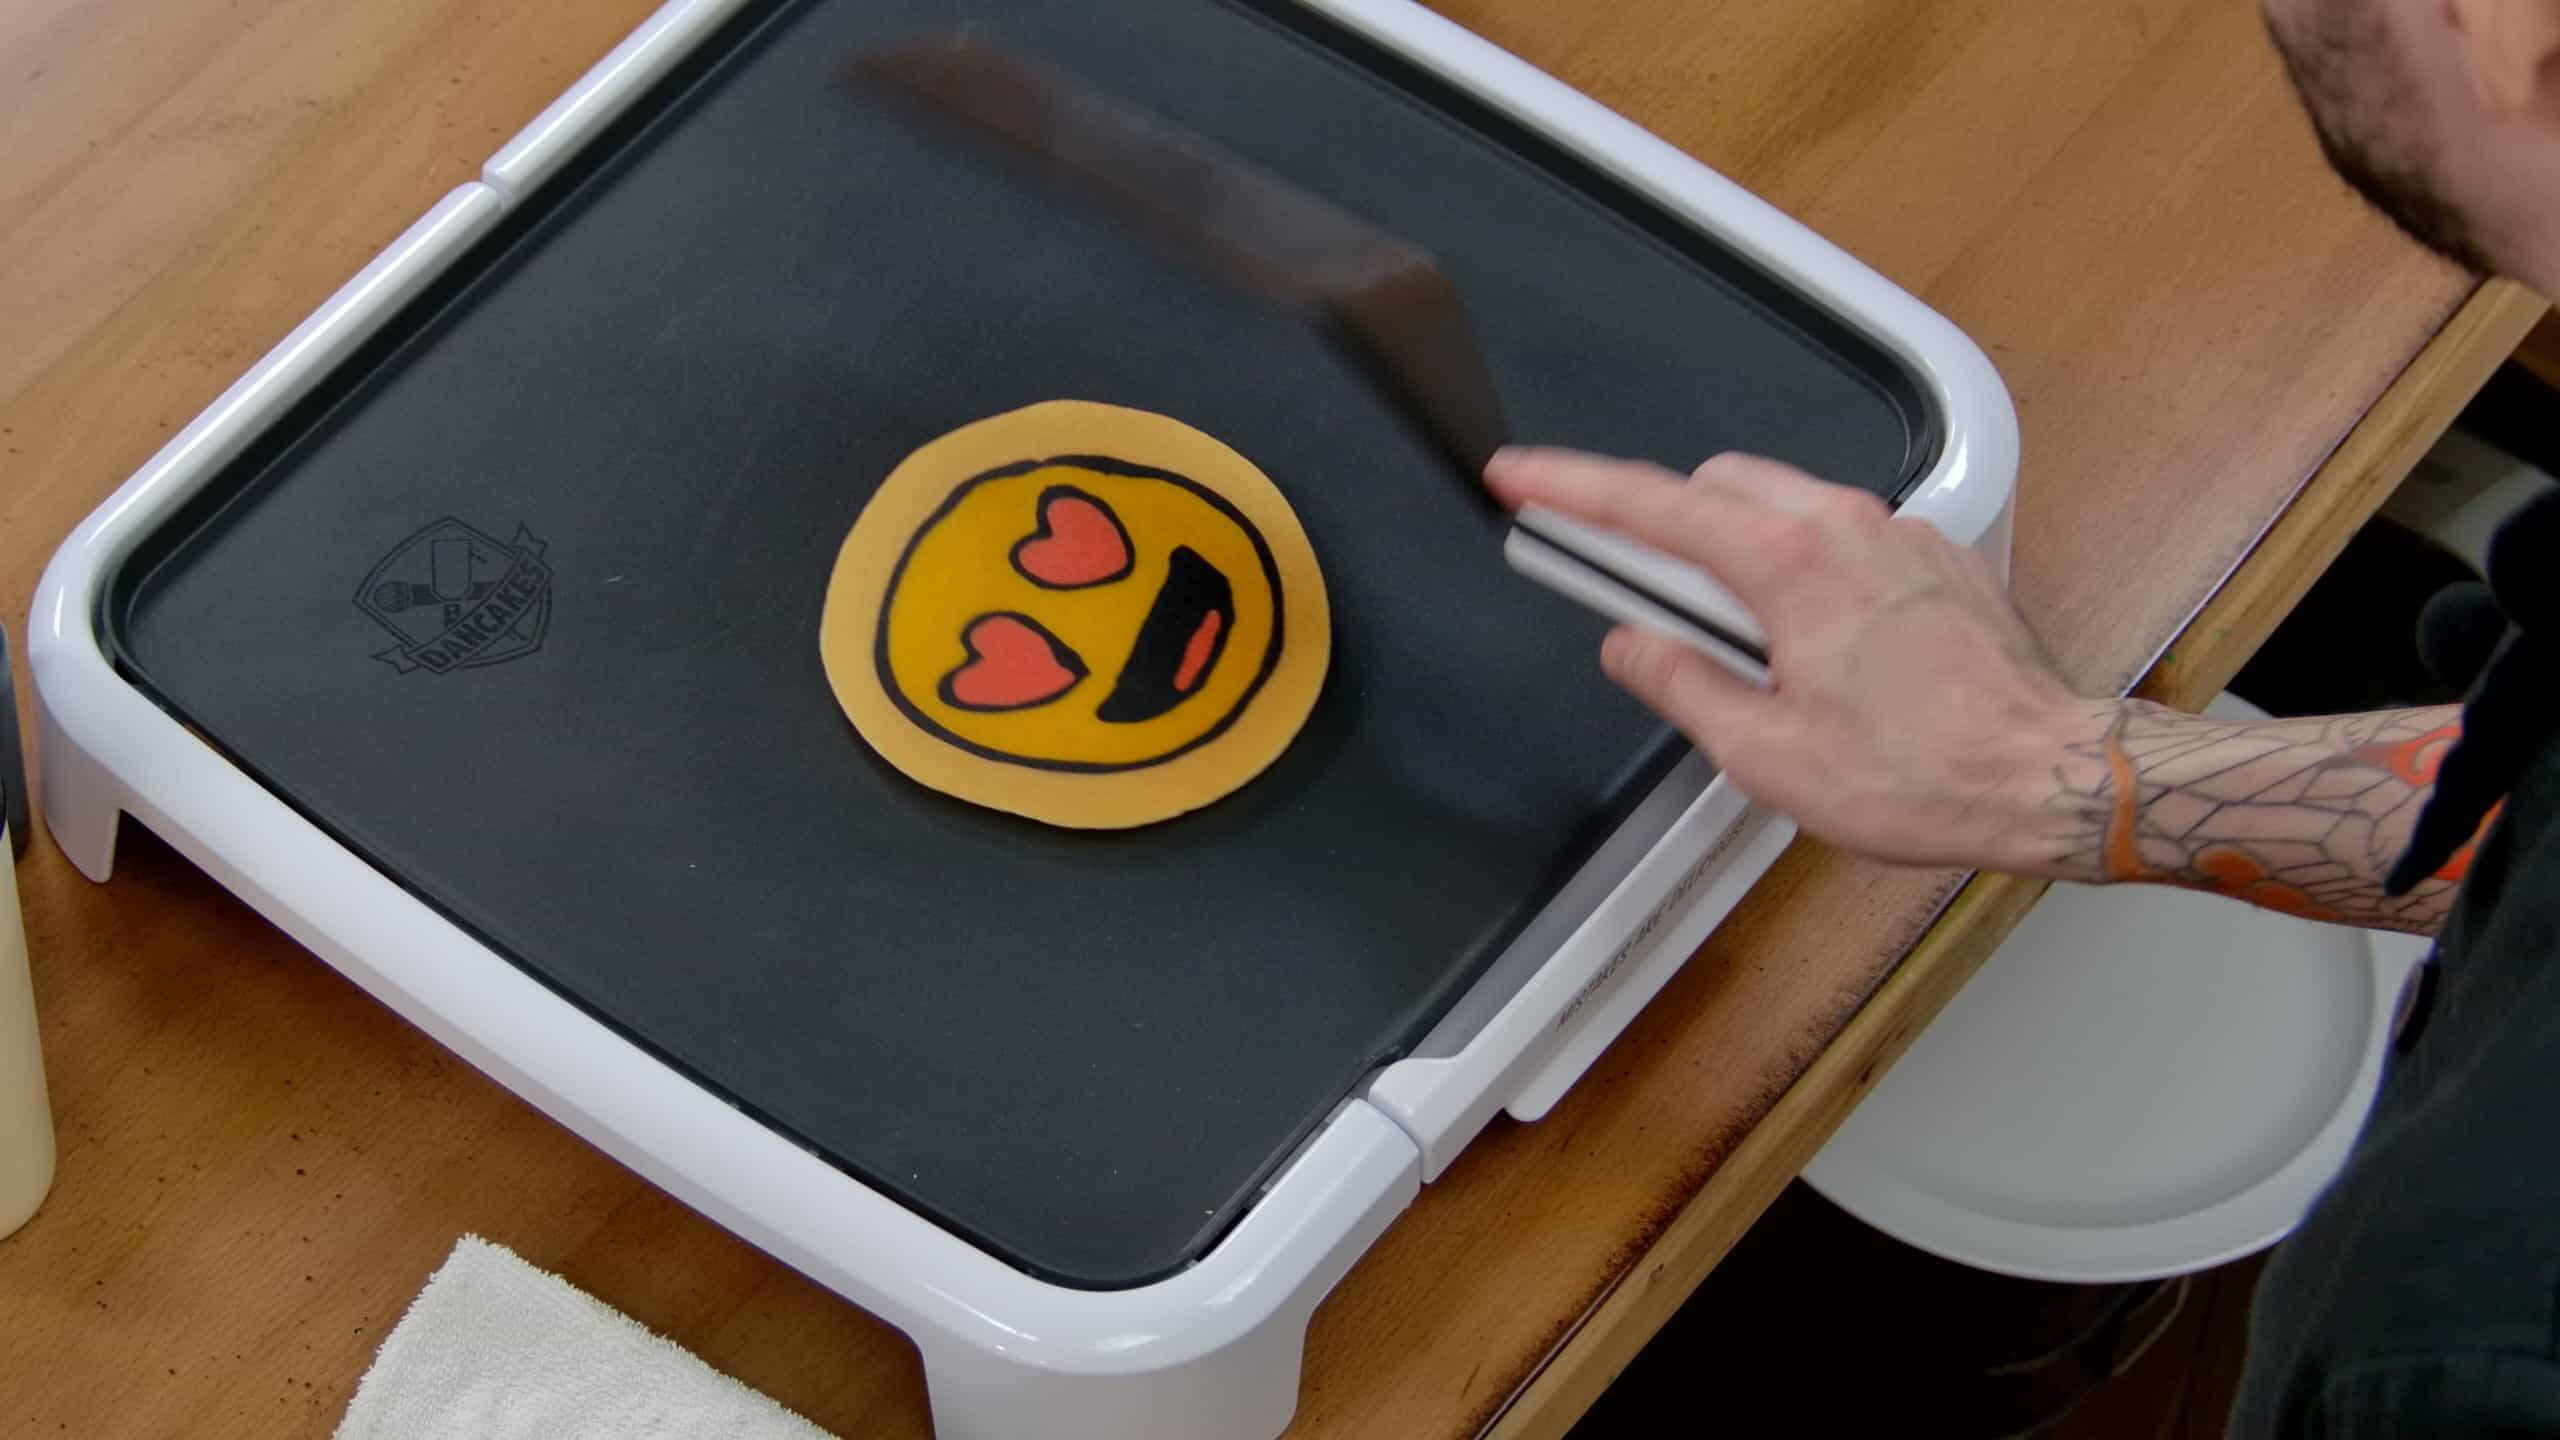
Once your design is successfully flipped you can admire it! This is the best part of the process – up till now you haven’t known how you did, and now you can see for yourself. You’ll want to let the pancake cook a bit longer on the reverse, and then, it’s time to plate it. Go ahead and grab your plate, then read on.
Plating is also fairly simple in concept but, like flipping, there is a trick to it. Two, actually.
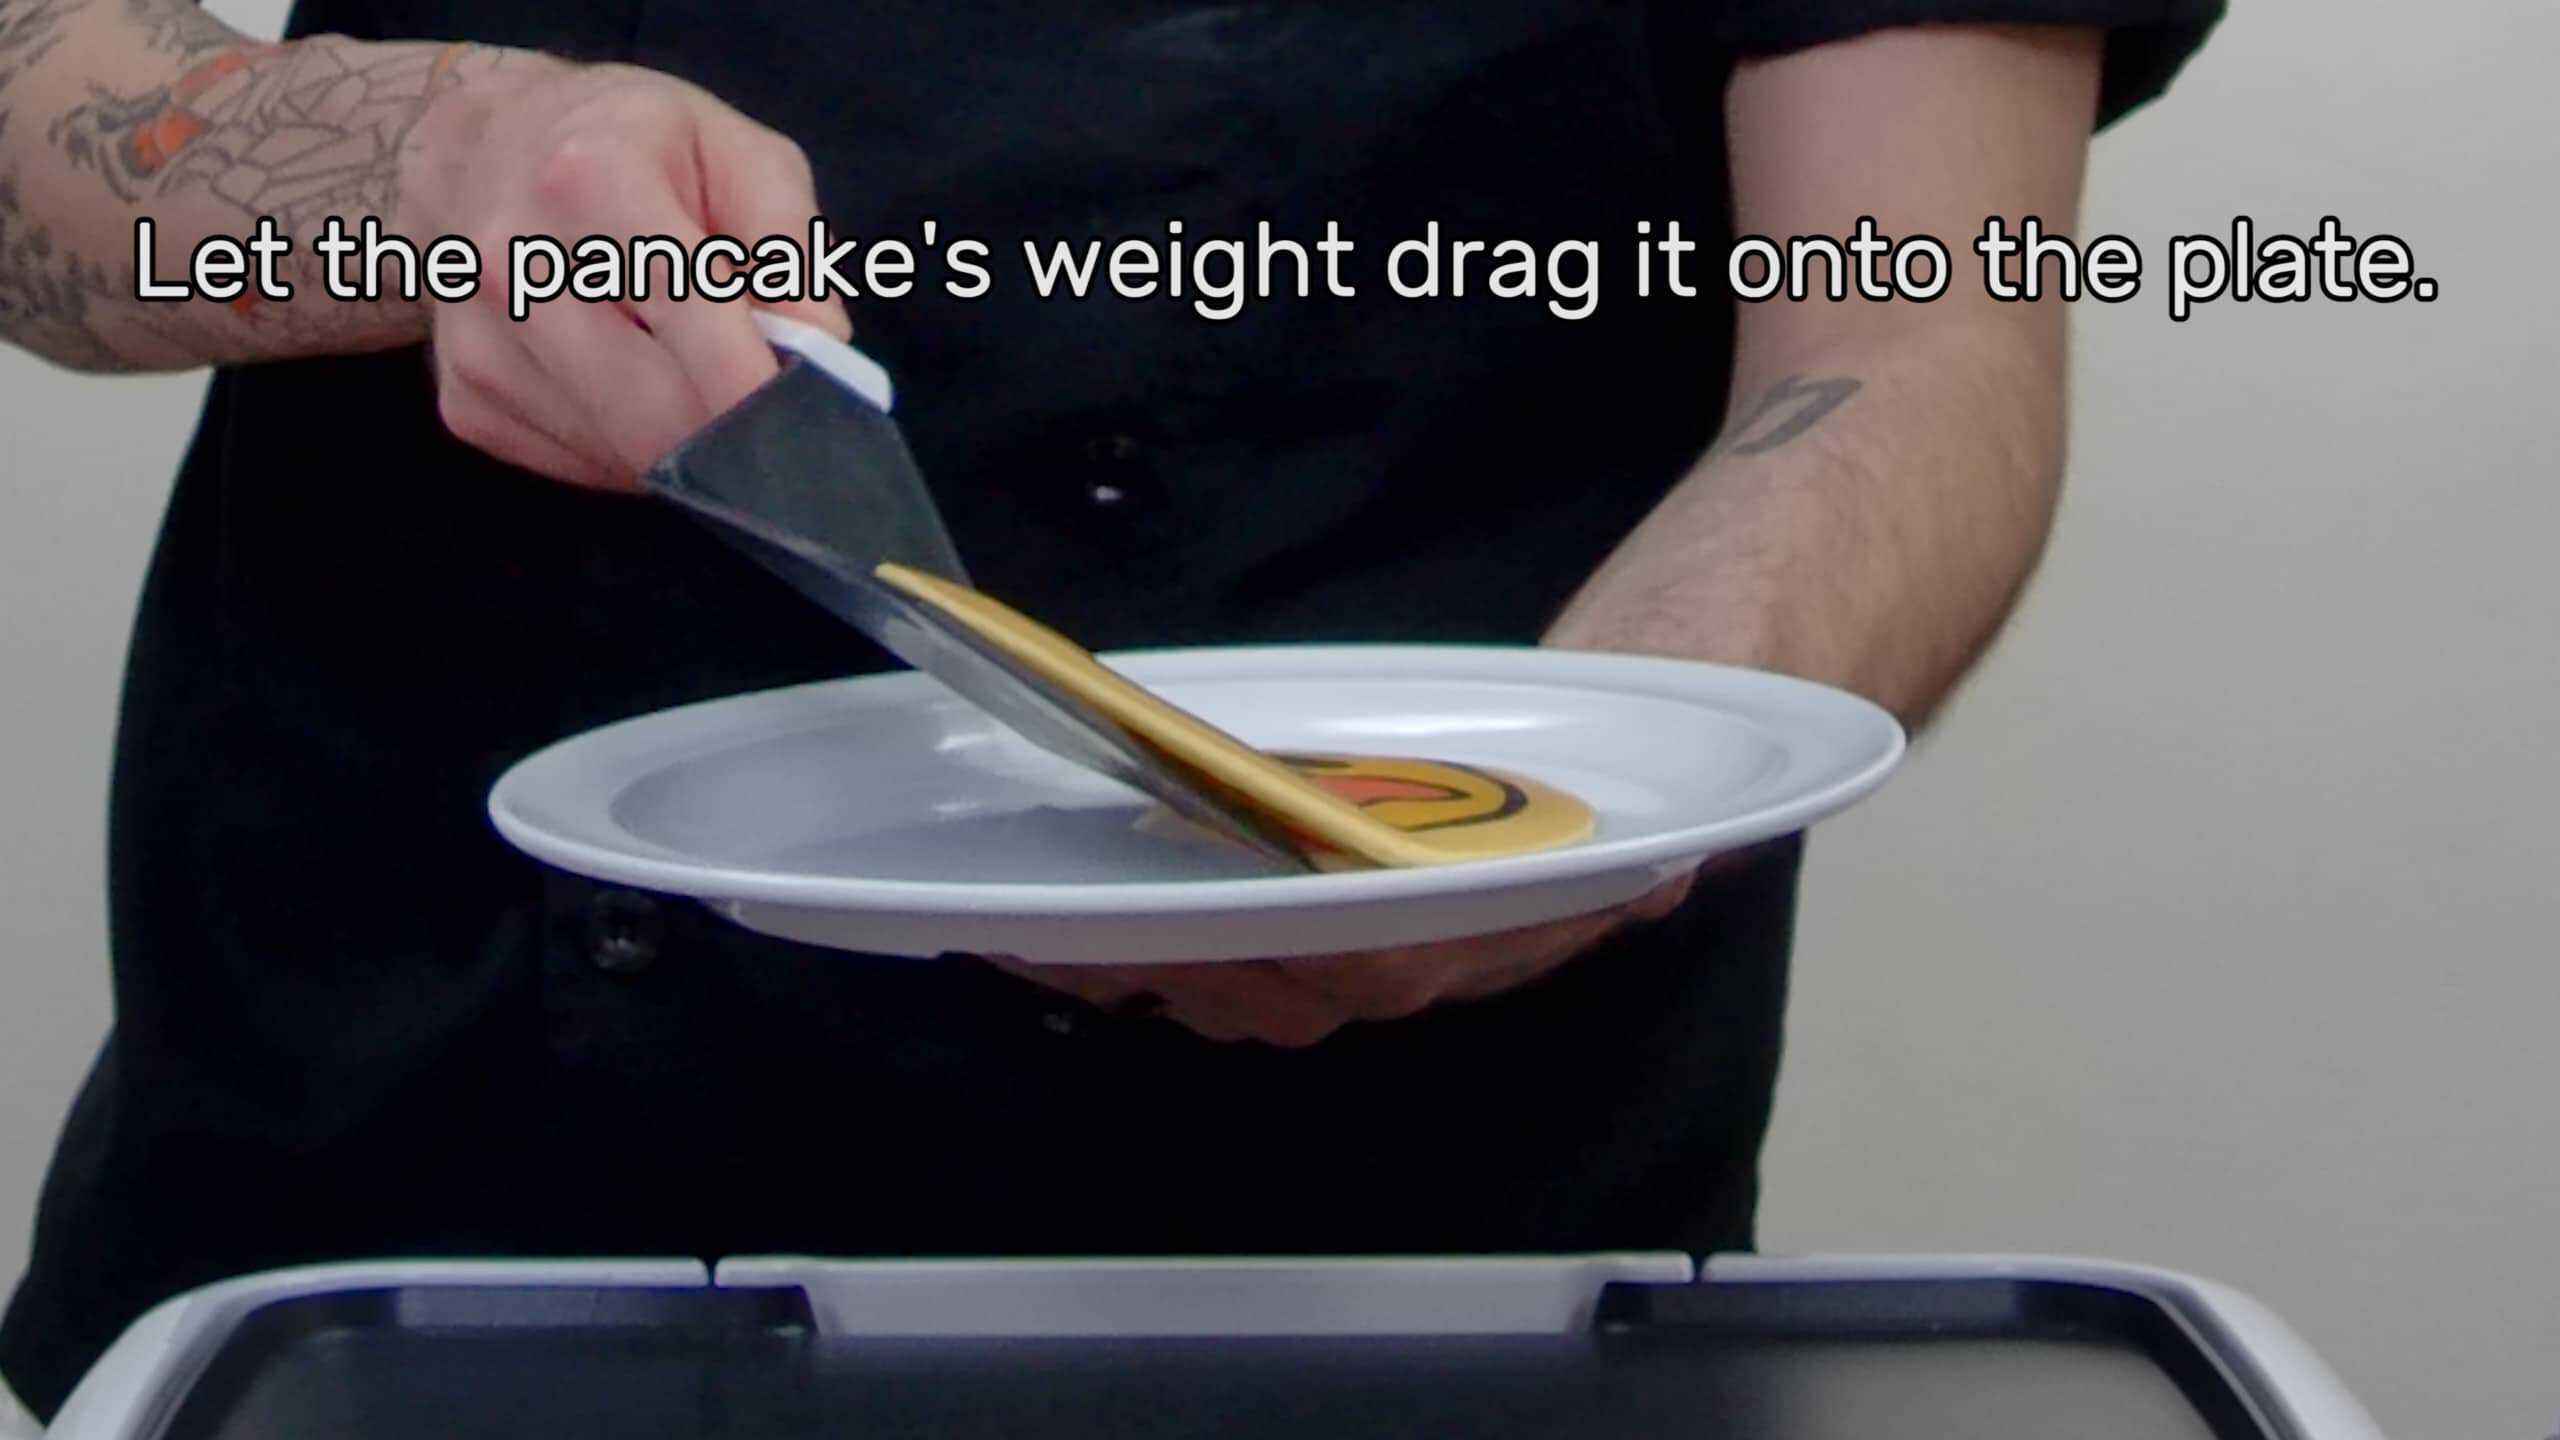
The first trick to plating is to slide your spatula under most, but not all, of your design, making sure that you leave a section of the pancake floating off the edge of the spatula. You can then set this floating piece of your design on your plate, and then let the weight of the pancake drag itself off of your spatula and onto the plate (you can see an image of this in the attached images, or watch it happen in our tutorial video).
The second trick to plating (and this is especially helpful on strange, large, or otherwise awkward pancake designs) is to flip the pancake BACK over on the griddle (so that it’s upside down again), and then to slide your spatula under the design and FLIP it onto the plate (also pictured here and in the accompanying video). Either of these tricks will serve you differently depending upon the design you’ve made.
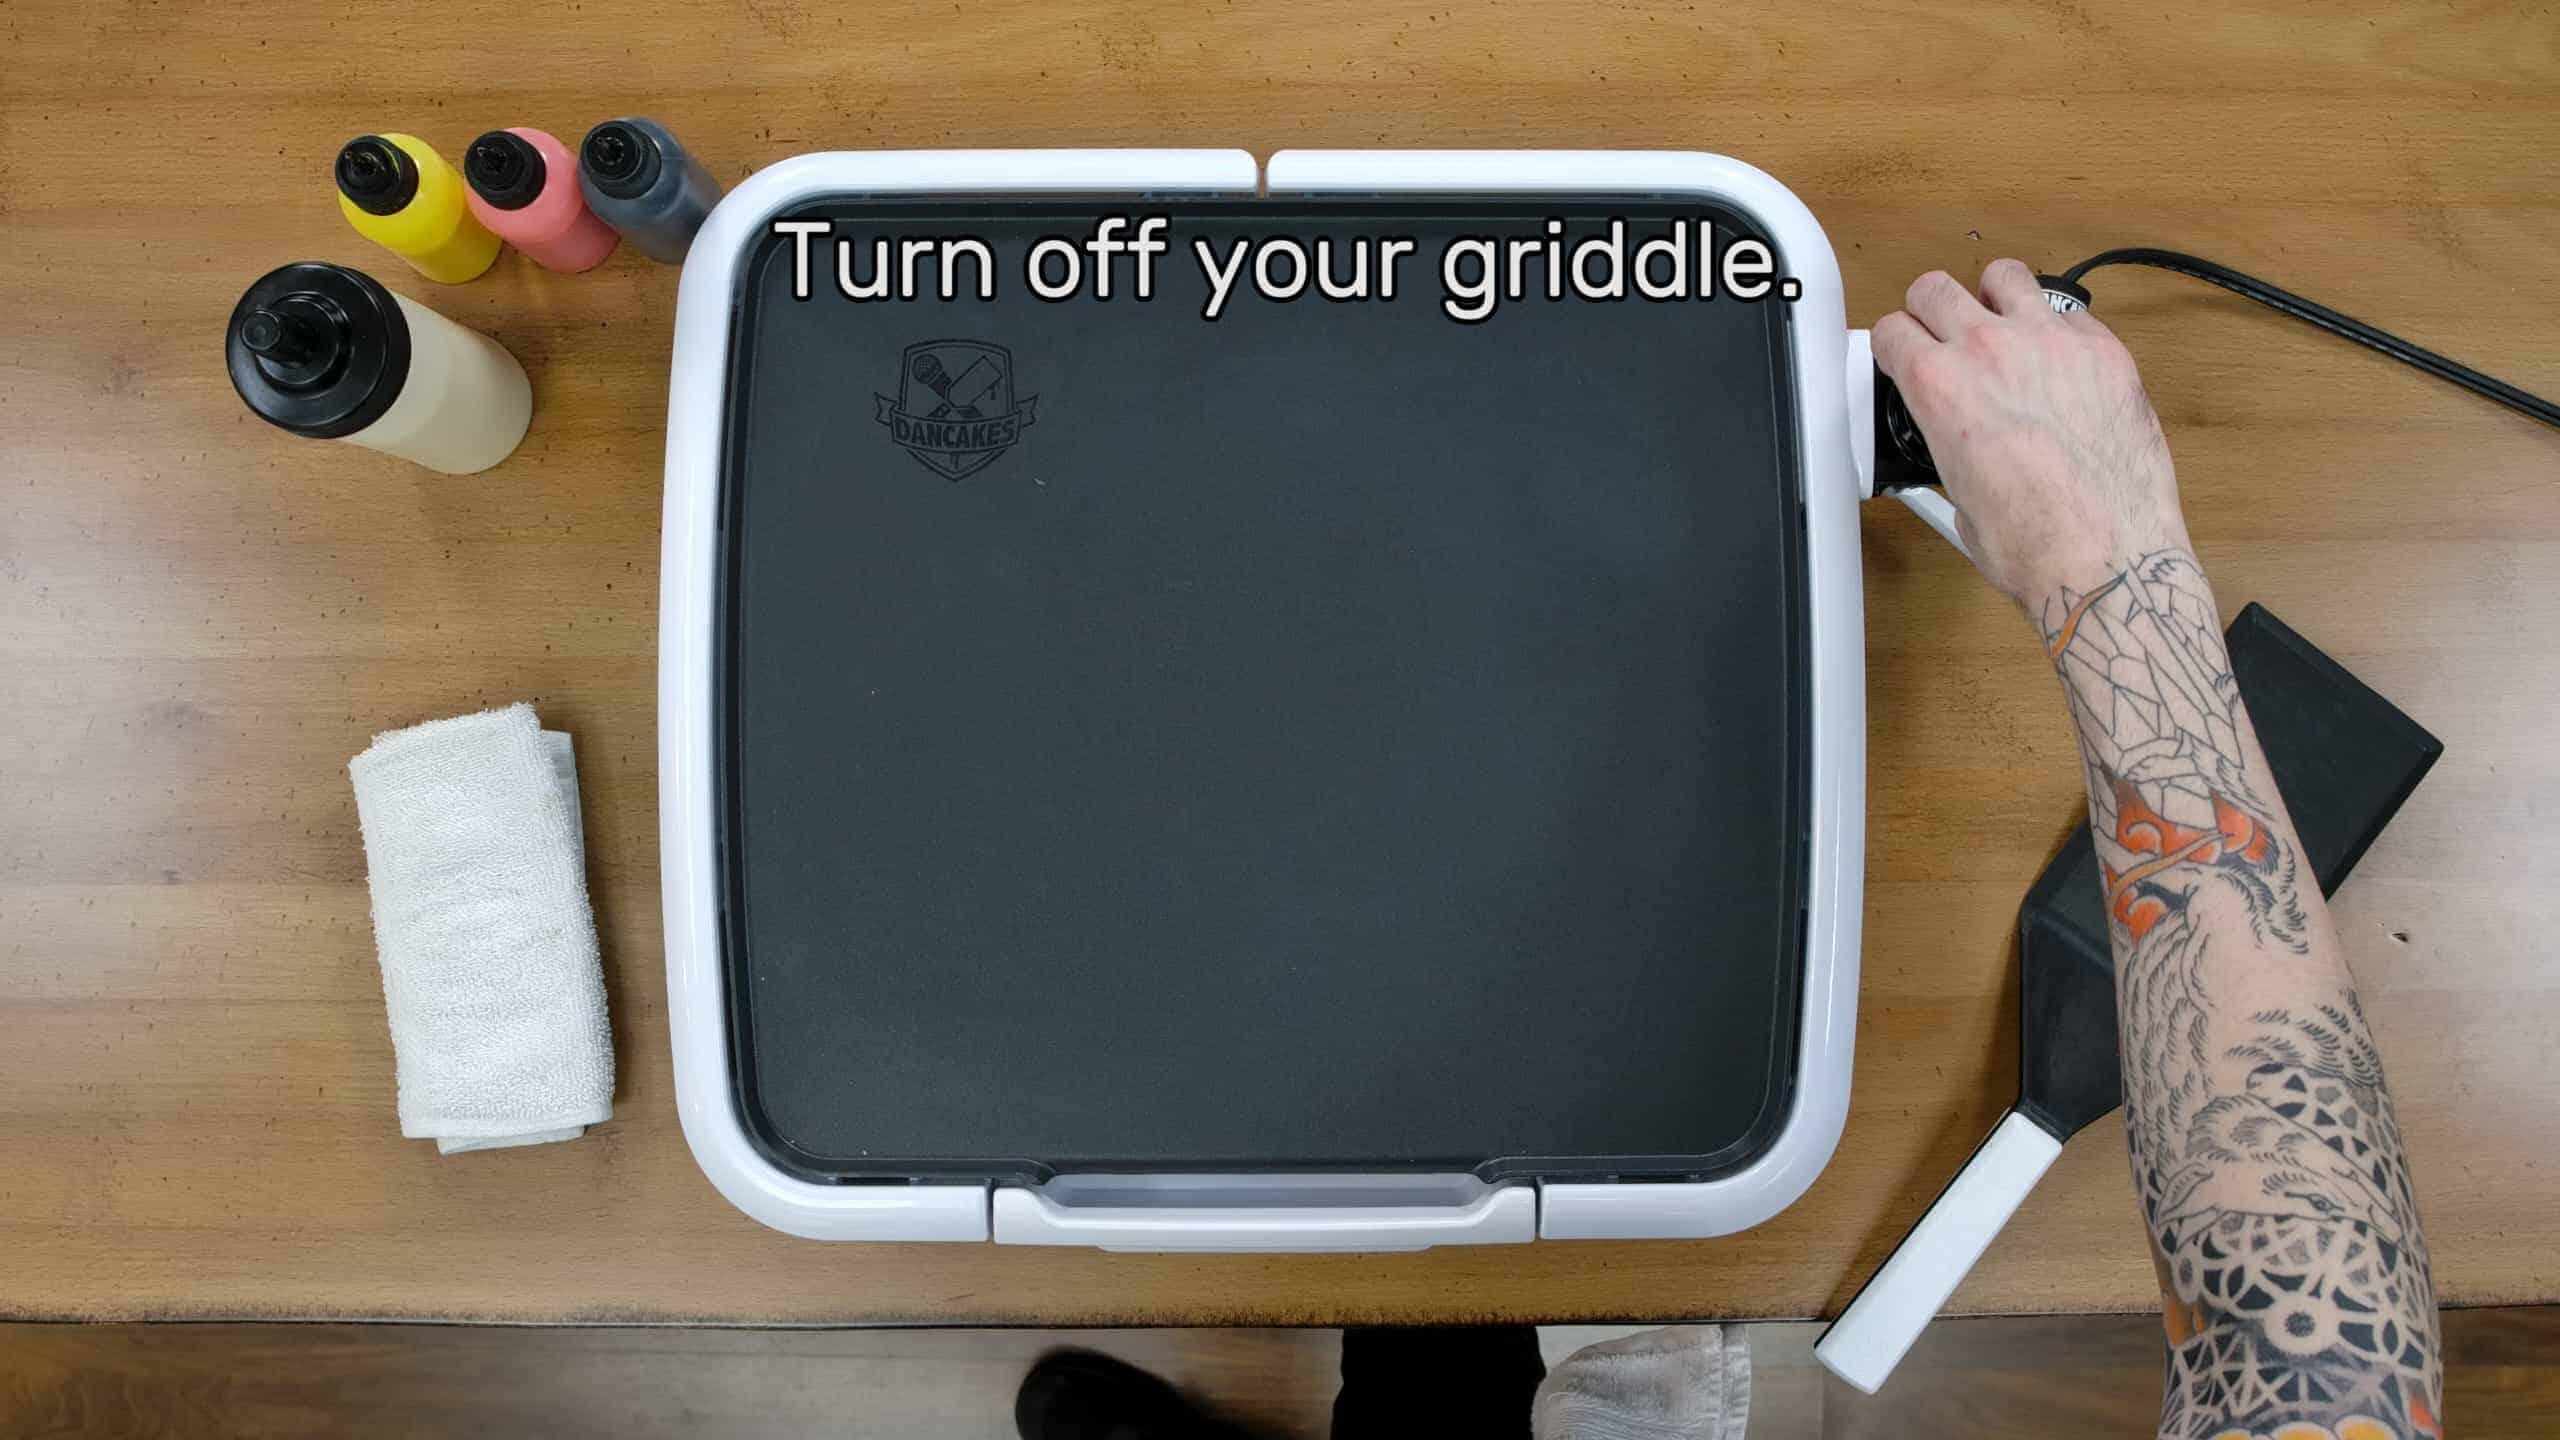
Regardless of how you do this, make sure that you TURN YOUR GRIDDLE OFF when you’re done!
Once you’ve flipped and plated your design, and turned off your griddle…you’re done!
Conclusion
With that, you’ve completed the Dancakes 101 How To Make Pancake Art guide! With this knowledge at your disposal, you’ll be able to really grow and prosper as a pancake artist and bring the joy of pancake art to your friends and family as often as you like. The more you experiment (and the more mistakes you make) the better you’ll get as an artist and the more fulfillment you’ll find in the delicious medium of pancake art.
We appreciate you taking the time to read this, and we hope you find as much joy in pancake art as we have in sharing it. We’ll see you around! And remember:
MISTAKES ARE DELICIOUS!
Congratulations! You've completed the Dancakes 101 'How To Make Pancake Art' guide! Now you just need practice. Get out there and make some delicious mistakes!
Thorough and easy to follow instructions. And the confidence that anyone can do it is refreshing. Thanks for creating this. Have a great day!
Thank you so much! My daughter’s been wanting to do this, so I needed to learn first and I made an amazing heart eye pancake first try! Appreciate you!